Creating a pinwheel out of paper might sound simple using a template, but would NOT respect the correct orientation when the paper is flipped.
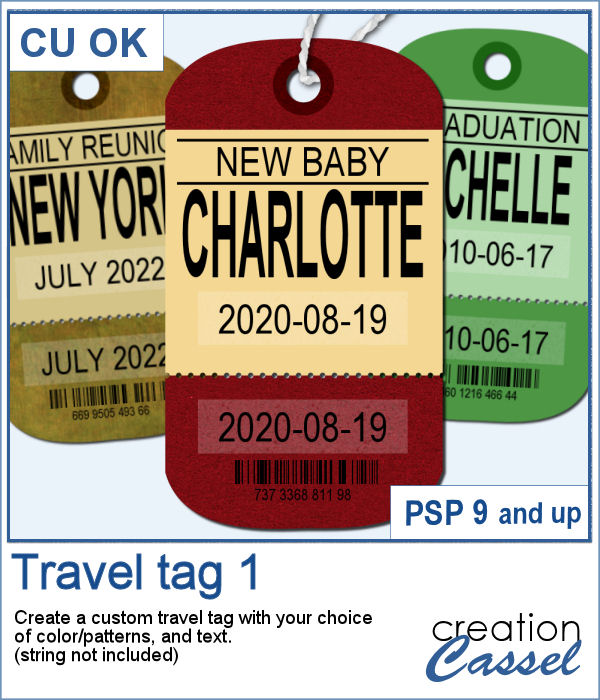
To help you, this script will do all the cutting, flipping and rotating needed to create a pinwheel with YOUR choice of papers. You will get 6 options for the edges, and 4 options for paper combinations. And since you can pick your own papers to create the pinwheels, the possibilities are endless.
Get this in the store: Paper Pinwheel
In order to win these tubes, add a comment on this Facebook post telling us if you have ever made paper pinwheels when you were a kid (remember, add a comment, not just a Like!) The winner will be announced in the newsletter, next week. Not a subscriber yet? Not a problem. You can register here and it is free (and you only get one email per week).
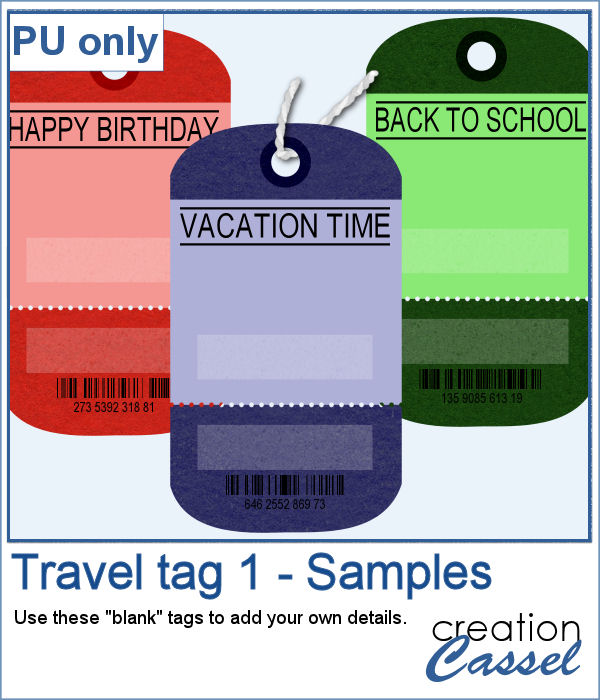
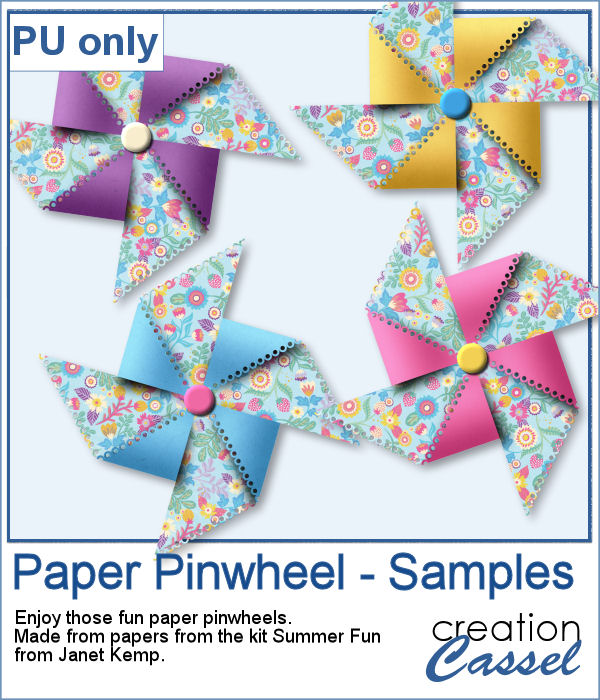
As a sampler, I used papers from a kit called Summer Fun from Janet Kemp and created four simple pinwheels. You can get all the matching papers from this kit HERE.
You need to be logged in to download this sample. You can either login, or register on the top of this page.

You can now create your own admission ticket (or other types of tickets) with this script. You get various options to incorporate into the making of it, including colors, text, fonts, texture and design.
For a sample, I created some generic seasonal tickets with little shapes in the boxes to match the season.
Now, you can turn any vector shape into one of 8 fabric textures. The script will use the color you started with and will blend in the texture. You can create titles with it, frames, mats, cluster elements, etc.
As a sample, I created some random patches in different basic colors. Use them as you wish. They are about 700 pixels in width and in png format.
To create a nautical project, using netting is a common element. Recently, we had some netting picture tubes that you could use to embellish your project. This time around, the netting is variegated, giving the whole project a different look.
As a sampler, I created a wood frame (using a script) and added three layers of netting. I distorted them irregularly, and deleted what was extending outside of the frame. I then added some seashells from the 2019 picture tubes.
You can now create a custom tag, with the colors from your palette, or even with some interesting patterns, and include details of your choice. Although these tags would typically be associated with travel (like a location, an airport code, etc.), you can use them for any occasion since you can choose any text you want.
For this week, the samples I made were run through the script, but I stopped it before the final merge, which allowed me to remove some of the text. This helps create "blanks" that you can fill however you need.
The Doppler effect is that difference in sound you hear when a vehicle runs in your direction, and then away from you. It is a sort of echo of the soundwave.
As a sample, I ran the script on individual digits starting with a black text. This will allow you to colorize the elements to match your project. To maintain the transparency on these digits while adding color, lock the transparency of the layer, fill with the material you want, and unlock the transparency.
What is more refreshing than a delicious ice cream treat during those hot summer months?
For a sampler, I created three treats for you using the July Blog Train color palette from DigitalScrapbook.
These chevron patterns can be that additional effect you want in a paper. You can choose to use any color palette, whether it is bright, contrasting, pastel or monochrome.
As a sampler, I ran the script on a full-size paper (3600x3600 px) and chose option 3 for the chevron pattern. I picked the color palette from the July Blog Train at DigitalScrapbook. You get one paper with a white outline and one with a black outline.
Whether you want to create a nautical project or find a way to have a different type of background, you can use these picture tubes. They are completely seamless so you can juxtapose them on top of each other to make a tall net. Then, you can use the Warp Mesh, or the Deformation map to give some movement to the net. Finally, add elements to your page, whether they are beach elements or photos you will attach with clothespins.
For a sampler, I created a full-size 3600x3600 image with a neutral color netting. You can erase some parts, you can use the Warp Brush, or Deformation map to make waves, etc. It is a png format so you can add whatever background you want, or even thread ribbons, vines or other elements through the mesh.
You can now create as many beads as you want to perfectly match your project, and in a short time.
For a sampler, I used the color palette from the June Blog train at DigitalScrapbook.com and created 15 beads. Each bead is 200 pixels in diameter. You can collect other supplies in the Blog Train in