When working with PaintShop Pro to create frames or other effects, it is convenient to use guides so we can snap to them and keep our elements, our lines, or brush strokes aligned. Although adding guides along the edges of any image is not really difficult, it is a little tedious to place them exactly on the edges, especially for all four sides. Furthermore, if you want to place guides in the very center, you have to do some calculations too.
This is what this script will do for you, and in a single click too!
You can now get this script for FREE in the store (you still have to go through the checkout though). Quick Guides
Since this script is free, there is no random draw to win it, but if you want to add a comment on Facebook, you can do so on this post.
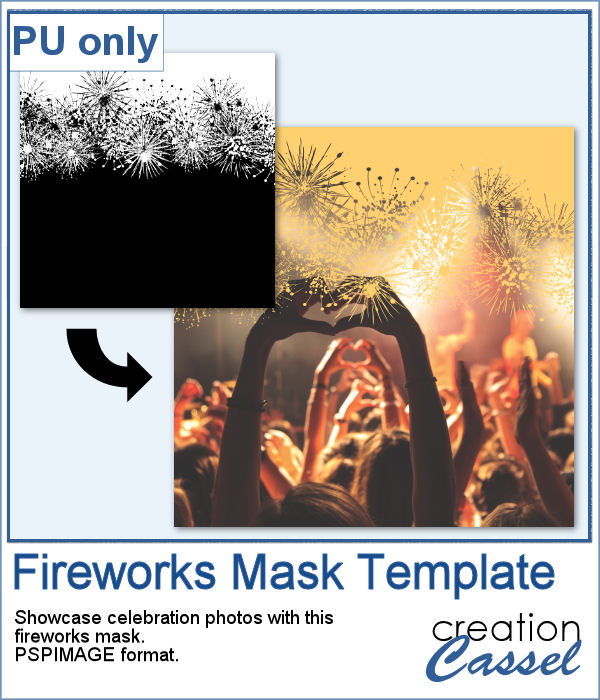
As a utility script, I can hardly create a sample from using it, right? So, as a freebie, I decided to create a mask template for you using the Fireworks picture tubes available in the Campus for the January theme blog post (you can get those tubes HERE).
You need to be logged in to download this sample. You can either login, or register on the top of this page.

Plaids are versatile and since you can use a wide variety of colors, the possibilities are endless. Some plaids are simple, some are intricate. This particular design includes a hashed texture that will let you show any background color through.
For a sample, I used the color palette from the January 2023 blog train at DigitalScrapbook.com and created 10 tiles for you. They are in png format so you can add any color background behind them. And if you want to download various matching kits and elements, check out their blog train thread
A simple bow might be all you need for your project, but how do you find the correct one? Using a ready-made bow and colorizing it might work but might also be a lot of work.
For a sample, I created three straight polkadot ribbons with holiday colors and ran the script to generate three matching bows. The straight ribbons are also included in the zip file so you can use them separately.
If you are doing some holiday projects, whether they are greeting cards or scrapbook pages, you might want to add some Christmas ornaments in specific colors of your choice. This script will randomly draw oblong ornaments with your color palette and 15 different designs.
For this week, I created 6 white ornaments decorated with gold designs.
Buttons can come in many shapes and colors. And they can be so versatile when used in various projects, whether you want to pretend you are fastening photos, or you want to create a decorative element by combining several together.
As a sampler, I created a fun Christmas tree out of buttons from this script and the original Button Machine script for the round buttons.
For a sample, I created a frame using various cogwheels generated by the script. I resized them, added a texture using Filter Forge, added a bevel, and shadows. I also had fun adding chains to connect those wheels.
When I was in school, I remember one art class where we had to use straight lines of different thicknesses to replicate a simple image. I was not very good at that, but I would have loved to have this script, which does it in just a few seconds.
As a sampler, this week, I created some simple word frames for Halloween. You can colorize those frames to suit your project or your photo.
If you like the idea of coordinating various elements in a page or a kit, using a set color palette is an easy way to do it.
As a sampler, I am including a color palette generated from a fall photo. You get to use 10 colors from this photo. The hex code for the colors is included inside the zip file.
You can place elements along a circle or a spiral manually, but it is quite tedious.
For a sampler, I created two large circle frames and one spiral with bats coming at you. Each element is in png format and about 3000 pixels wide, so you can resize them as needed.
In order to create a paper fringe with PaintShop Pro, you will need to cut your element multiple times, and then, warp each piece one by one. But there is a problem: how do you warp one piece of paper without warping the next one? Well, there is a way to do it, but it is tedious, which is why this script will be a time saver.
As a sample, I created this square frame from four strips of paper that were run through the script, one by one, and then put together to make the frame. I added a little contrasting border to add some interest. Now, you can showcase your favorite photo.