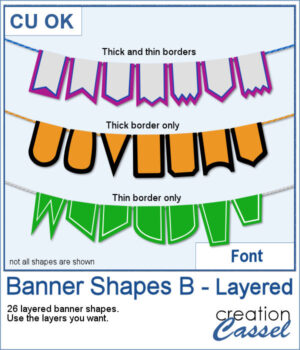
 Not only can you use this font to create banners hanging from a string, but you can also have combinations of colors with the thick and thin trim options. Use one, or both trims to match the colors to your photo, your project, or your school colors!
Create banners as long as you want. Add text afterward or leave them blank for just a touch of color.
Get this font: Banner Shapes B
In order to win this script, add a comment on this Facebook post telling us if you have used layered fonts before (remember, add a comment, not just a Like!) The winner will be announced in the newsletter, next week. Not a subscriber yet? Not a problem. You can register here and it is free (and you only get one email per week).
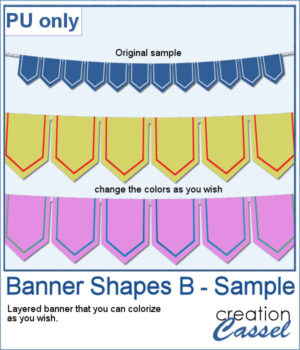 For a sampler, I created a simple string of 12 banners that are left in layers (string, banners, trims) that you can colorize however you want to suit your project. The file is in .pspimage format and compatible with all PaintShop Pro versions.
You need to be logged in to download this sample. You can either login, or register on the top of this page.

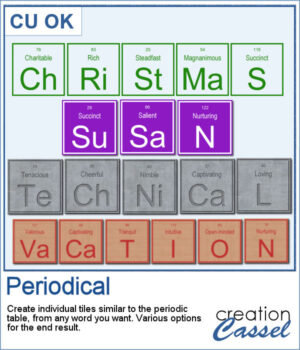 I have seen someone wear one of those t-shirts where individual tiles spelled out a meaningful word. I was wondering how to create those tiles for any word a user would want. And I did manage to code a script that will use any word you give to generate individual tiles.
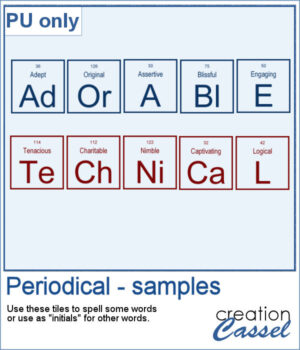 For a sampler, I created the tiles to spell out the words ADORABLE and TECHNICAL. Each tile has a transparent background so you can add your own, and customize them further.
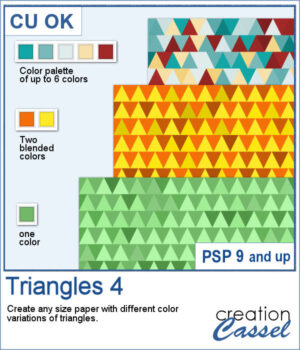 This script will let you create a variety of different triangle-patterned papers in any size you want.
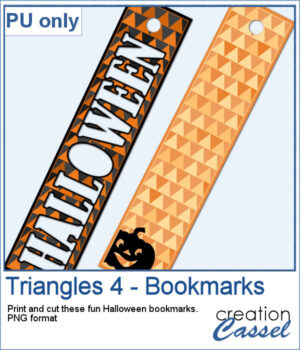 For a sampler, I created two papers using Halloween colors and made them into bookmarks that you can print and cut if you want. The files are in PNG format so it can be used by anyone.
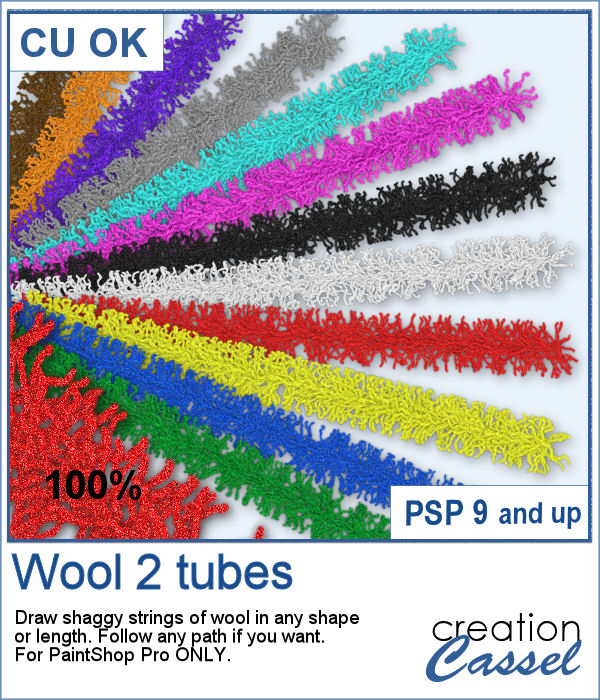
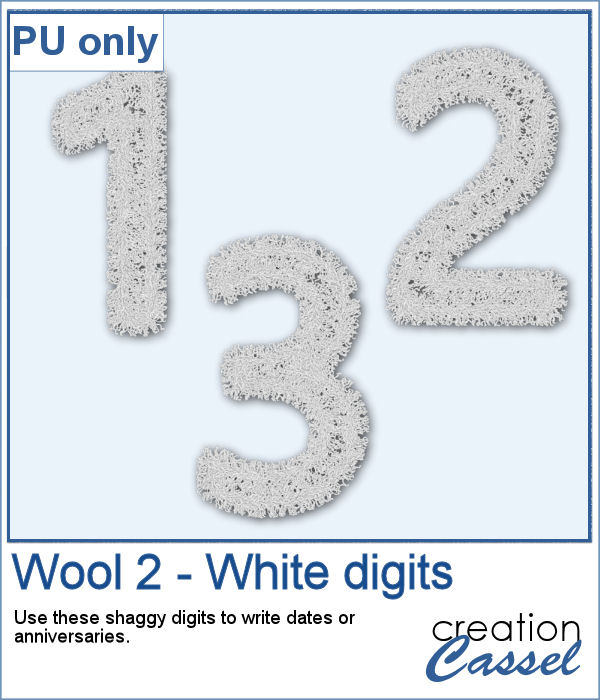 As a sampler, I created a set of white shaggy digits. You can colorize them if you want to match other colors in your project. Each digit is about 500 pixels high.
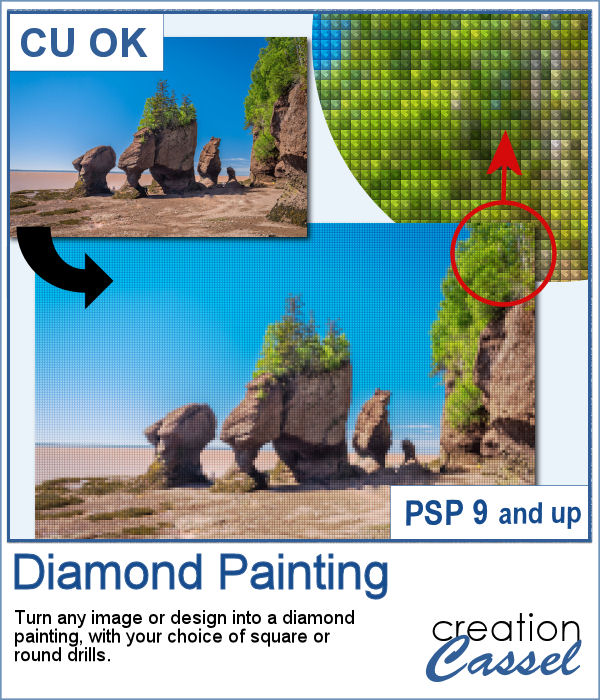 Diamond painting offers a way to turn an "ordinary" image into something magical and shimmering. It is a long and tedious process.
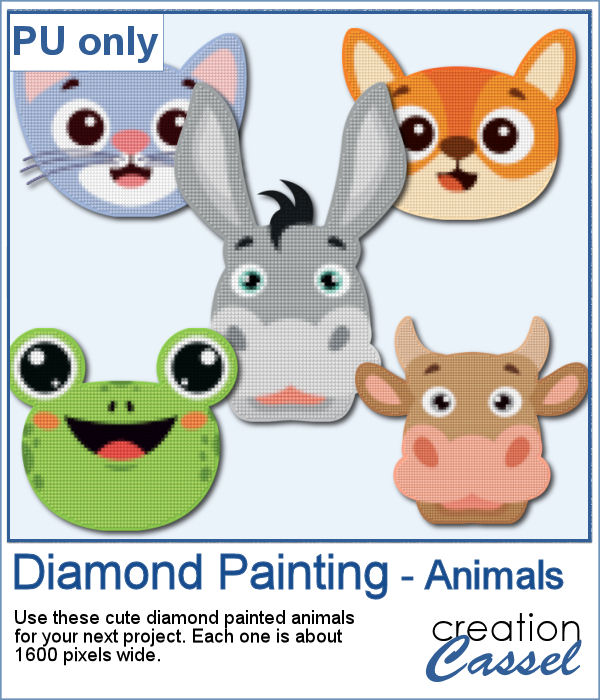 For a freebie, I used some cute animal cliparts and converted them into diamond paintings. Each one is fairly large so you can size them down as needed.
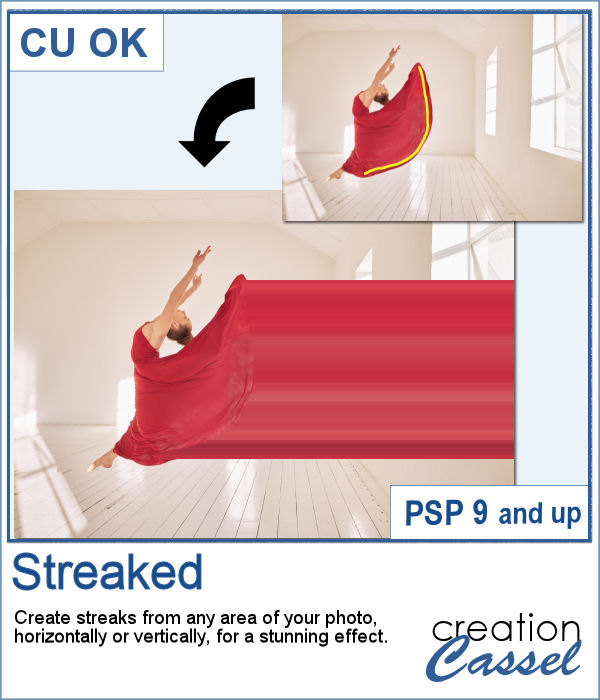 With graphic programs, we can manipulate images in ways that the camera itself cannot do. With this script, you can add streaks from your image, to convey a sense of movement, speed, or displacement. Then, you can also manipulate those streaks to give some wave effects, to show elements through, to fade its colors, etc. So many ways this can be manipulated.
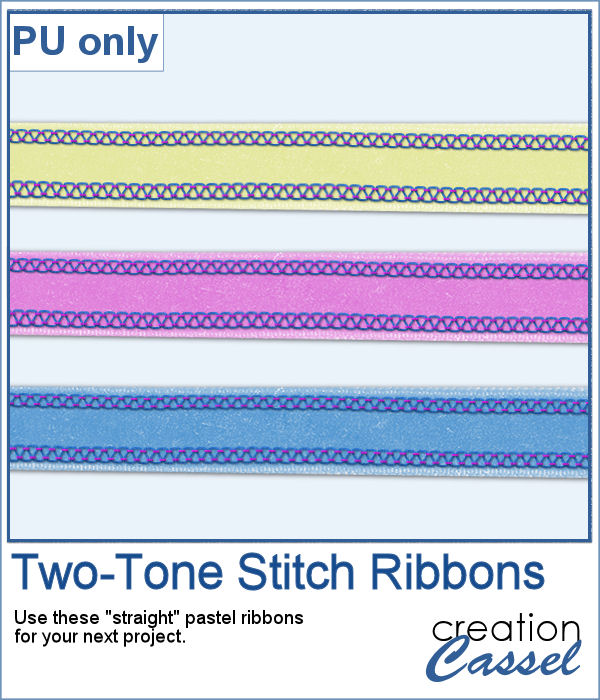 For a sample, of course, I cannot use my photos as they would likely be useless to you. So I decided to create some stitched ribbons for you using the Two-Tone Stitches from last week. I started with a basic greyscale ribbon, added the stitches on both edges, added texture, bevel, and shadows, and then, with the warp brush, I modified the stitching line so it would follow the uneven edges of the ribbon, for a more "realistic" look.
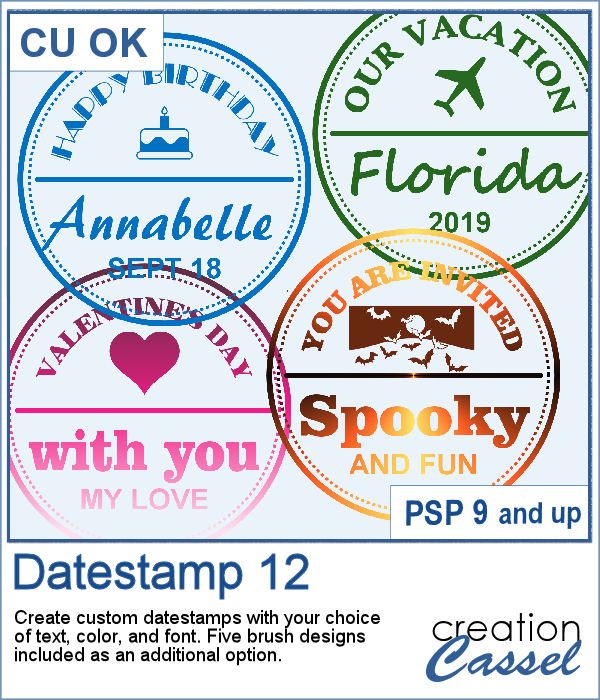 Datestamps can be used for much more than just dates. It is a way to add a name, a location, an event, or even a common phrase that can be associated with a photo or a story.
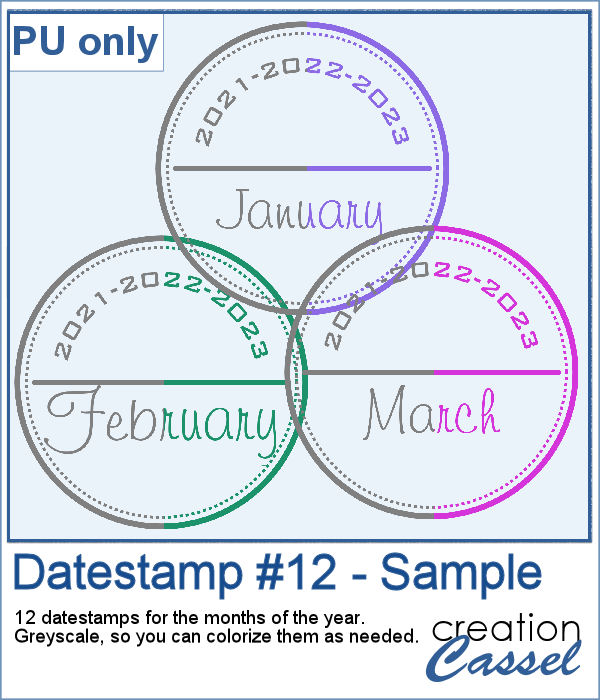 For a sample, I created a set of 12 datestamps with the months of the year. I have three years listed on top so you can always circle the one that matches your project. I purposefully left the space empty at the very bottom so you can add a date if you want. Everything is in greyscale so you can colorize it, and it is in png format.
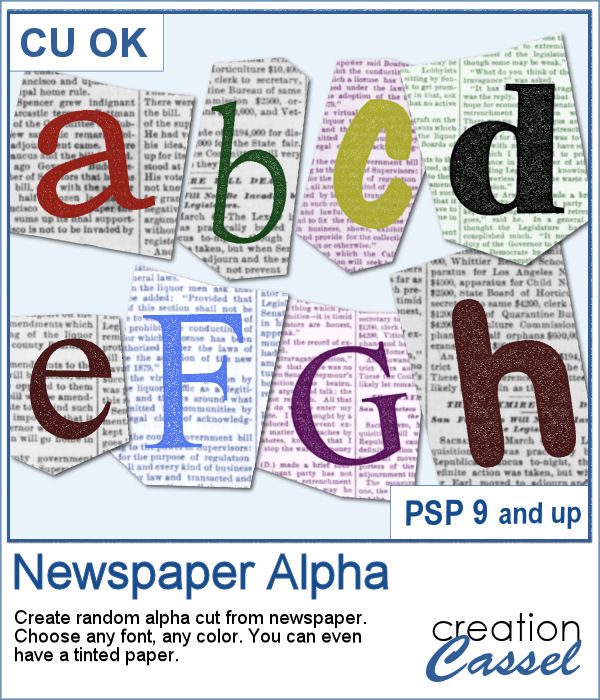 Newspapers can be a fun medium to print letters on, and create a random effect. This might be easy but it is quite tedious to have something very irregular. That is why this script will be a time-saver.
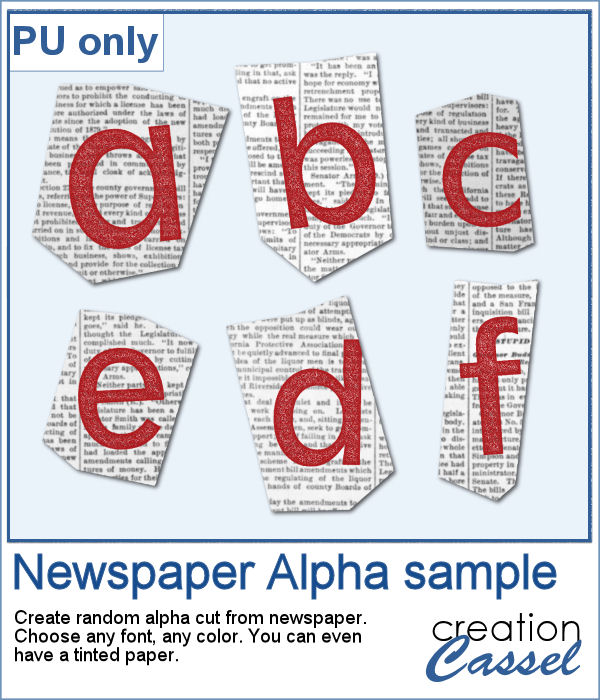 As a sample, I created a basic red alphabet (in lowercase) on black and white newspapers.
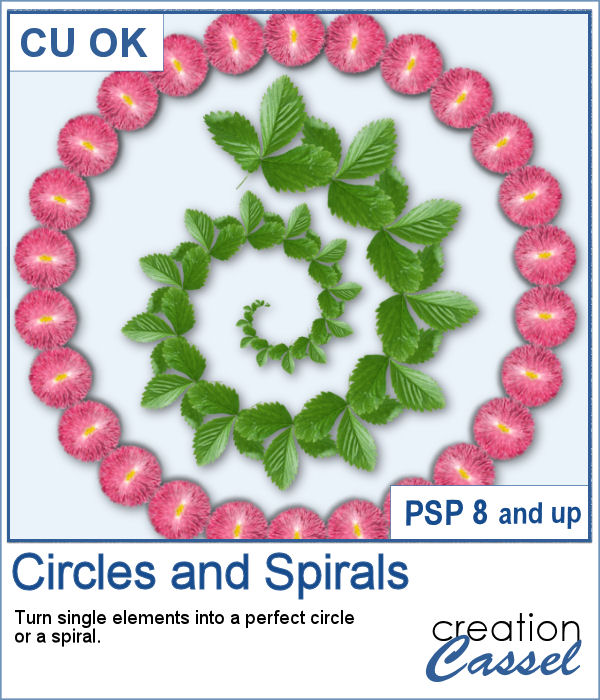 You can place elements along a circle or a spiral manually, but it is quite tedious.
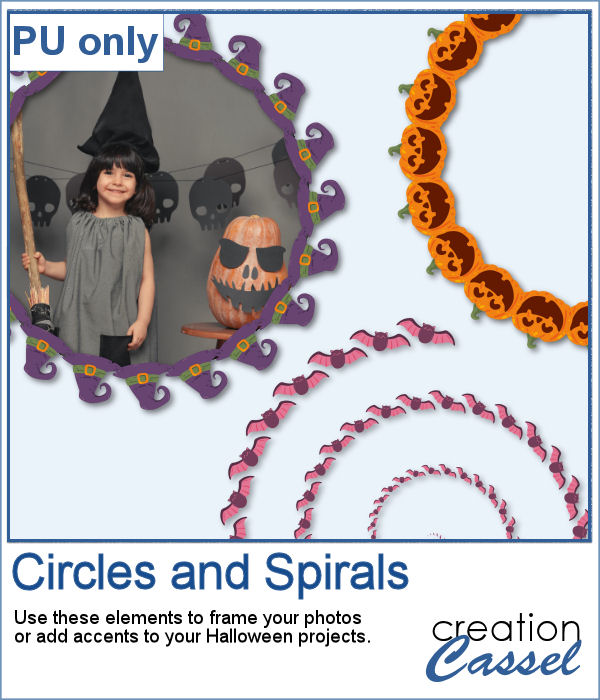 For a sampler, I created two large circle frames and one spiral with bats coming at you. Each element is in png format and about 3000 pixels wide, so you can resize them as needed.
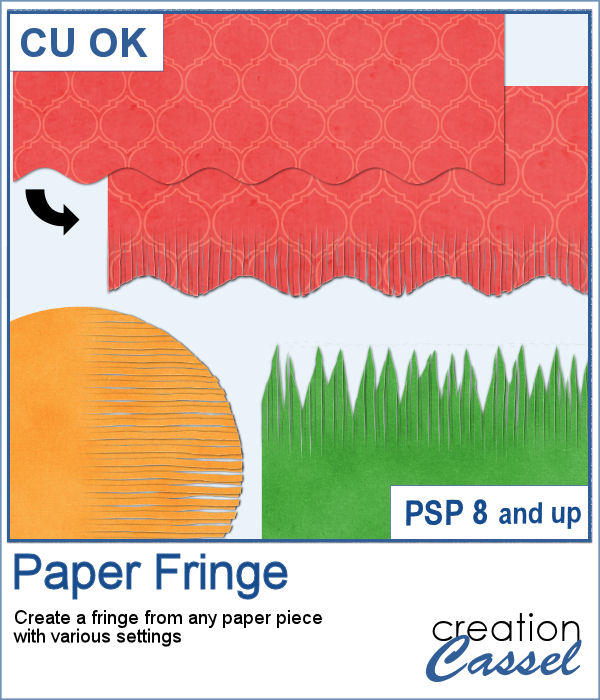 In order to create a paper fringe with PaintShop Pro, you will need to cut your element multiple times, and then, warp each piece one by one. But there is a problem: how do you warp one piece of paper without warping the next one? Well, there is a way to do it, but it is tedious, which is why this script will be a time saver.
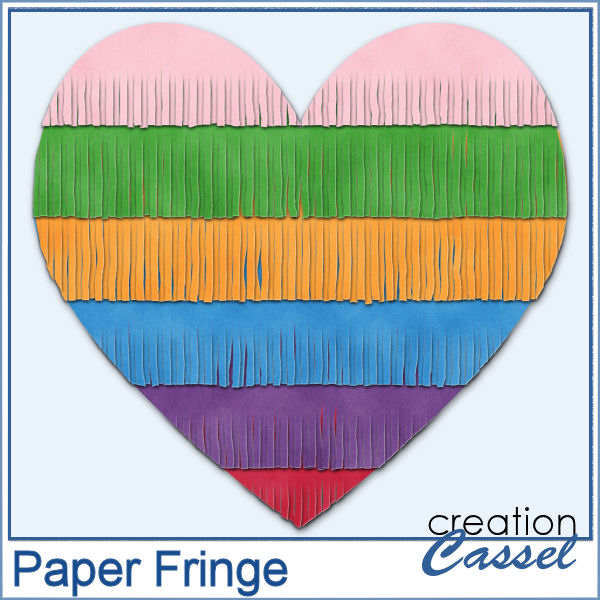
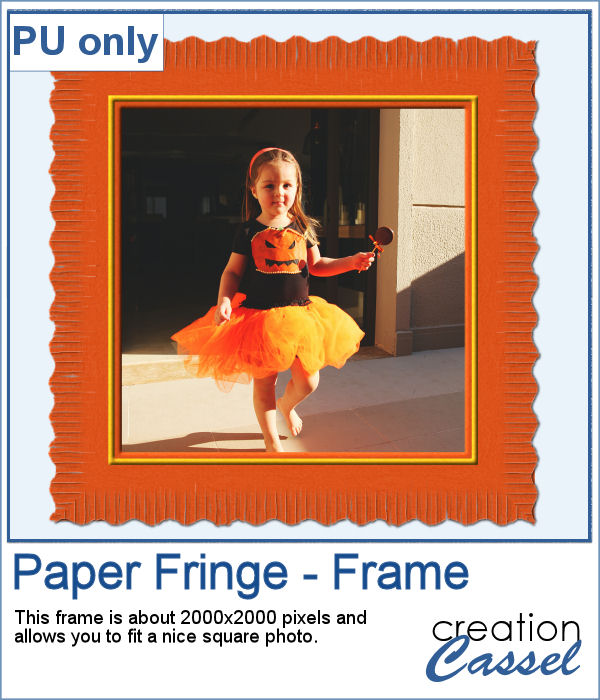 As a sample, I created this square frame from four strips of paper that were run through the script, one by one, and then put together to make the frame. I added a little contrasting border to add some interest. Now, you can showcase your favorite photo.