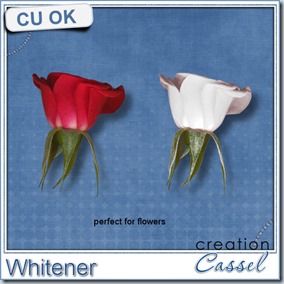
White elements are always useful but not always readily available. You surely have a ton of buttons, ribbons, bows, frames, flowers, and probably in just about all the colors you can imagine, but when you want a white one, you are stumped. You probably like that blue ribbon or the red rose, or the purple button but you wanted them white.
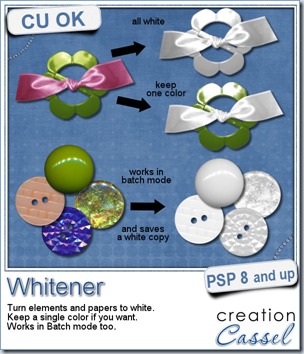
With this script, you can turn just about any element (or even papers) to “shades of whites”. Depending on the starting color, you can even add a manual brightening in the end of the script.
But there is more. This script will play with the brightness of the element with a little randomness to it, meaning that several runs of the script will yield a slightly different white, so all your elements won’t look like you painted them all with the same can of paint!
But that is still not all. You also have the option to keep ONE color intact. In the preview, i kept the green from the buckle and whitened the ribbon. You can also do the same to keep the greenery and whiten the flower. How would you do that?
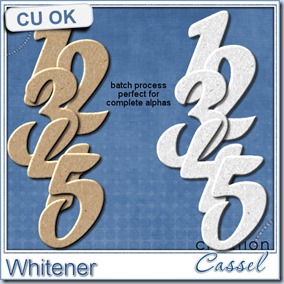
But again, if you think that is all, you are wrong. The script is coded in a way to allow you to run it in batch mode. This means that you can whiten a whole alpha, or a whole folder full of buttons (hundreds if you want) and the script will save a “white” copy in the same folder while keeping the original intact. You can do that in just a few seconds!
You can grab this great tool here: Whitener script at Creation Cassel.
Do you want a chance to win this script? You can head over to the Happy Place, in this thread and add your name, while telling me how you would, otherwise, turn a red flower to a white one (without removing the greenery).
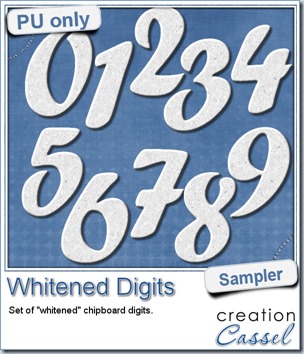 For the sampler, today, i decided to turn an existing set of digits (the Chipboard digits) and turn them to white. It was simple as i ran the script in batch mode in the digits folder. The script simply saved the individual files with “_White” added to the original filename so there is no risk to overwrite the original files. And since they are saved in the same folder, they are easy to retrieve.
Those would be perfect to add the date of a fun winter event, or a wedding. And of course, you can add various details to them, like little bows, glitters, or hand doodling.
You need to be logged in to download this sample. You can either login, or register on the top of this page.
If you want the original Chipboard digits, you can grab them here.

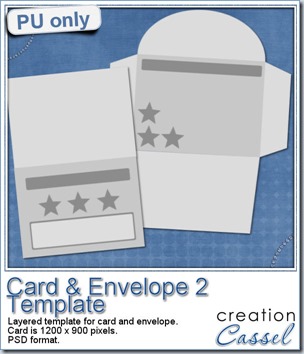 I am including a set of matching Card and Envelope, in PSD format that you can use to create a variety of holiday cards. The basic template was made using the

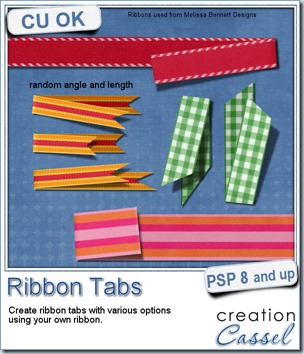
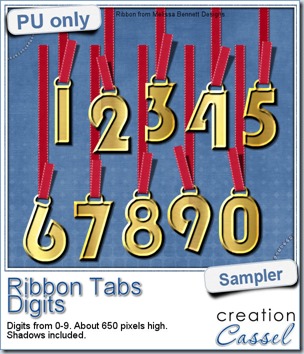
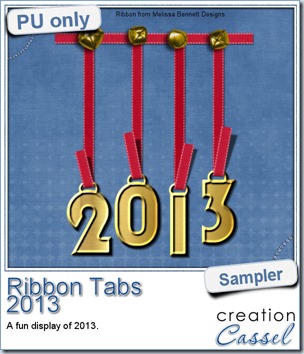 In order to show you what this script can do, i created a whole set of digits, attached with folded ribbon tabs made from a single ribbon (from Melissa Bennett) and i ran the script 10 times on that same ribbon, using the same options (create a tab with the full length, keeping the end straight, and facing the bottom).

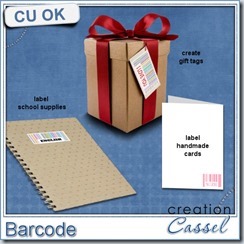

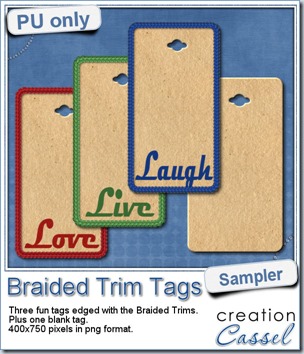 As a way for you to see more closely what those tubes look like in a real project, i created those fun tags. I started with a vector shape (a rectangle with rounded corners) and used the VectorTube script to place the trims along that path. I then replaced the center of the tag (that was a vector layer) by a brown paper texture i had in my supplies. I cut out the hole on top and added some words using the Magneto font.
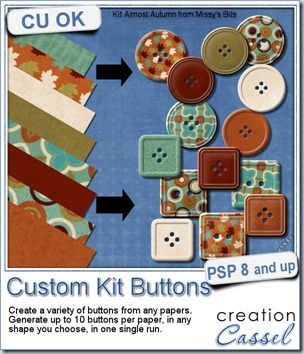
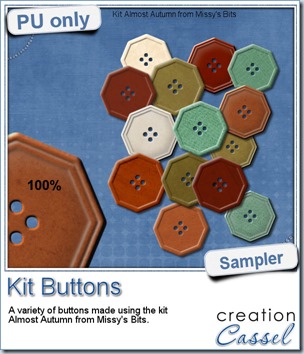 This week, i used Missy’s kit called Almost Autumn to create a set of 14 octagonal buttons. Then, i tweaked them to add a slight variation in size, brightness and contrast, just to make sure they were not all exactly identical. What do you think of that?
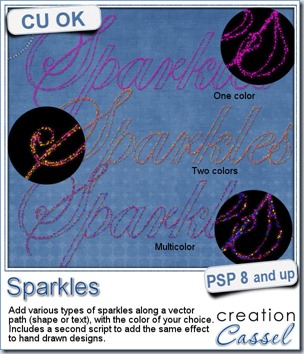
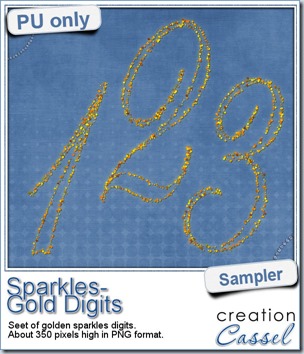 For a closer look at those sparkles, i created a complete alpha. Here are the digits (and it includes a hyphen and a slash if you want to use them for dates).


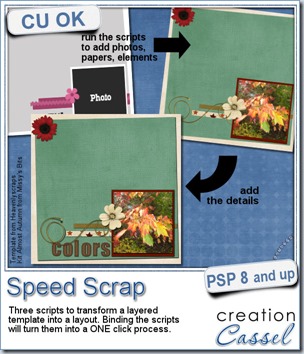
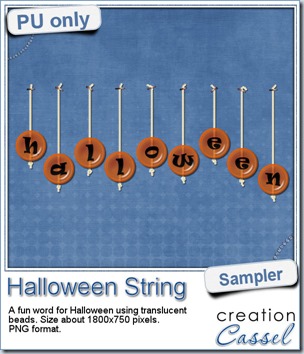 Do you want a chance to win this set of scripts? Head over to the DST forum in
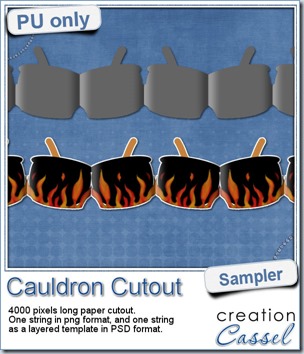 This week, to make sure that everyone (using Paintshop Pro or not) could use my product, I opted to create a paper cutout using a cauldron image, which was turned into a sticker (with a little white edge). Then, i ran the