 Last week, i attended to my daughter's wedding, and at the reception, she had a cookie bar where people would pick their own treats to bring home. She had a set of banners that said "Love is sweet". I remember her asking me where to find the individual banners in the colors she wanted, and i didn't know. She ended up having the decorator do them for her, but that sparked the idea in my mind that Paintshop Pro can easily be used for hybrid projects. And that is how this Custom Banners script came to be.
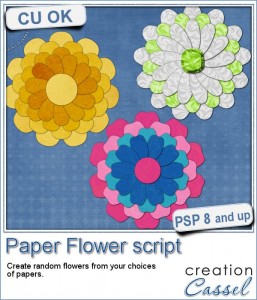
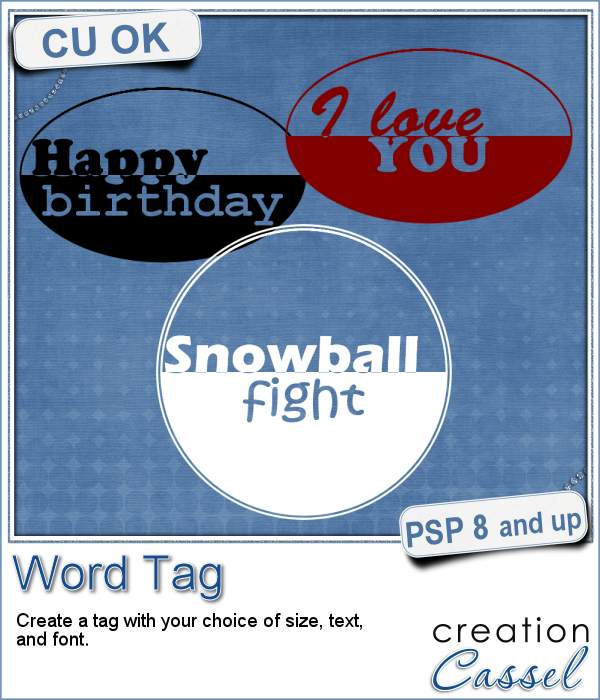
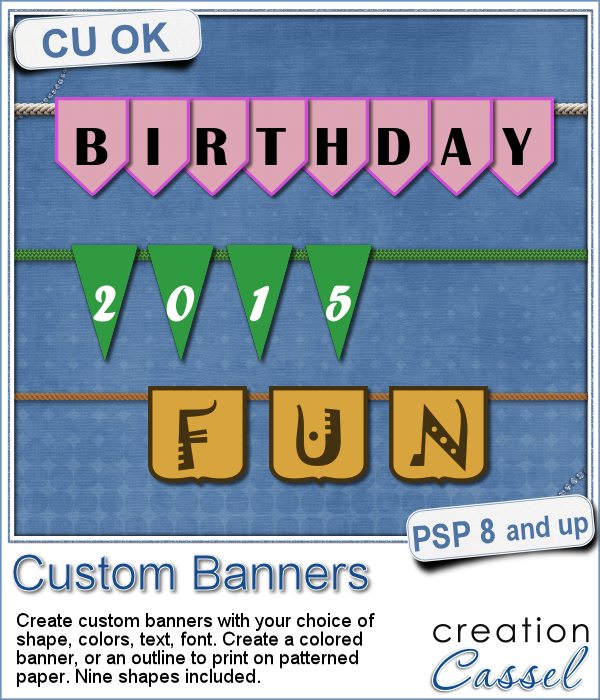
This script will create individual banners with each character of your text (including the blanks) and the color you want. You can choose one of the 9 preset shapes for the banners or use your own if you have others. You can also pick a simple or elaborate font for those banners. All in all, you get the option to create your own banners.
Do you have specific patterned papers you want to use to create the banners? Not a problem: the script will ask you and if that is the case, it will only create an outline that you can cut out and the number would be printed.
And if you want to keep it digital, that is quite ok too as you can create the text message of your choice and size down each banner to suit your layout.
You can use this script to write any message you want!
Get this script in the store now: Custom Banners.
Do you want a chance to win this script? In the comments below, tell me what is the first text/message you would like to write with these banners. I'll announce a winner next week in the newsletter. Not a subscriber yet? Not a problem. You can register here and it is free (and you only get one email per week).
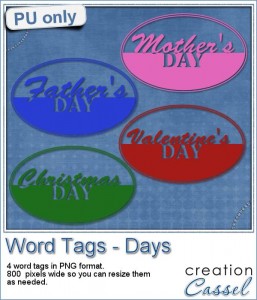
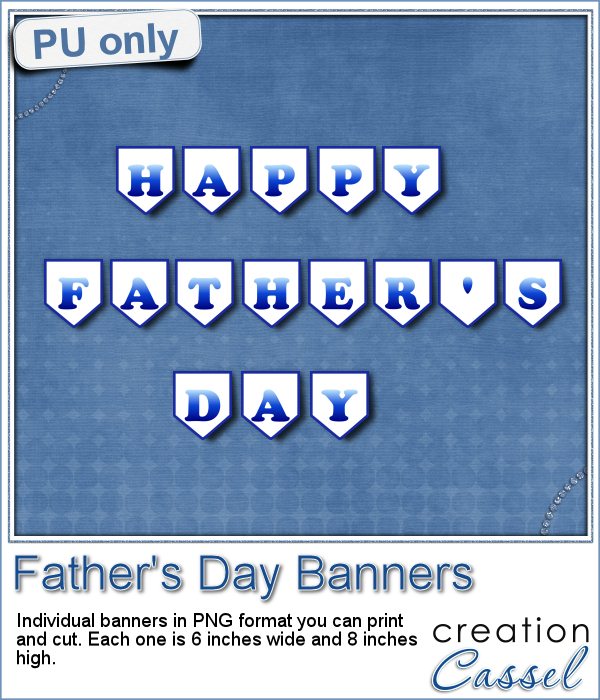 Father's Day is coming soon (at least here in Canada), as it is next week. For this occasion, i created all the banners to write the phrase "Happy Father's Day". Since you would need to print out the individual banners, i didn't duplicate the letters like A and Y which are repeated in the message. You can just print them twice or three times. There is also a blank one for you to place between the words or to add your own design.
I created them in white fill so that if you want to use a colored or patterned paper, it would still be possible to do without printing all over it.
Once you have them printed and cut, attach them together with a string or other fastening system, and hang it something (and remember to take a picture).
You need to be logged in to download this sample. You can either login, or register on the top of this page.
And now, why wasn't there anything in the store last week? Because i was busy with my daughter's wedding, which was taking place out of town. Here is one picture of the happy couple.