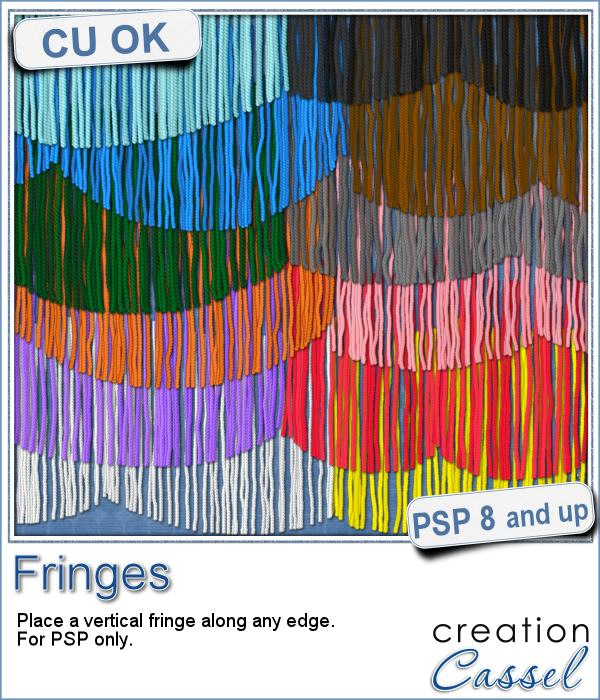
 This picture tube for Paintshop Pro is unique in that it lets you place fringes along the edge of any element. Use your cursor or a script to place those fringes.
You can play with the settings, and change the placement mode to have very evenly spaced strands, or keep it at random for a less regular placement. Adjust the size as you want. The full size will give you strands that are 1000 pixels high, so it will be easy to size it down to fit your needs.
These fringes match perfectly the Wool tubes, so you can create the top edge of the fringe with the wool tube. Or you can create custom sequins to create a more delicate top. Of course, you can also place those fringes under a straight edge for yet a totally different look.
Grab these tubes in the store: Fringes.
For a chance to win this set of fringe tubes, give me one use you could suggest for those fringes. Let me your suggestion in the comments below. The winner will be announce in the newsletter, next week. Not a subscriber yet? Not a problem. You can register here and it is free (and you only get one email per week).
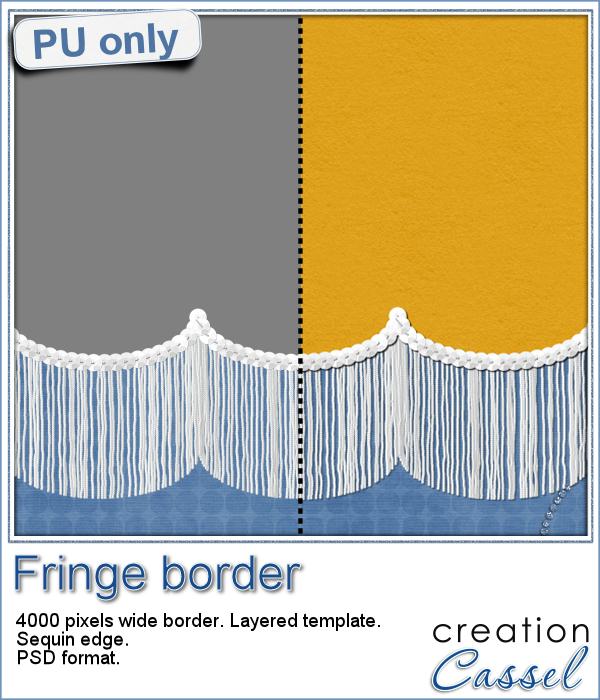 As a sample of this tube, I created a long border with the white fringe, and I added also a sequin border. The whole fringe also has a template for the top part if you want to replace it by your own paper.
The whole border is 4000 pixels long, so you can size it down, and it will still cover the whole width of a full size scrapbook page.
Add your own shadow on the sequin edge and the fringe itself. You can also duplicate the fringe layer for a thicker effect.
You need to be logged in to download this sample. You can either login, or register on the top of this page.