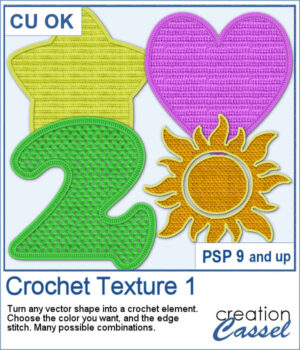
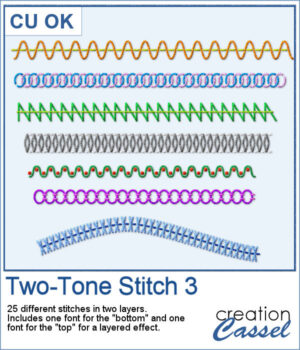
 Looking for a quick and realistic way to add stitching to your next digital project? The Two-Tone Stitch 3 font set gives you 25 unique stitch styles that you can use in any size, color, or combination! Each design is made with two fonts — one for the bottom thread and one for the top — allowing you to mix and match colors or add shading and bevels for extra dimension.
Use the stitches in a straight line, or curve them along a path or shape for beautiful borders, accents, or even stitched text. These fonts are easy to install and work in any graphics program that supports outside fonts, including PaintShop Pro, Affinity, Photoshop, and more.
Whether you're creating scrapbook layouts, greeting cards, printables, or decorative labels, this set gives you full control over how your stitches look — and no two projects will ever look the same!
Get this font set in the store: Two-Tone Stitch 3
Want to win the full script? Head over to this Facebook post and tell us: What would you stitch with this font set? A page title? A frame? A stitched border around a shape? (Remember — only comments count. Likes and shares are welcome, but won’t count as entries.) We’ll draw one winner and announce it in next week’s newsletter. If you’re not on the list yet, [subscribe here] — it’s free, and we only email once a week!
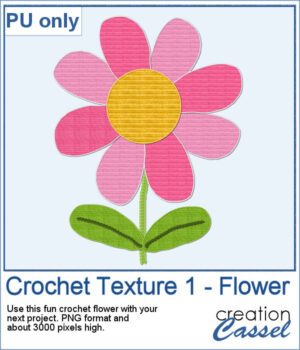
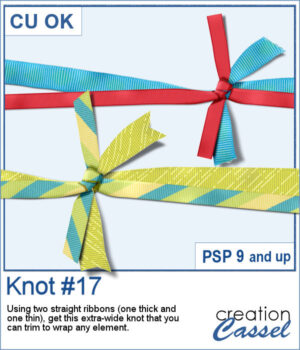
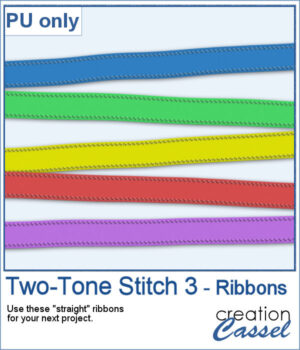 We’ve created a colorful set of straight ribbons using one of the stitches from this new set. Each ribbon is pre-colored and saved as a PNG file with a transparent background, so they’re easy to add to any project. Use them to frame a photo, divide a page, or layer with your favorite embellishments.
You need to be logged in to download this sample. Please log in or register using the links at the top of this page.