If you want to add a touch of elegance or a formal look to a project, you might be looking for a wax seal. However, what you will find is often a set of ready-made seals that will not have the color you are looking for, or the font you wish it had. Or, you might find seal templates that will give an identical shape to all the seals you would create from them.
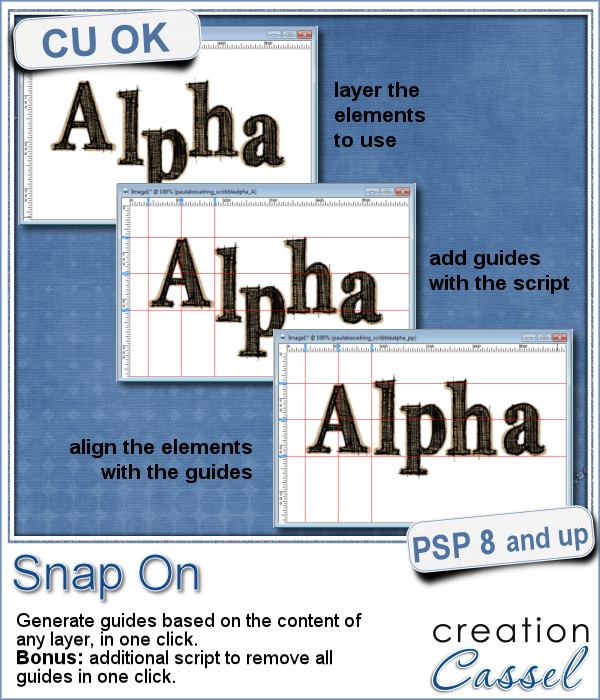
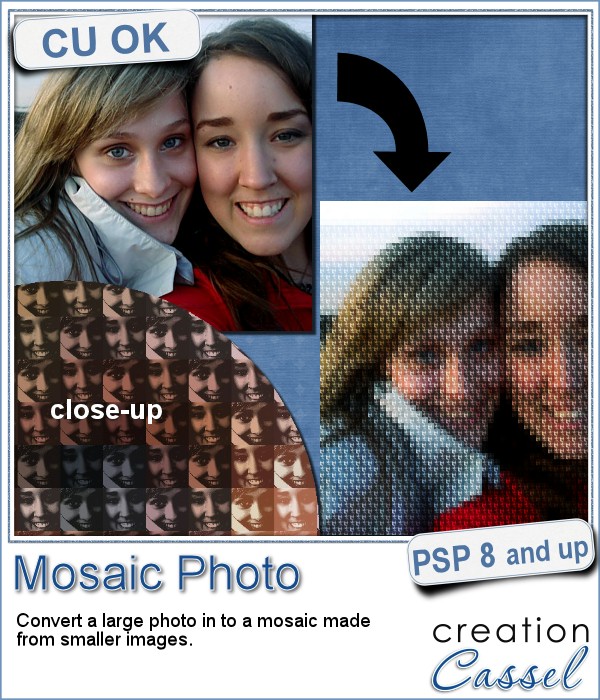
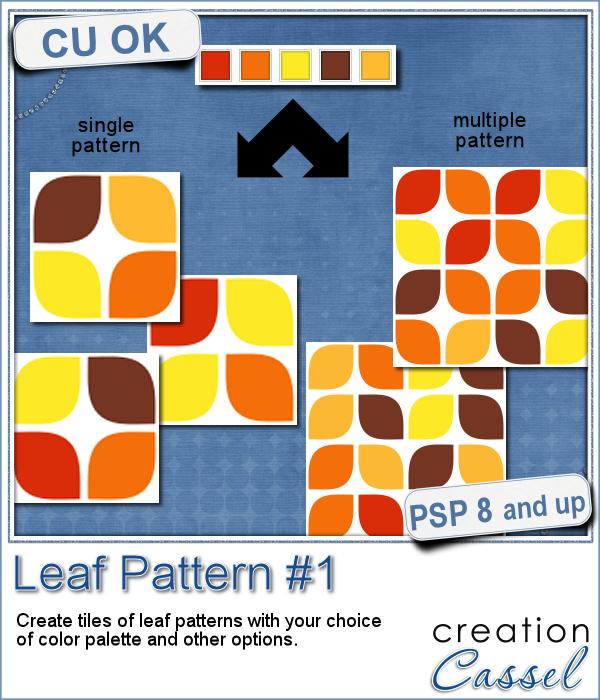
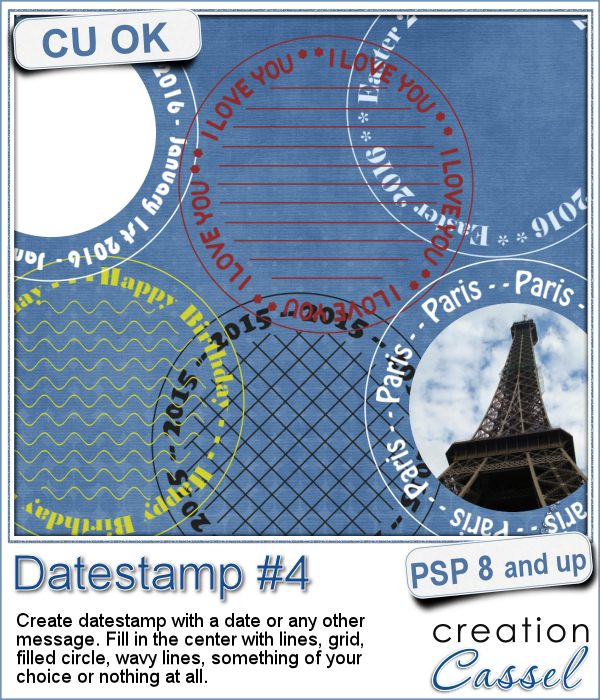
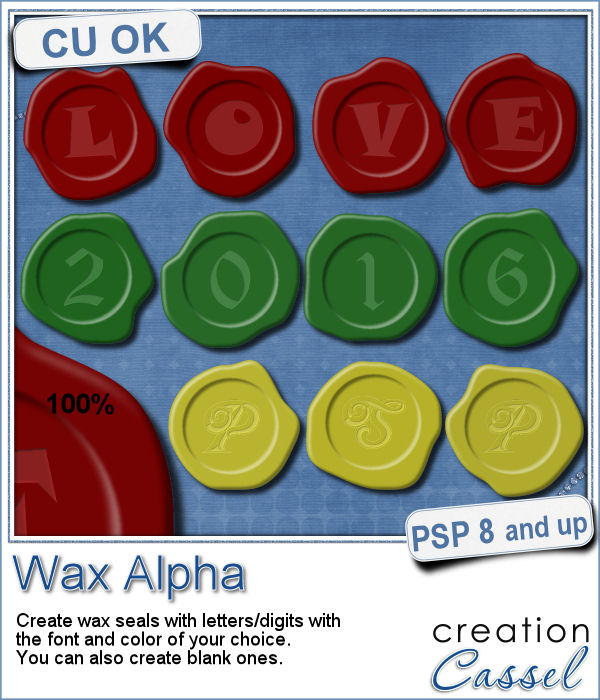
This script will do just what you need: you can pick the color that perfectly matches the color palette you are using; you can choose any letter, digit, punctuation marks you want (or generate a blank seal to add other designs); you can even choose any font you want, whether it is a simple Arial font, or something more elegant or formal.
Get this script in the store: Wax Alpha
Would you want to get this script for free? Tell me, in the comments below, if you ever used a digital wax seal in any project? If so, how did you create them? I'll pick a winner to be announced in the newsletter, next week. Not a subscriber yet? Not a problem. You can register here and it is free (and you only get one email per week).
Do you want to add some wax titles to your projects? You can use this complete alphabet made of blue wax.
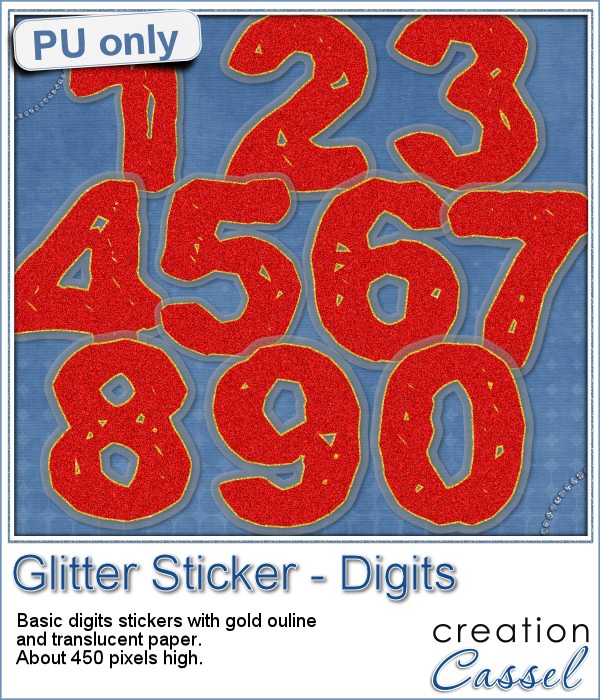
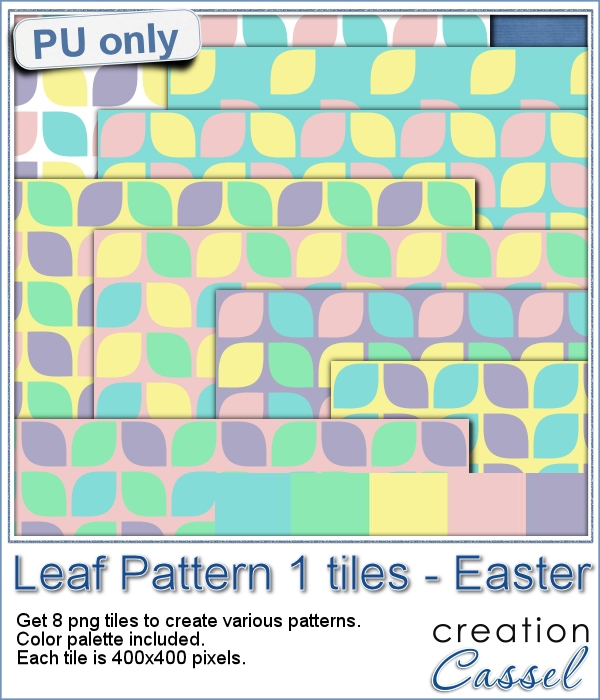
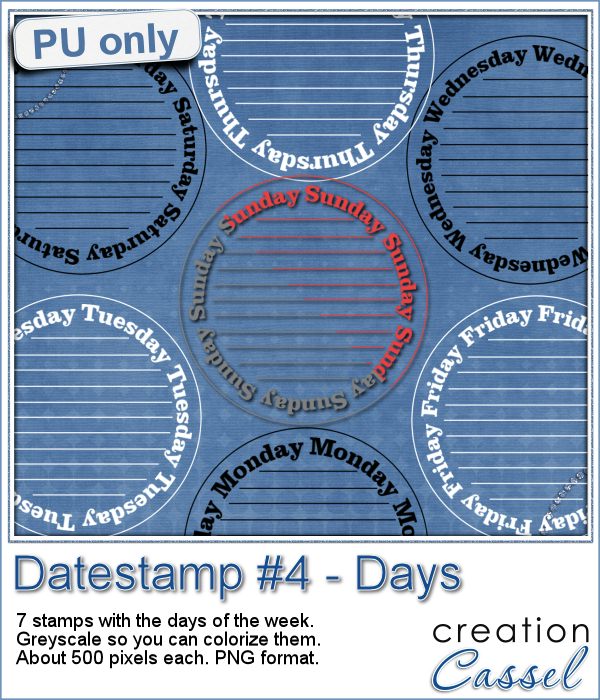
This alphabet includes all 26 letters, 10 digits (for dates or age), a hyphen and a blank seal.
Each seal is about 450 pixels wide and you can resize them as needed.
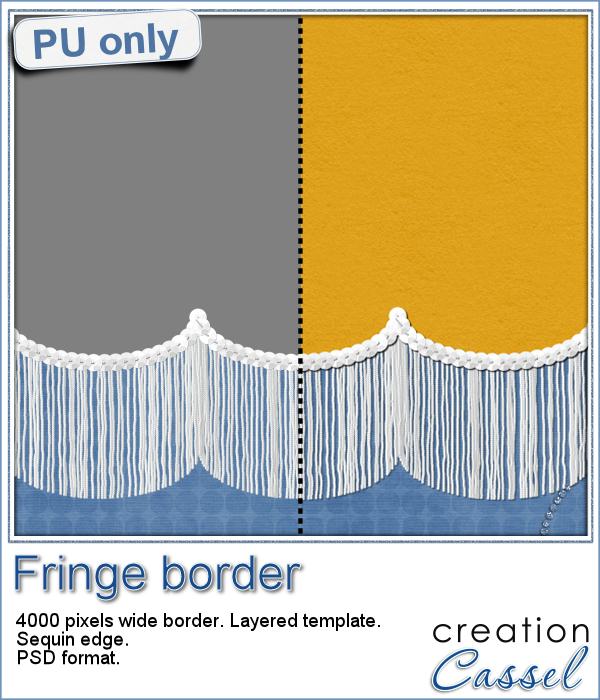
Add a ribbon underneath, or place the seal on the edge of a paper element to act as a fastener for another use of them.
You need to be logged in to download this sample. You can either login, or register on the top of this page.
News from the Campus
Did you register for our live presentation scheduled for this coming Sunday, June 5th?
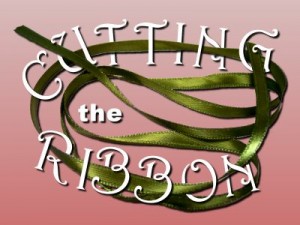
Come and see various ways you can use ribbons in a project, whether you created the ribbons, or downloaded them from the net.

You might be using guides to align elements together, but what if you have a specific element already in place and you want to align everything else with it. How do you place exact guides on the edge or in the center of that element? It is pretty tedious to be exact. That is why I created this quick script.
This week, since I cannot make a sample out of this script, i decided to create an element using last week's script: the Quilling one.
Many years ago (at least 35), my mom got me a kit to do some quilling. I had no idea what it was and didn't even have the proper tools to do it, but I improvised and created a few fund designs by rolling those long strips of papers, and shaping them in specific ways. I loved that, and often wished I could find time (and tools) to do it again.
As a sampler of what can be done with this script, I made a little daisy. I used one of the preset shapes, in white. I duplicated and rotated that one petal 5 times and arrange those petals around another preset shape drawn in yellow for the center. Then, using the Pen tool, I drew a couple of free form lines. Finally, I used a third preset shape, in green, for the leaves and I placed them along those lines.


You might have seen tutorials on how to turn a regular large photo into a mosaic using smaller photos. It might not be too hard, but you can create that exact effect in less than a minute with this script for Paintshop Pro.
Since it is impossible for me to give you a sample using a photo that would be of any interest for you, I decided to see what other sampler you seemed to have liked, and I found out that the Cluster Templates were a big hit, so I created three more for your own use.
Stickers are fun, versatile and can be used in many projects. You can now create your own starting with any element, shape or text, and add some pizzazz by converting an ordinary shape or image, into a glittered one, with a glitter outline and paper.
For this week's sampler, I created a set of digits with gold outline and plastic translucent backing. Each digit is about 450 pixels in height so you can resize it as needed.
Creating a geometric pattern can be easy if you have only one shape, but it can become tedious if you have multiple similar shapes, using different colors. Until now, you either had to do them by hand, or rely on layered templates, which only offer a limited number of color arrangement.
Although Easter is over for most people, the colors associated with Easter are still very appropriate for spring, so whether you want to showcase your Easter photos, or spring photos, these colors should be quite suitable.
Did you register to our live class, tomorrow? There is still time to do so.
This picture tube for Paintshop Pro is unique in that it lets you place fringes along the edge of any element. Use your cursor or a script to place those fringes.
As a sample of this tube, I created a long border with the white fringe, and I added also a sequin border. The whole fringe also has a template for the top part if you want to replace it by your own paper.
There are so many ways you can have a date on a project. That is why we are up to the fourth different datestamp script. But don't limit yourself to a date; this script allows you to add other messages, words or phrases.
As a sample of what this script can do, I created a set of datestamps using simply the days of the week with straight lines in the center. This should be versatile enough to let you customize them. Of course, you can also remove those lines in the middle if you want. I won't be offended!
The edited recording of our live presentation is now available for viewing.
Creating clusters can seem like a daunting task when you just end up staring at the screen, wondering what element to use, where to put them, resize them or not, etc.
If you are into clusters, you can get all three Cluster Template Maker scripts AND the Speed Scrap Scripts as a
For this week's sample, I am actually including THREE cluster template strips that were generated using this script.
Linda asked me recently if i could create a script that would generate a painted background from an image. Of course, one can always use the Brush Strokes effect in Paintshop Pro, but sometimes, we only want an abstract background based on the colors of a particular image we like. It can obviously be hard to find a perfect match unless we create it ourselves.
This week, i picked a few very colorful images on Morguefiles and turned 3 of them into full size papers. Do you have a fun, happy project you want to showcase? You can use those background papers as a base for showcasing your photos. You can also use those papers in other ways (or use them with other scripts!).
Can you create your own sticker out of any image you have? Sure you can. Use any png image (even if you extracted Uncle Jim from a photo) to turn them into custom stickers. And also, have a peek how you can make that sticker look like it is curling up a bit.