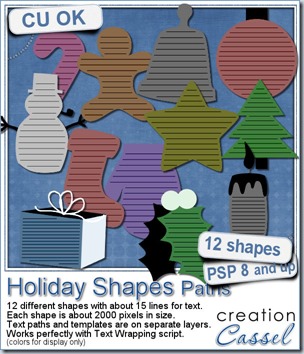
Paintshop Pro might not (yet) have the option to wrap text inside a specific shape, like a text editor program would do. Normally, you would have to struggle with separating the lines yourself with a [return], add some spaces or play with the kerning. That would work but you can achieve similar result faster using the Text Wrapping script, which works with paths.
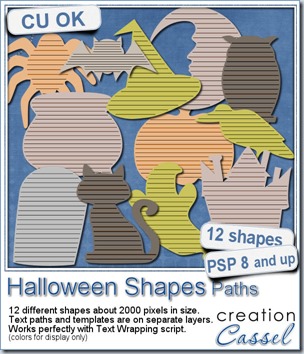
This set of paths include 12 different holiday themed shapes. You get the path and the shape on different layers, so you can use the path for your text, and you can use the shape to possibly cut out the paper to show the text, or to replace it by a paper from a kit, or simply as a guide for other creative uses. Or you can use the shape totally separate from the path too since your text can just be printed on the background paper if you prefer.
You get pretty large shapes so you can resize everything down if you need it. Although these paths work perfectly with the Text Wrapping script, you can also add text manually by following the detailed instructions included.
You can get these fun Holiday Shapes paths in my store.
You can also win this set by adding your name to the Happy Place thread here, and tell me how you would create text inside a shape with your PSP. I’ll be back next week with the name of a winner.
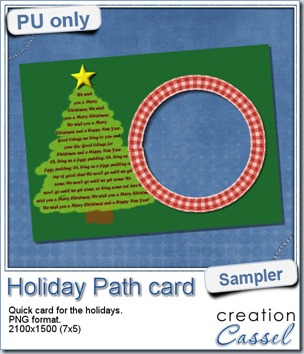 As a sample for you to see the result of these paths, i created a simple holiday card. I used the tree path and copied the lyrics from “We wish you a Merry Christmas”, and ran the Text Wrapping script on it. I decided not to use the template, but instead, doodled with the brush tool, on a layer below to create a tree shape. The ribbon frame was created using the Circular Element script on a long and straight ribbon.
This card is a standard 7x5 format so you can get it printed just about anywhere. It is a png format so you can just add a photo for the occasion.
You need to be logged in to download this sample. You can either login, or register on the top of this page.

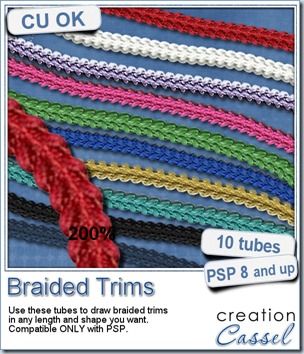
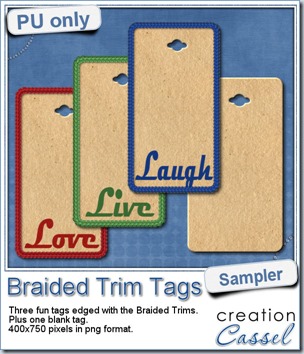 As a way for you to see more closely what those tubes look like in a real project, i created those fun tags. I started with a vector shape (a rectangle with rounded corners) and used the VectorTube script to place the trims along that path. I then replaced the center of the tag (that was a vector layer) by a brown paper texture i had in my supplies. I cut out the hole on top and added some words using the Magneto font.
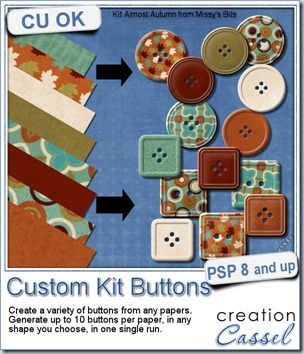
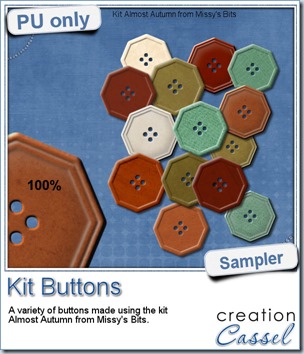 This week, i used Missy’s kit called Almost Autumn to create a set of 14 octagonal buttons. Then, i tweaked them to add a slight variation in size, brightness and contrast, just to make sure they were not all exactly identical. What do you think of that?
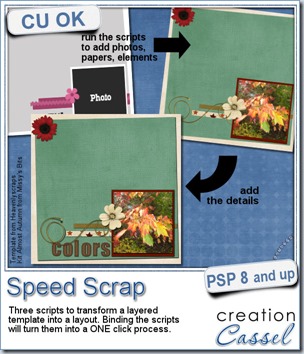
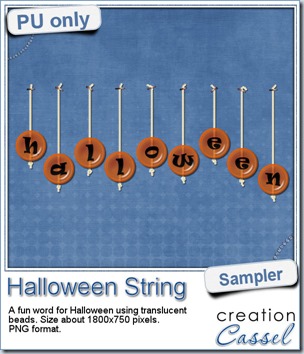 Do you want a chance to win this set of scripts? Head over to the DST forum in
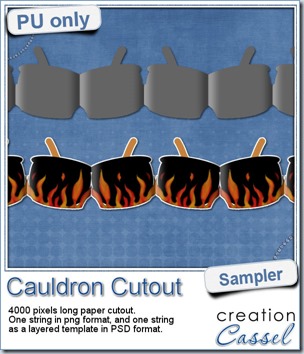 This week, to make sure that everyone (using Paintshop Pro or not) could use my product, I opted to create a paper cutout using a cauldron image, which was turned into a sticker (with a little white edge). Then, i ran the

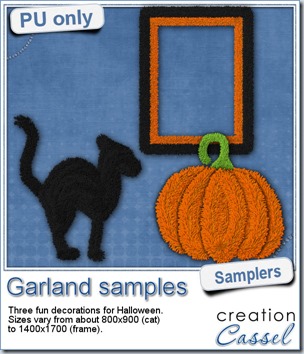 Now, how about a little look closer at those garlands and their texture? I created a few Halloween decorations for you using those garlands.
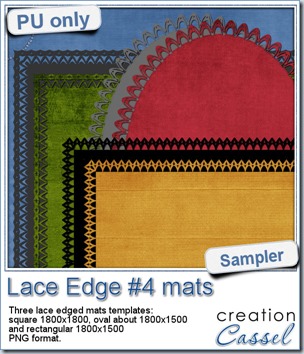 This week, i created more mats for you, using the lace font from last week.
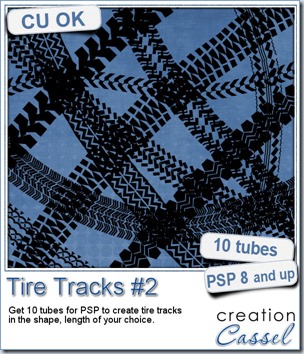

 Do you want a chance to win this script? Just tell me what you would use it in a scrapbook project, in