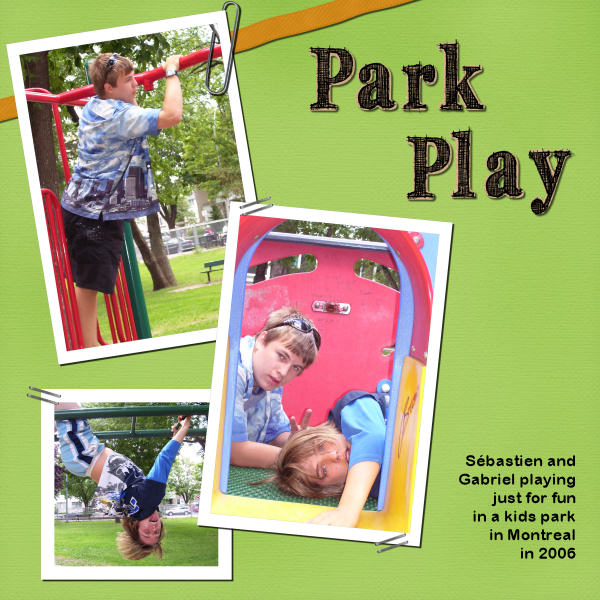
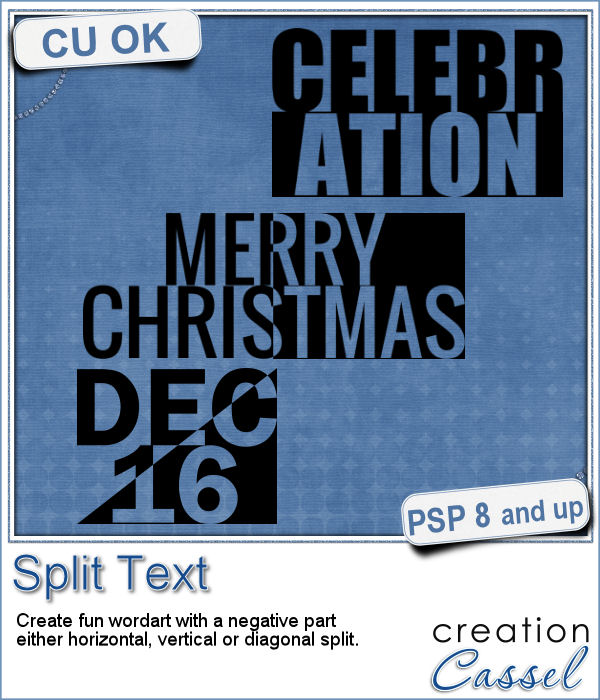
 Have you ever wanted to create a wordart with half of the text in negative from the rest? It is not too hard to do manually, but it requires accuracy. And then, if you want to create a series, it is longer.
This script will make this process very fast and easy.
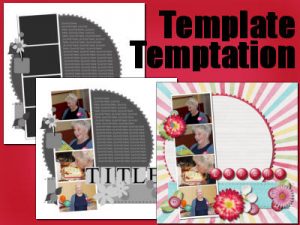
The script will let you choose any text, and any font. You can separate the text any way you want in two lines. Then, the magic will happen and the script will split the text either horizontally, vertically or diagonally to create the cutout effect.
Once done, everything will be merged. If you want to colorize the end result, add a bevel, add a texture, etc. it will be up to you.
Get this script in the store: Split Text
What word or phrase would you want to use to create a split text wordart with this script? Tell me in the comments below. I will pick a winner that will be announced in the newsletter, next week. Not a subscriber yet? Not a problem. You can register here and it is free (and you only get one email per week).
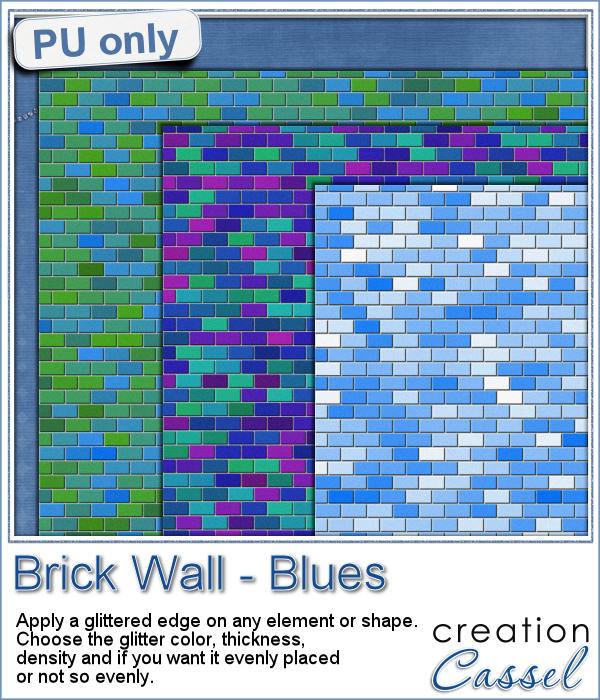
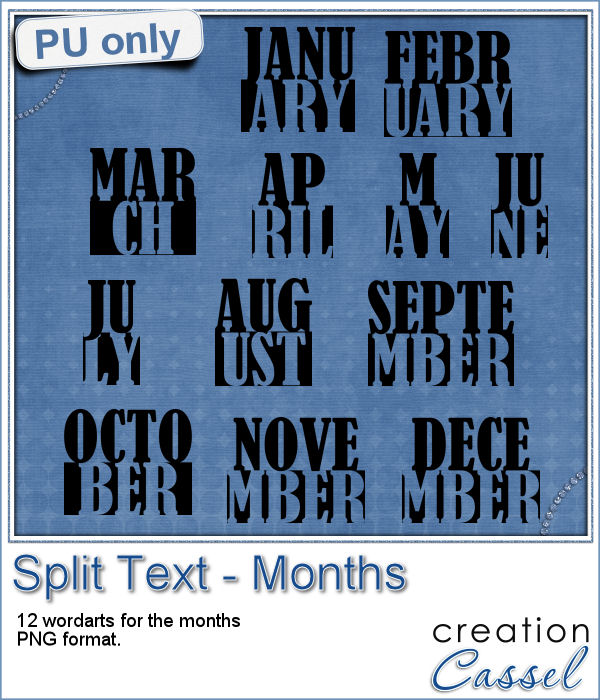 How about a way to date your layouts? Whether you are making a Project Life album, or you just want a fun way to identify when those pictures were taken, here are some split months. Each one is about 420 pixels in height, and the width will depend on the text.
If you want to colorize then, you can do so to match your project. Add a texture if you want. Add a grungy look with some brushwork, etc.
You need to be logged in to download this sample. You can either login, or register on the top of this page.