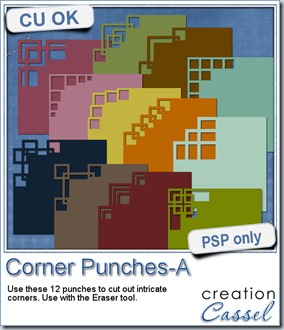
Last week, i released a set of brushes to be used like corner punches are used in the traditional paper crafting world. Those brushes are really brush tips that can be used with the Eraser tool to punch out the design but they can also be used with the Brush tool to add a corner “stamp” to the projects.
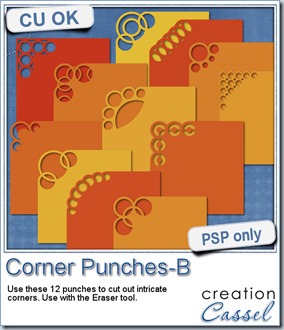
These brushes were so well received that i thought of making a second set, using mostly circles (the first ones were using mostly squares). They work exactly in the same way.
Each set includes 12 different designs, in two sizes: 500 pixels if you are using PSPX and older and a 999 pixels if you are using a newer PSP version. Of course, you can always size them down when you use them to match your particular project. Add a rotation and you can punch all four corners.
(and there is also a set for PS and PSE users!).
You can get those sets here:Set A and Set B.
There is still another thread in the DST forum where you can add your name and have a chance to win this Set B. Check out this thread, and tell me what graphic program you are using. I’ll be back next week with the name of a winner.
Are you unsure how to install brushes in PSP? No worries. I uploaded a short video tutorial just for you. You might also want to subscribe to this new channel so you can see the newest videos i will upload as i do.
If you are not yet subscribed to the newsletter, get on that list now! It is free to register and you get advanced notice of sales, and exclusive tips and tricks to make you more efficient with your PSP.

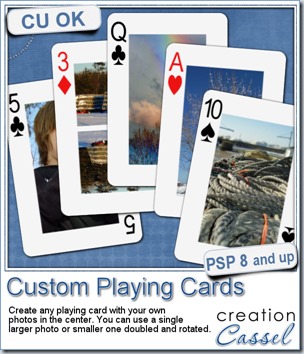
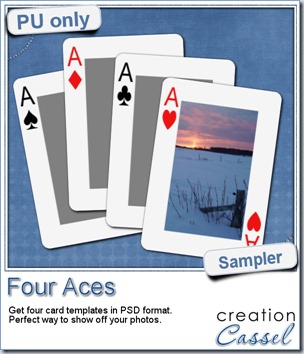 For this week, i decided to give you a template for 4 aces. I am sure you can enjoy havnig 4 aces up your sleeve, right?
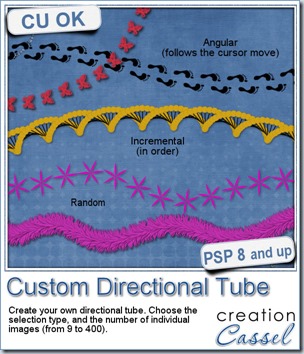
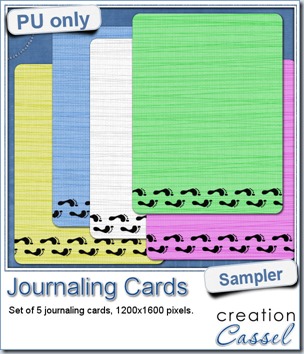 As a sampler, i created some simple journaling cards. I simply used the little footsteps directional tube that i created for the preview above and drew a straight line with it. I could have made a curved line that would have shown the rotated steps, but i really felt it was taking too much space on the cards.
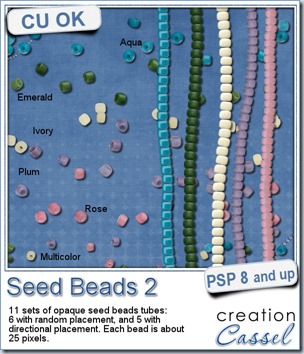
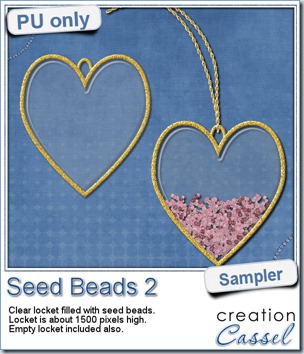 As a free sample, this week, i decided to use these tubes in a different way than last week.
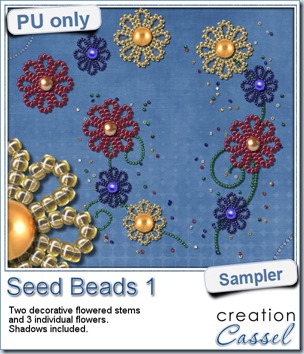 For a free sample, i created a couple of simple decorations. I placed the beads along a vector path using the VectorTube script for the flowers, and added a single “bead” in the center which was part of the

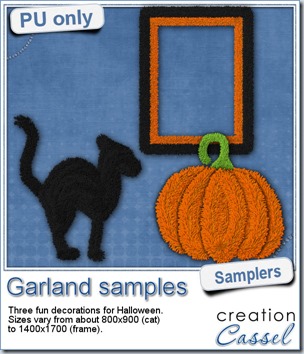 Now, how about a little look closer at those garlands and their texture? I created a few Halloween decorations for you using those garlands.
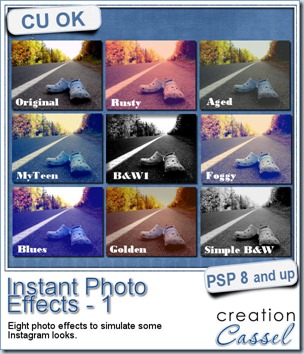
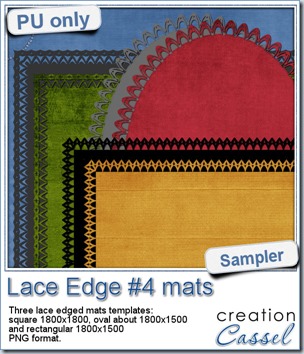 This week, i created more mats for you, using the lace font from last week.
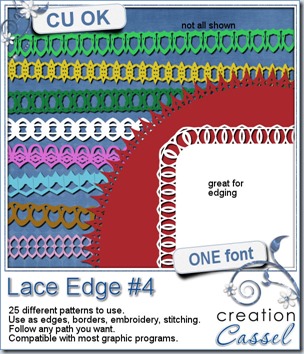
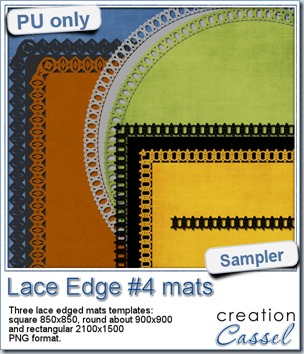 This week, i created 3 decorated mat templates. You can use them to cut out your favourite paper, or simply to color. You can also layer them with other simple shapes since those are very simple to start with.
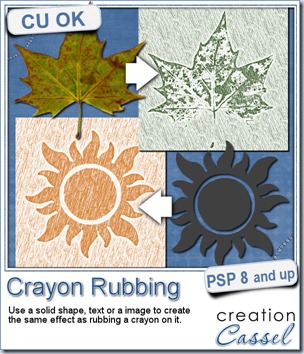
 Do you want a chance to win this script? Just tell me what you would use it in a scrapbook project, in
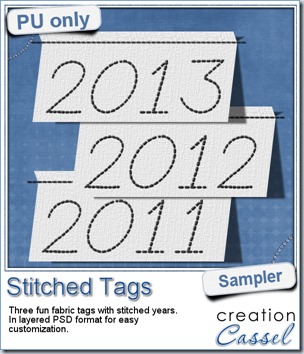 As a sample, this week, i created a set of simple fabric tags with the years. They are in layered PSD format so the tag, the stitching on top and the shadow are on different layers. This should allow you to colorize the tags and the stitching without affecting the shadow and you can also add your own shadow if you need to rotate the tags.