 Photo corners are probably one of the most traditional ways to fasten a photo to a page. With the digital era, those fasteners were not long NEEDED, but we can still pretend we use them.
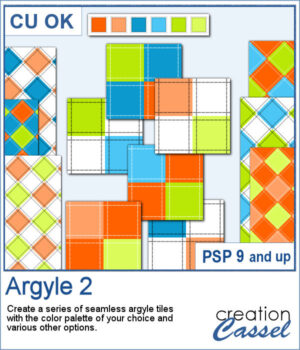
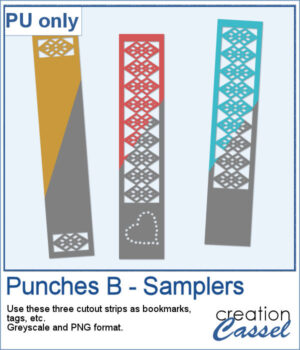
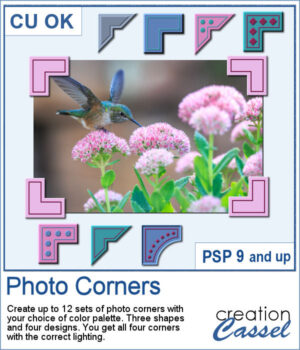
They are fairly easy to make but using a script will speed up the process and allow you to generate several sets (yes, with four corners) very quickly. Use any color palette and the script will combine the colors, the shapes, and the designs for those corners.
Keep the ones you like and discard the others.
Get this script: Photo Corners
To win this product, add a comment on this Facebook post telling us if you ever used photo corners in a layout (remember, add a comment, not just a Like!) The winner will be announced in the newsletter, next week. Not a subscriber yet? Not a problem. You can register here and it is free (and you only get one email per week).
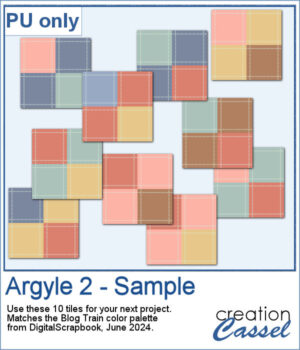
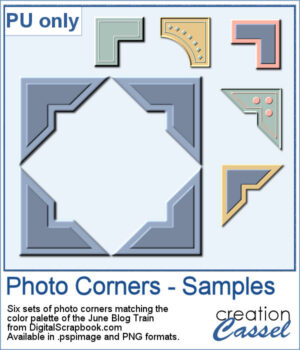 For a sampler, I used the color palette from the June bog train on DigitalScrapbook.com. You get 6 sets of corners. They are available in .PspImage format (where the four corners are on separate layers) and in PNG format (where you will have to cut them out separately).
Check out the other resources available in this blog train.
You need to be logged in to download this sample. You can either login, or register on the top of this page.