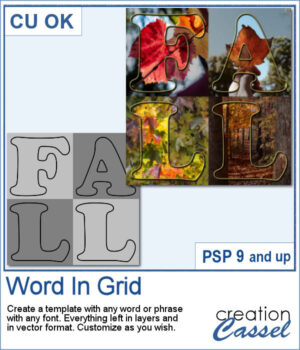
A great way to showcase a particular subject can be to add a colorful circle based on the image colors. The advantage of this script is that you won't be limited to a straight rectangular section to select the colors. In fact, you will be able to draw over the image where are the most colorful section you want to use.
Once the script has completed, you will have three circles generated from the exact section you have selected. You can use either one or more than one circle and place it/them behind your subject. It will obviously give a better result if your subject is isolated, but you can also use the circles creatively.
Get this script: Stretched Pixels
In order to win this script, add a comment on this Facebook post telling us if you have ever tried to create a circular stretched pixel effect (remember, add a comment, not just a Like!) The winner will be announced in the newsletter, next week. Not a subscriber yet? Not a problem. You can register here and it is free (and you only get one email per week).
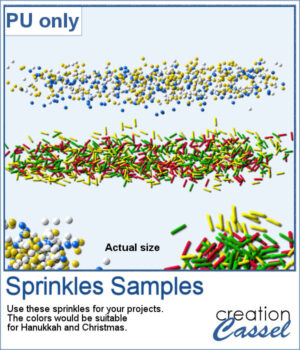
For a sample, since this script relies heavily on your own photo, I decided to create a set of sprinkles picture tubes for your Valentine photos, or any other project you want to create. One set is using shades of pink, the other uses shades of red.
You need to be logged in to download this sample. You can either login, or register on the top of this page.

Creating a radial design might be fairly easy using the kaleidoscope command, but that does not give you all the flexibility of ajusting the colors, using asymmetrical shapes, or getting perfectly sized rings. This can only be done with careful and tedious calculations.
For a sample, I created a basic design with hearts (perfect for Valentine Day). It is black but with the Locked Transparency, you can change its color and you can use gradients too. If you want to use it as a mask, you can do that too.
Turn a straight ribbon into a simple bow and you can even add an accent ribbon too. You can use a matching ribbon or a contrasting one. You can even use some lace ribbons.
For a sample, I created five bows of basic colors with a white accent ribbon. They are in PNG format so you can use them in most graphic programs.
Stylized trees are a perfect addition to your scrapbook pages, cards, and posters, and now you can create them effortlessly with this script! Every run generates a unique tree design, using the papers you’ve opened in your workspace. No two trees will ever be the same!
For a sample, I created one tree using a single paper (notice that there are some variations if lightness in different sections). All the sections are left unmerged so you can tweak them, replace them with other papers, or even with photos.
Wavy edges can add a delicate effect to any element. You can create small or big waves, on one edge, two opposite edges, or even all four edges at once.
For a sampler, I created two simple frames for you to showcase your favorite photos. One is vertical and one is horizontal. The difference is in the slight bevel added to give that 3D effect.
You can create fun layered shapes for tags, decorations, clusters, etc. You choose the shape and the papers to use. You then let the script combine everything to create up to 15 different layered shapes.
For samplers, I created 12 layered tags using the paper kit Merry & Bright from Marisa Lerin. Each shape is left in individual layers so you can tweak them as needed.
When you shop in a store, you can often find sprinkles in different colors. It is the same in the Creation Cassel store, where you can purchase sprinkles in single colors. However, sometimes, you want to have multiple colors combined for a particular theme, or color palette.
For a sample, I created two sets if picture tubes for the holidays. One with Christmas colors and one with Hanukkah colors. Of course, you can use those sprinkles with other projects, even if not related to the holidays at all.
It is quite tedious to create a grid of letters to spell out a word, but this script will create it for you, in just a few seconds. And once your template is done, it is up to you to customize it, and replace the various elements with your favorite colors, papers, photos, etc.
For a sample, I considered the two main holidays coming in December so you can use these templates to either showcase photos, or add to a greeting card (you would have to resize it then). Each template is 3000x3000 pixels in .pspimage format.
Although you can place brush imprints easily along the edge of an image, it is not always easy to make it EVEN on all sides.
For a sample, I created three holiday-related frames of different formats: square 3600x3600 pixels, and rectangular 2100x1500 and 1500x2100 pixels with different holiday brush tips.
You can get the look of stamped letters, digits, and shapes in just a few clicks. You can create a single element or a whole series for a themed project.
For a sample, I created a full alphabet in orange color, perfect for Halloween. Each letter is about 500 pixels in height and in PNG format so it will show the background color of any paper or project.