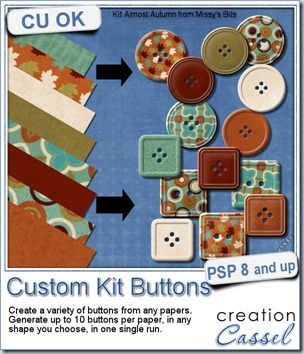
A kit is not complete without buttons, right? Creating buttons within a specific palette is fairly easy (there is even a script for it called theButton Machine), but creating individual buttons out of papers for a perfectly matching result is a little more tedious. So i bring you the Custom Kit Buttons script.
This script will allow you to use any vector shape (round, oval, square, rectangle, octagon, etc.) and then choose all the papers you want to use (at once!) and it will create a variety of buttons from those choices of yours.
A single run of the script can yield many similar buttons, but since they are “cut out” from different spots on the papers, you might get some slight variations for each. You can keep them all, or just keep a few and delete the rest.
This script is perfect to help you complete your kit, to complete a layout, or even to create clusters with buttons that will all be matching.
Grab this time saving tool in my store HERE.
Do you want a chance to win this script for free? Hop over the DST Happy Place thread and add your name to it. I’ll be back next week with the name of a winner.
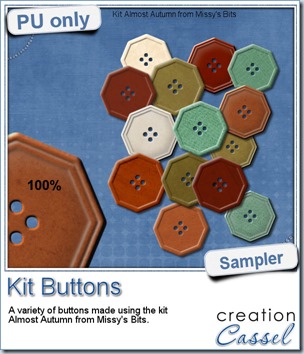 This week, i used Missy’s kit called Almost Autumn to create a set of 14 octagonal buttons. Then, i tweaked them to add a slight variation in size, brightness and contrast, just to make sure they were not all exactly identical. What do you think of that?
I really could have used any shape but i thought that round or square buttons were a little too “ordinary” and common so i picked a different shape.
What shape would you like buttons to be?
You need to be logged in to download this sample. You can either login, or register on the top of this page.
What about the kit i used? You can find it here: Almost Autumn.
Can you imagine all the scripts you can use with a single kit to expand the possibilities? You can create cutout shapes, tapes, buttons, additional papers, and more.
News from the Campus
 The Scrapper’s Dozen event is underway. We had some fantastic results and the comments are great. Here are some comments we got:
“I want to share my 2 linoleum pattern...TYSM Carole for this amazing tut!!!! “ – Mariscraps about the Linoleum pattern tutorial
“Great fun with a simple but very effective process.” – Marlene about the Linoleum Pattern tutorial.“
“I tried the tip you had in the e-mail and then made a frame with my doily.” – Linda about the Doilies tutorial
“[Here are] My Doily sample and the Doily frame (Fantasy Forest elements) - very simple techniques again but very effective. Also very time wasting as you try lots of different effects but who cares, we're having fun!” – Marlene about the Doilies tutorial
Although the first week is over, you can still register and get all the free kits provided by our contributing designers AND get all the 12 tutorials including those released this week. You can surely catch up. Each tutorial is less than 10 minutes and as you can see from the comments, those tutorials are easy, effective and fun!
REGISTER NOW

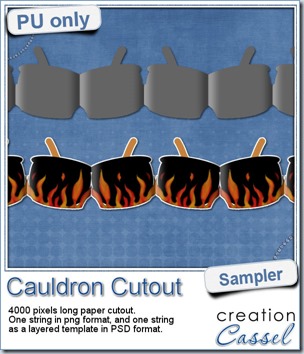 This week, to make sure that everyone (using Paintshop Pro or not) could use my product, I opted to create a paper cutout using a cauldron image, which was turned into a sticker (with a little white edge). Then, i ran the

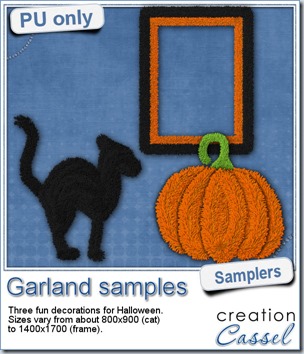 Now, how about a little look closer at those garlands and their texture? I created a few Halloween decorations for you using those garlands.
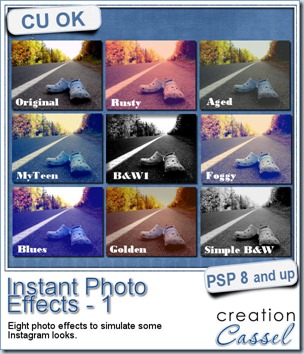
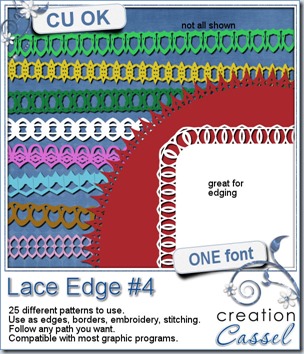
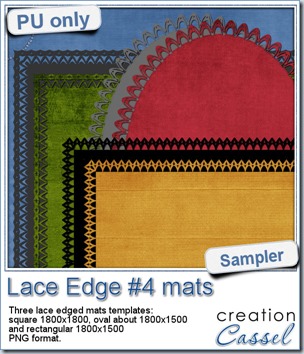 This week, i created more mats for you, using the lace font from last week.
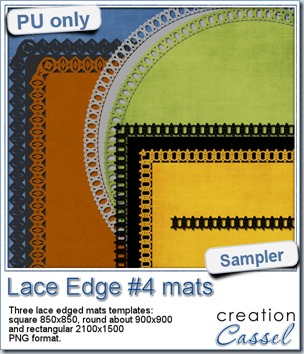 This week, i created 3 decorated mat templates. You can use them to cut out your favourite paper, or simply to color. You can also layer them with other simple shapes since those are very simple to start with.
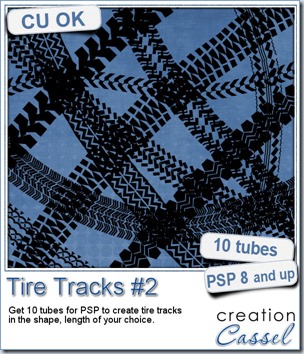
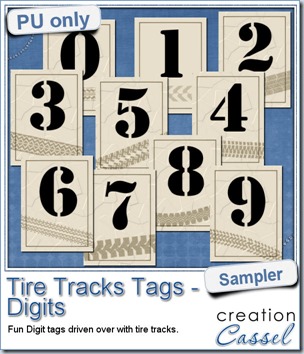

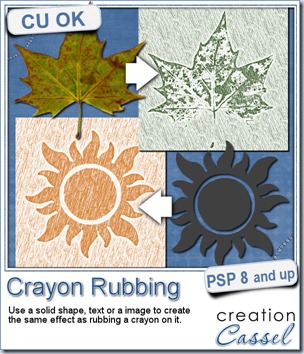
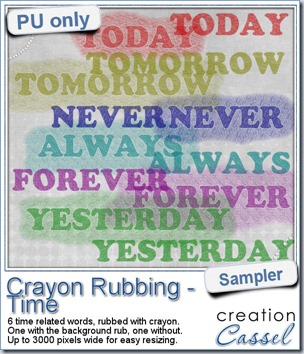 Do you want a chance to win this script? Just tell me what you would use it in a scrapbook project, in
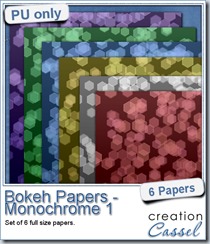
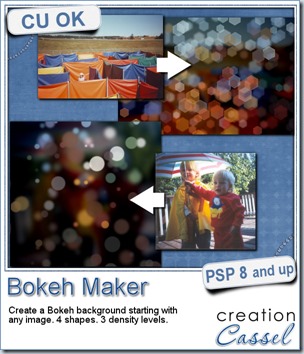
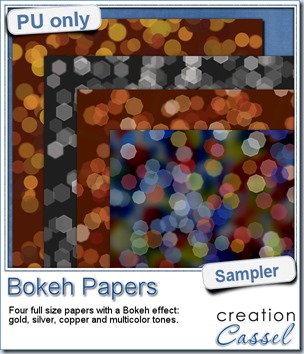 For this week’s free sampler, i created four full size papers for you. Since i dont really know what type of photos you have to use in a layout, i decided to create three of those papers using just gradients i had in my stash: one for silver, one for gold and one for copper. Once i had a paper made out of those gradients, i just ran the script on it.
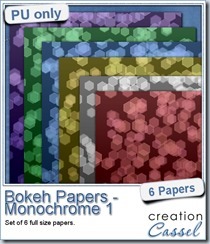

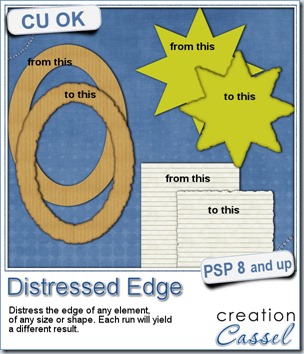
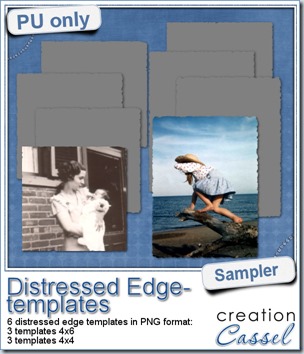 One neat use for the distressed edge is that although you can use it directly on the element you want to have irregular edges, you can also create your own templates for shapes you might want to use in the future. In fact, that is what i did for you. Since i could not show you a sample on YOUR elements, i made some grey templates. They are for 4x4 and 4x6 photos. If you are into pocket scrapbooking, or Project life or using Instagram, you will surely find some use for those. Use them for photos or journaling cards.
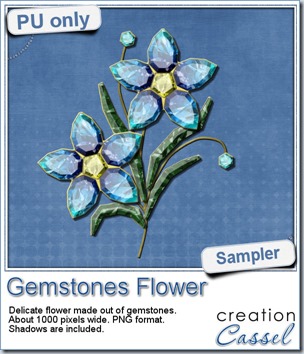 This week, i had a lot of fun creating your free sample and i am super happy with the result. I created these gem flowers using the script. Here are some tips i used to get such a great result: