 Yes, another knot! Considering the fact that you probably don't want all your ribbons and bows and knots to always look the same, you need a wide variety of them. That is why I coded this script.
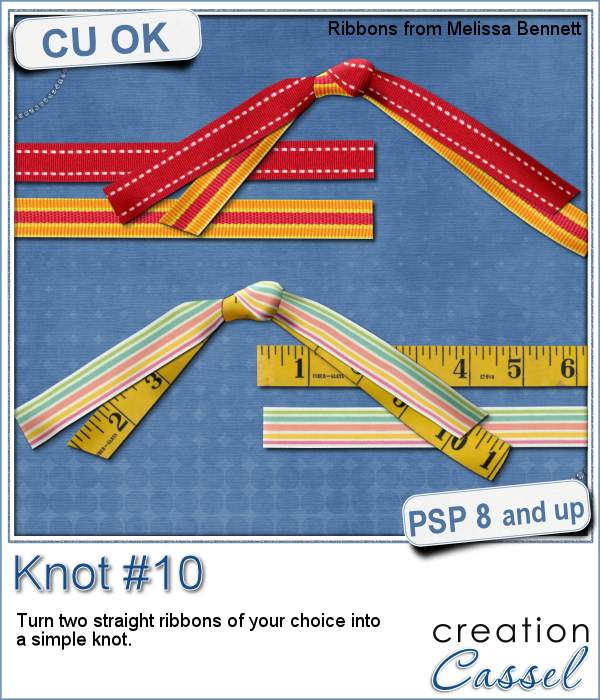
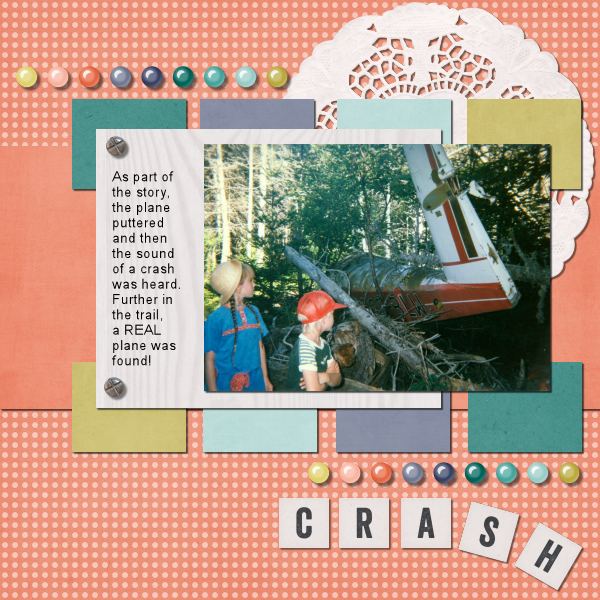
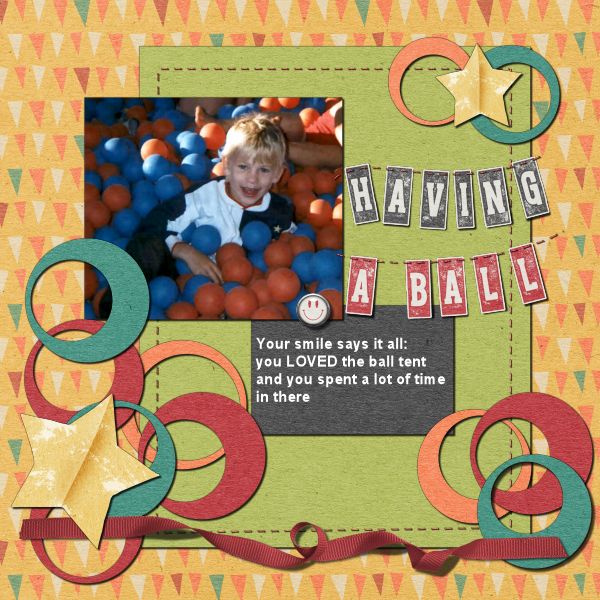
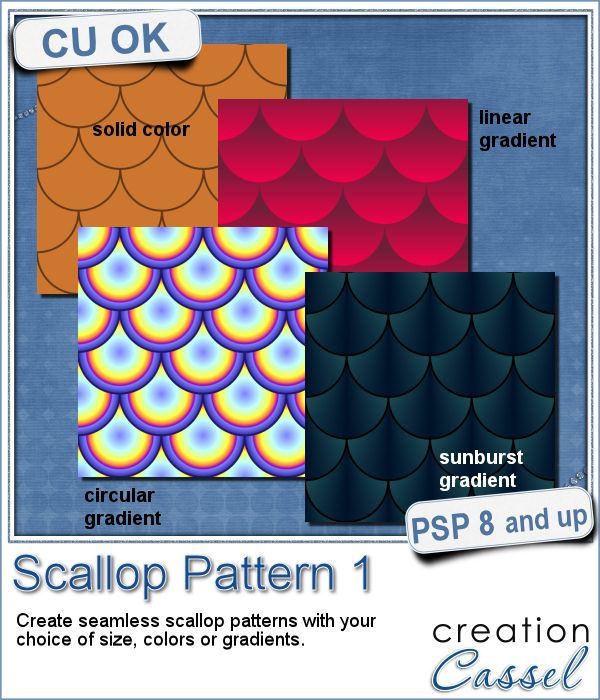
Unlike other knot scripts you can find online, this one uses YOUR ribbons; you do not have to limit yourself to choosing the color or pattern since you can use actual extracted ribbons. This ensures that the knot will match whatever other element you might be using in your project.
This script is also the first one I coded that uses TWO ribbons. You can use any straight ribbons for this, whether they are opaque, or translucent, solid in color or with patterns or even with a directional pattern.
Another little tool for Paintshop Pro users.
Get this script in the store: Knot#10 (and you can check for other knots while you are there too!)
 If you want a chance to win this script, tell me, in the comments below, what you would attach with a double knot like this. I'll announce the winner in the newsletter next week. Not a subscriber yet? Not a problem. You can register here and it is free (and you only get one email per week).
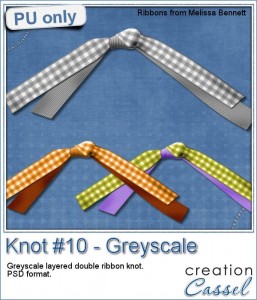
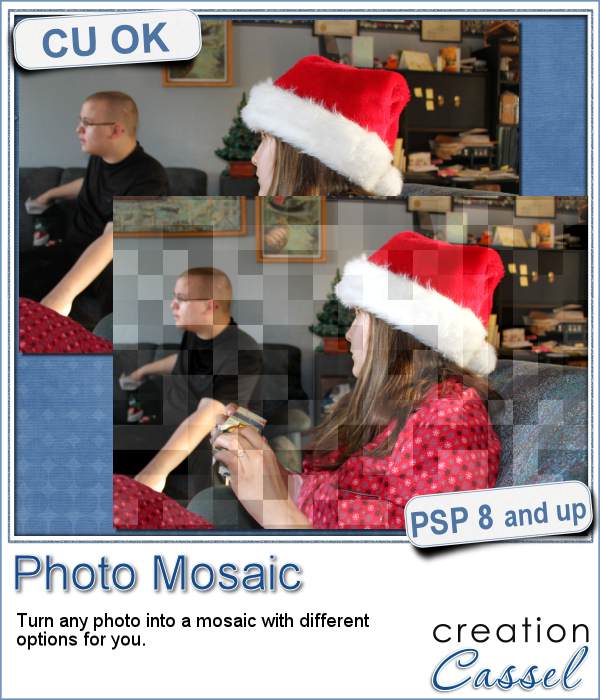
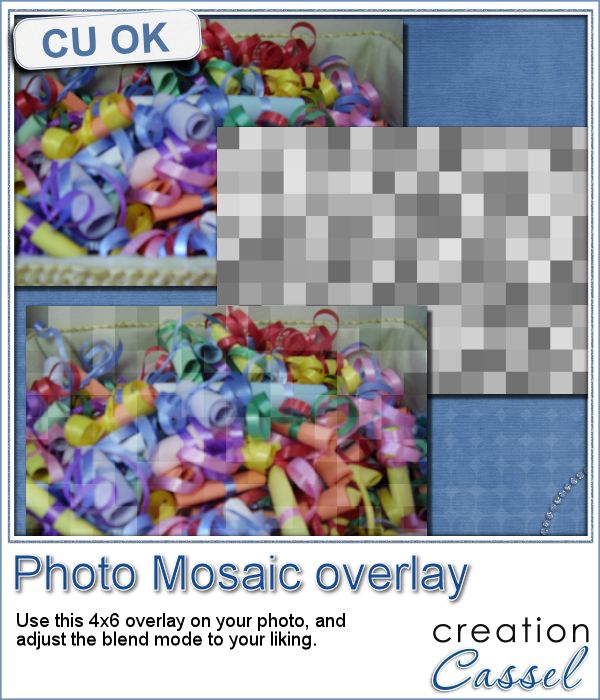
As a way for you to see, up close, the knot created by this script, i created a layered knot using greyscale ribbons from Melissa Bennett. The end result is a PSD file (so non-PSP users can open it too).
With the layers being left unmerged, you can colorize each ribbon the way you want, and you can also insert an element in the knot itself. What would you insert?
You need to be logged in to download this sample. You can either login, or register on the top of this page.


