If you ever did some paper crafting, you have seen those puffy paints or glue or gel. Some will just be translucent or opaque, some will have glitters or not.
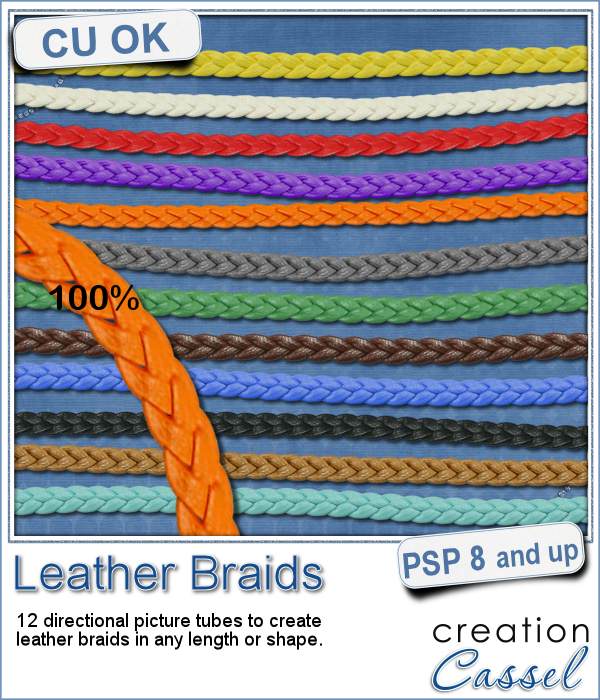
This script will turn any line drawing you can make into a gel paint, with or without glitters. You can choose the amount of glitters, and the color. You can use a line drawing or a solid shape, in which case the script will just use the outline.
This is perfect to add a handmade look to a project with a color that will match everything.
If you prefer something more regular, use a preset shape and you can use the outline only too.
Get this script in the store: Glitter Gel.
You can get this script for free (or a coupon for a future new release if you already bought it) by adding a comment below. Tell me what you would use such glitter gel on a project. I'll pick a winner and i will announce it in the newsletter, next week. Not a subscriber yet? Not a problem. You can register here and it is free (and you only get one email per week).
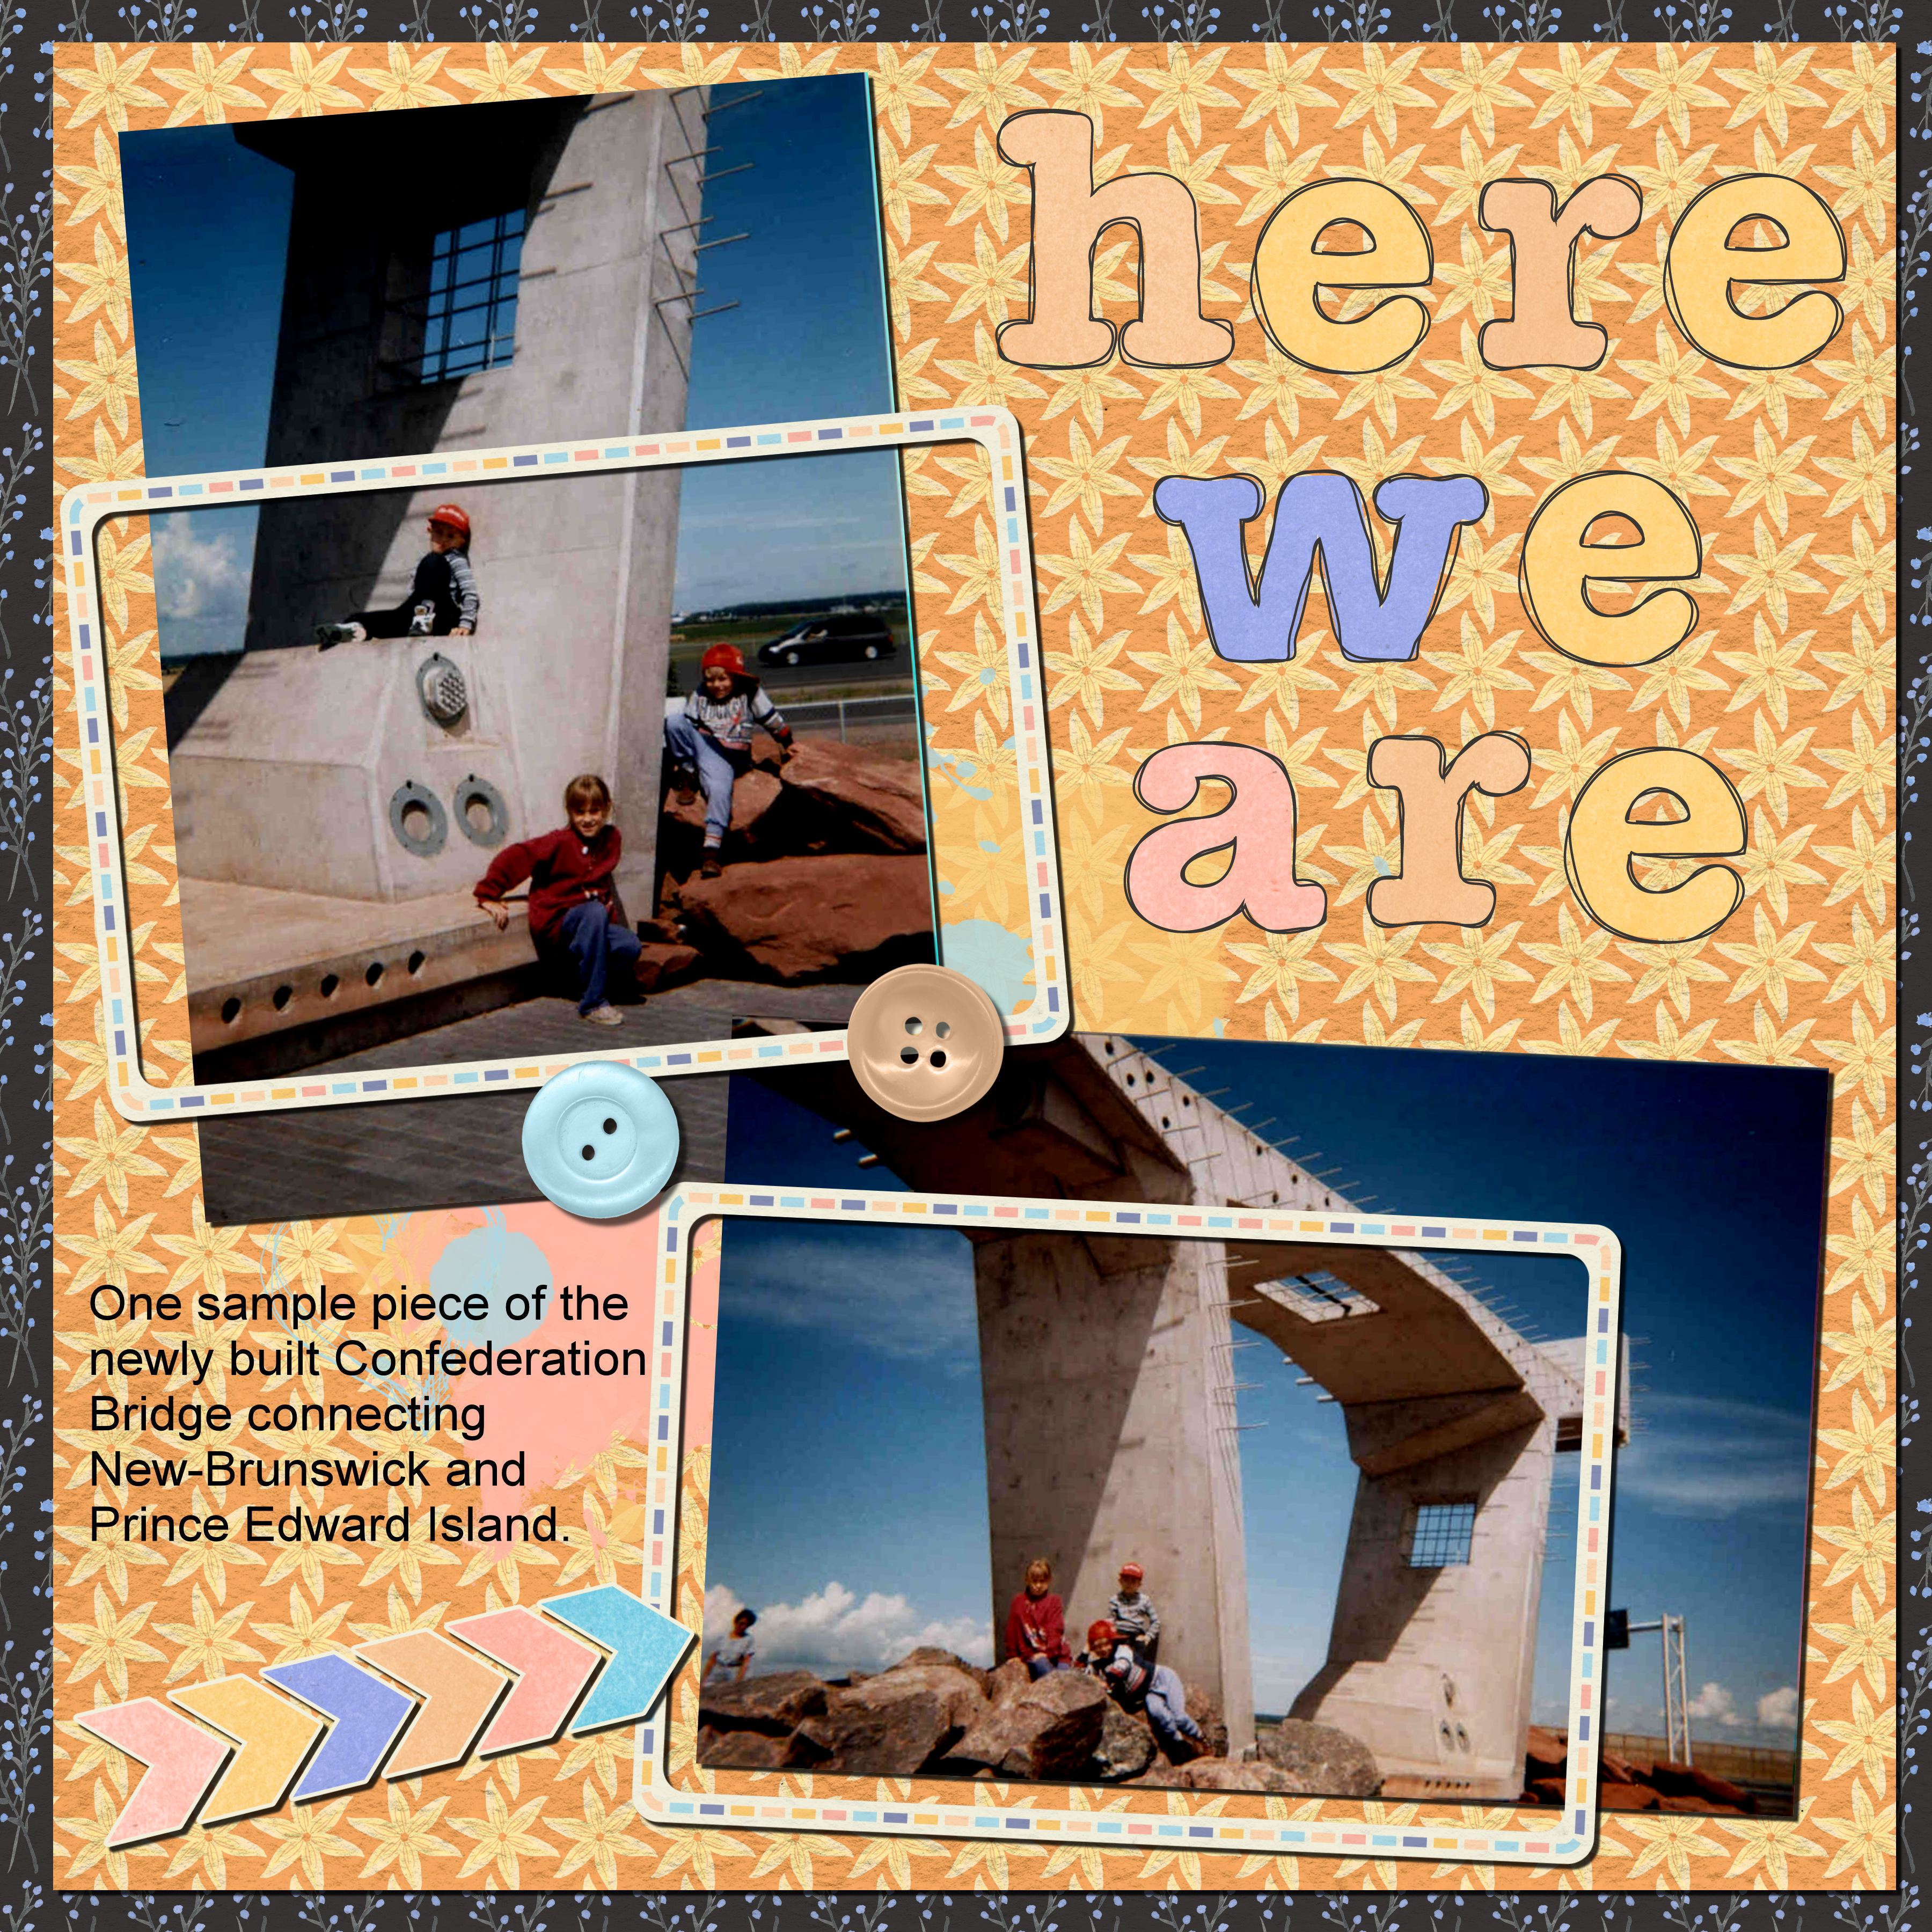
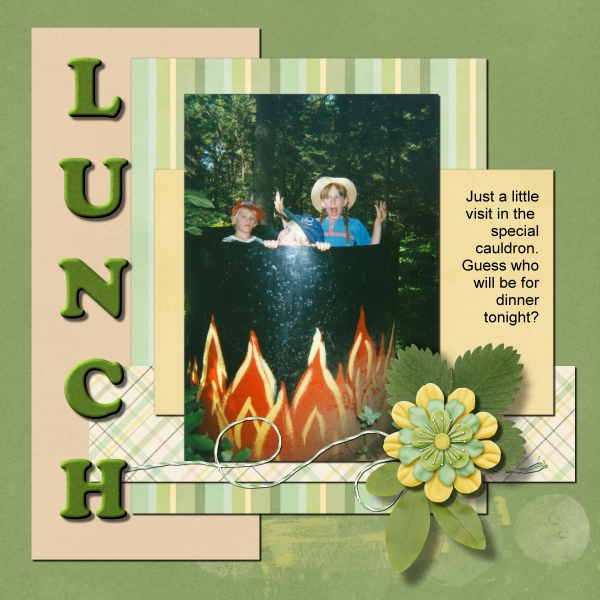
 Since spring is finally getting here now (believe it or not, we got another 4 inches of snow on April 26th!), i decided to hand draw a few spring themed elements for you.
Each element was hand drawn. For the flower and the umbrella, i ran the script on the two parts separately. To make the color a bit brighter, i simply selected outside the gel part with the Magic wand, inverted the selection, contracted the selection by 1 pixels, and flood filled with a solid color on a new layer that was placed below.
For the umbrella, i used almost the same steps, except that i selected the whole area of the umbrella instead of just the gel part.
You need to be logged in to download this sample. You can either login, or register on the top of this page.
And remember to show us what you do with those free samples or the script itself!
News from the Campus
 Did you register to the live presentation that will be held tomorrow?
Registration is still open and ALWAYS FREE to join, view and hear live, ask questions, and share resources with other attendees.
Join us to discover a lot about the numerous Selection tools (how many of them do you know?)
Sunday, May 3rd, at 5pm Eastern time.