 When you have a whole album, how many photos would you need? If you want to use layered templates to complete your project faster, you still might have to add dozens of photos. How long would it take you to open each of those photos, copy them, paste them on the template, in the correct layer, resize them, center them in the correct location, crop or trim them and save the layout when all the images are added? Just listing those steps in here, i am out of breath!
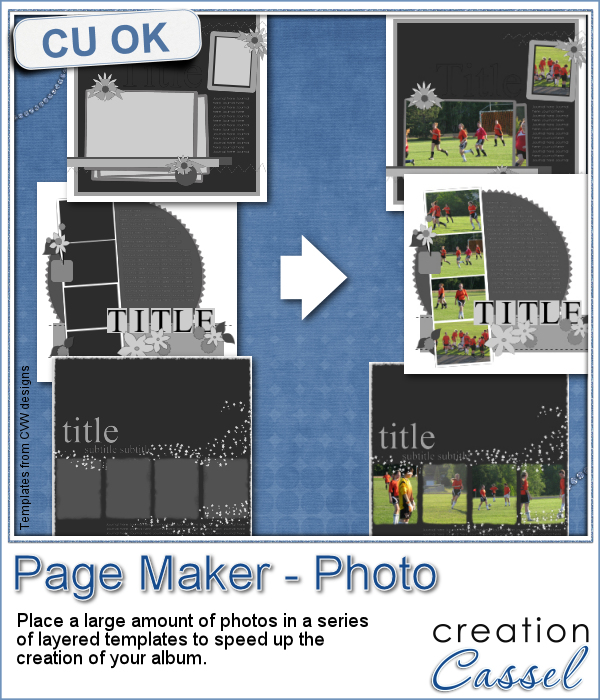
Now, imagine that you have 200 vacation photos that you want to place into 25 pages from layered templates. How long will it take you? Would you like it if most of the tedious tasks were done for you, leaving you only the tweaking to do?
This script will do just that. Layered templates are meant to save you time as they are great starting points, but this script will make it even more of a time saver by placing those photos FOR YOU, while you can do something else. You don't even need to be beside the computer once you completed the first few steps.
Michele tested this script and let the script work for almost 3 hours on its own. Yes, totally on its own (unsupervised) and it placed over 1400 photos in 49 templates she had. No stopping and starting and stopping again. Even if she took ONE minute per photo (which would be quite fast), it would have taken her 20 hours!!!
Grab this time saving script today: Page Maker (Photo)
Do you want a chance to win this script? In the comments below, tell me how many photos you would average in a full scrapbook album. I'll pick a winner at random and announce it in the newsletter, next week. Not a subscriber yet? Not a problem. You can register here and it is free (and you only get one email per week).
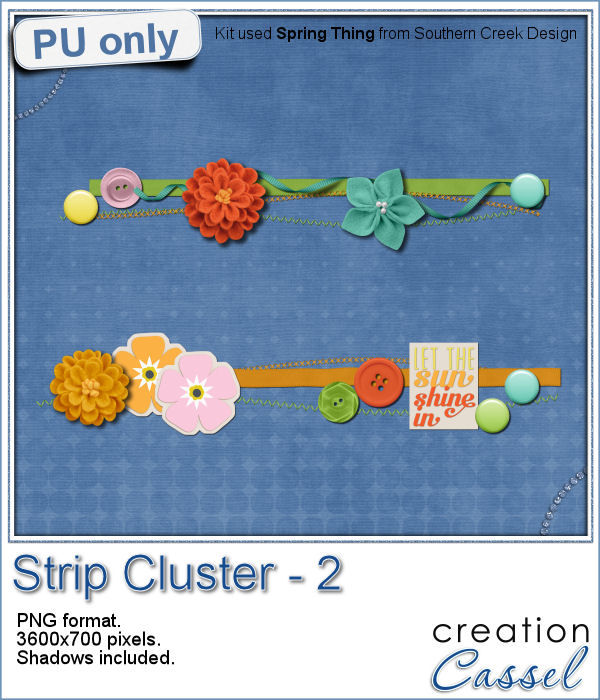 As a little sampler today, I created a couple of strip clusters using the Strip Cluster script. I used Southern Creek Design's kit, Spring Thing for that.
When running the script, I created 5 or 6 clusters and picked my two favorite. I tweaked them a little, added shadows (including one for the curled ribbon).
I think it has some really fresh colors. What do you think?
You need to be logged in to download this sample. You can either login, or register on the top of this page.