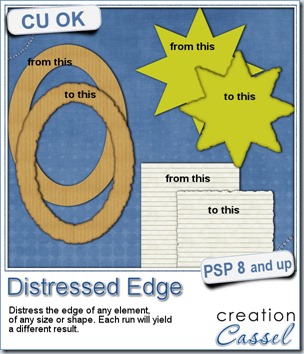
Do you like the look of distressed edges? Maybe for a worn or vintage look? It might be easy to select pieces to remove all around the edges, but it can be tedious, and making the unevenness regular is a chores. This script will do the work in just a few seconds. You can apply this script to elements, shapes, frames, alphas, tags or photos of any size.
You have the choice of three degrees of distressing and the option to add a darkened edge around too.
Best of all, you will NEVER get the exact same result twice. This means that if you want to grunge up your papers, you will be able to have different borders for every paper you run the script on. It will really look like you spent a whole lot of time grunging those papers one by one! (but we know your secret!).
You can get this Distressed Edge script in my store.
As usual, you have a chance to win this script by adding a post to the RAK thread HERE in the DST forum. I’ll be back next week with a winner. Mendy won the Gemstone script from last week. Congratulations.
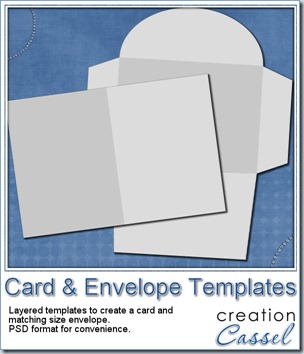
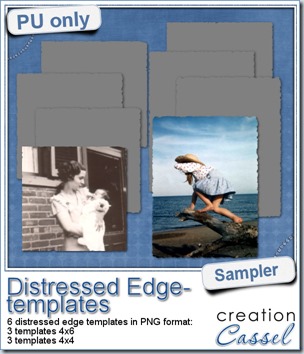 One neat use for the distressed edge is that although you can use it directly on the element you want to have irregular edges, you can also create your own templates for shapes you might want to use in the future. In fact, that is what i did for you. Since i could not show you a sample on YOUR elements, i made some grey templates. They are for 4x4 and 4x6 photos. If you are into pocket scrapbooking, or Project life or using Instagram, you will surely find some use for those. Use them for photos or journaling cards.
As you can see, i use them on photos, but you can use them to cut pieces of papers for a mat too.
Available for FREE when you register to our mailing list HERE.
Will you show me what you do with them?
Are you an Adobe user?
If you have CS4 or CS5, and you want to get Paintshop Pro to add to your arsenal of tools (for a very reasonable price), you can do so as Corel is offering you a great deal: you can get a full version of PSP for the upgrade price only.
Not only you can apply this offer to Paintshop Pro, but to AfterShot, CorelDraw and more Corel products.
Are you unhappy with the Creative Cloud option being the only one offered to you by Adobe? That is one additional reason you can want to switch to Corel.
Are you on a Mac? Yes, i know: Paintshop Pro does not have a native Mac version, but do you know that the Product Manager for Paintshop Pro at Corel works on a Mac? Yes, he uses a Parallels software (you might have it too?) and has had no problem with it. Do you have it? Download PSP trial version and have a look!
But you better hurry. This offer ends on August 31st.


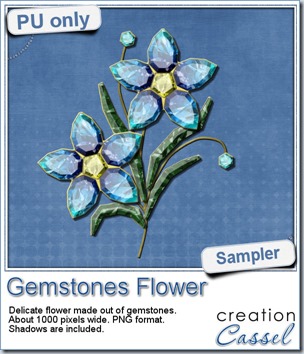 This week, i had a lot of fun creating your free sample and i am super happy with the result. I created these gem flowers using the script. Here are some tips i used to get such a great result:
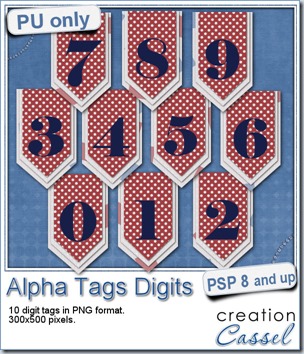 As a sample, i made this set of digits based on papers from an old kit of mine. The basic blue, white and red should make these tags very versatile. The shadows are added to the inside layers but not the outside ones. That will allow you to add a fancy shadow, making the tags lift off the papers.
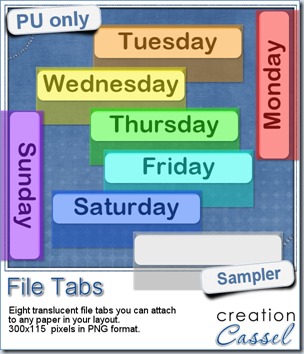 Since you probably don’t need another alpha from me, and since this is a tool script, it is a bit harder to make a sample from it. So i thought of an older script of mine that might help you if you are doing a Project 365, or if you just like to add a fun way to date your layouts. These are file tabs, like you would see in a binder to divide sections. Each tab has a day of the week on it and it also includes a blank white tab, in case you want to add something else to your layout, than a day (maybe a date? maybe a week number?)
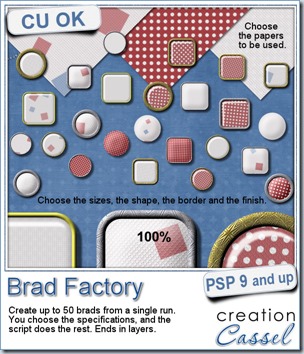
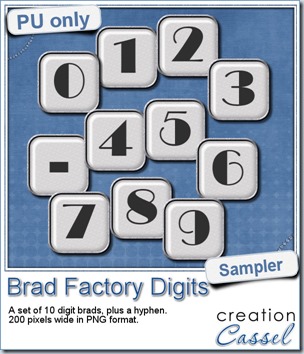 One great advantage of this script is how it leaves all the layers intact, allowing you to tweak or use them in different ways. That is what i did with this sample. I ran the script on several papers i had (see the preview) and chose a simple, neutral one, with acrylic finish and i turned it into a set of digits but just adding the characters below the acrylic layer. It was soooooo easy.
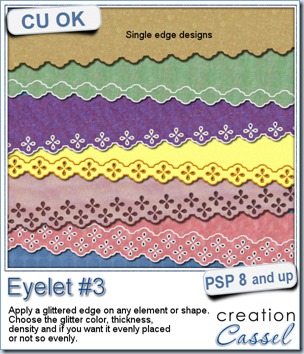
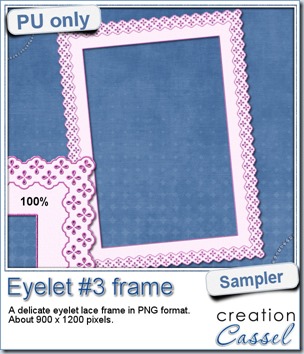 How about a little sample of what this script can do? I ran the script on a long piece of textured solid color to create a ribbon. I did the same thing twice, to get a top and a bottom edge with proper bevelling (NEVER flip or mirror an element that has been shadowed or bevelled). Then, using a copy of the ribbons, i applied a different bevel angle before merging and rotating the copies to make the vertical edges of the frame. Then, it was just a matter of applying a mitered corner technique to align and cut the corners correctly. What do you think of it?
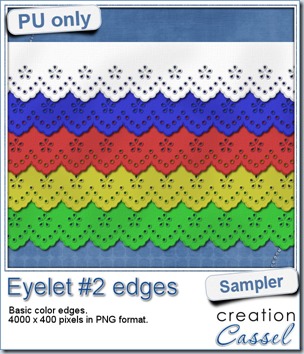 I know it is a bit American holiday coming up (I see that in the numerous 4th of July), but I also know that not everybody is American, so I figured I could create some basic eyelet edges for everyone, in basic colors. This sampler will give you 5 different eyelets in 4000 pixels each.