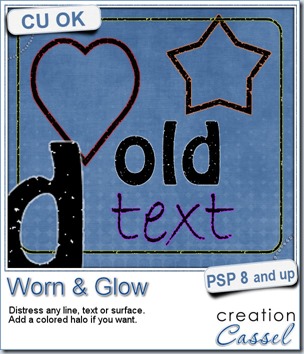
Everyone likes a little distressed look on some project once in a while. The proof is that there are lots of filters one can purchase to create that look. With this script in Paintshop Pro, you can create a distressed look on any line drawing with just a few clicks. You get to choose if you want a little bit of distress, or a lot or something in-between. In addition, since there is a random feature integrated inside the code, you will get a slightly different distressed pattern for every run.
Many years ago, i bought a kind of a gel pen (probably among the first kinds) and the ink seemed to include some “oil” that would seep out of the ink giving a colored glow around where i would draw. Kind of a neat effect that i added to this script, as an option.
So you can get the distressed look with or without a colored glow around and if you want the glow, you also pick the color.
Although the script works best with line drawing, you can definitely apply it to a photo or another element like a drawn embellishment.
Don’t waste your time trying to use the eraser tool all over your design, grab this time saving Worn & Glow script.
Do you want a chance to win this script? I am sure you do! Simply answer the simple question in the Happy Place thread HERE and one winner will be picked next week.
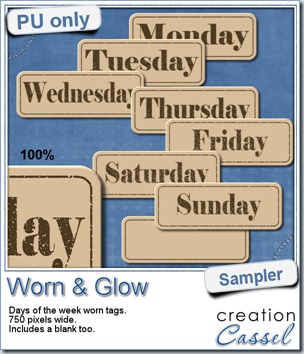 What would you want to get this week, as a sampler? I thought you might be tired of alphas (although that was my first idea when i was thinking of a sample), so i created some labels. Whether you are doing a project 365 or not, sometimes, you might want to add the days of the week to your layout. That is why i created those day tags. I just used the distressed part of the script and didn’t add any glow. I am also including a blank tag so you can add a date or something else (even unrelated to the days of the week).
Each tag is about 750 pixels wide so they are large enough to be used in full size layout, but they are also easy to size down if you want them more discrete on your project.
You can use them on chore charts, calendar, to-do lists, etc.
You need to be logged in to download this sample. You can either login, or register on the top of this page.
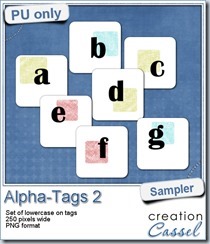
Did you grab the set of digits as a free sampler last week? You can still go get it in the post right below this one. And there is the matching LOWERCASE alpha that was available in the newsletter last week. Did you get it? This week, the matching UPPERCASE alpha will be linked, FREE, in the newsletter.
Subscribe to the store newsletter HERE to get it (and you can always go back one issue to grab the matching lowercase alpha too… shhh).
How about a coupon for the store? Are you interested? Give me your suggestions for future products in the store (scripts, fonts, tubes, etc.) in THIS BLOGPOST. I got several emails with suggestions, but if you post them in the comments of that blog post, those suggestions will count as entries for the random draw. That means, the more suggestions you give, the more entries you get. Who doesn’t like a coupon for a free product?
And while you are there, click on the FB Like button so you can share with your friends. They might have good ideas too. And remember, if they add suggestions, it means there will be more coupons drawn, which will increase your chance to win too!

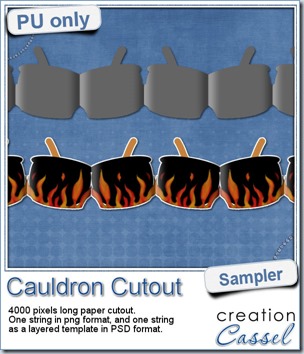 This week, to make sure that everyone (using Paintshop Pro or not) could use my product, I opted to create a paper cutout using a cauldron image, which was turned into a sticker (with a little white edge). Then, i ran the

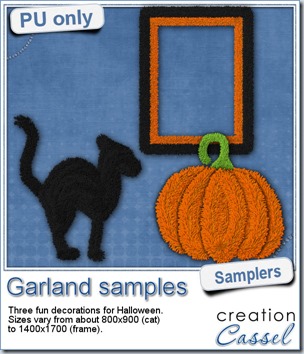 Now, how about a little look closer at those garlands and their texture? I created a few Halloween decorations for you using those garlands.
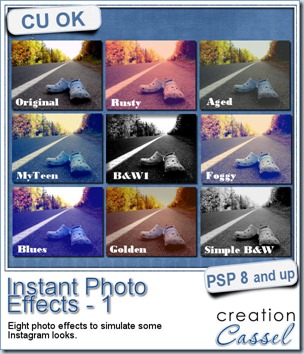
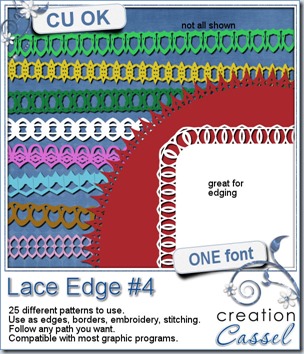
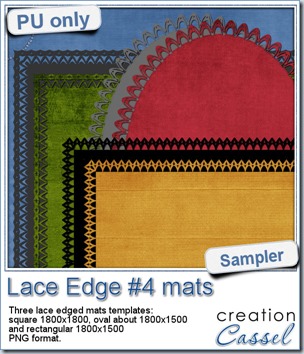 This week, i created more mats for you, using the lace font from last week.
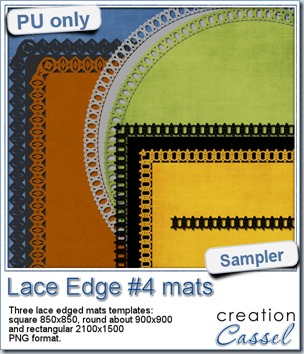 This week, i created 3 decorated mat templates. You can use them to cut out your favourite paper, or simply to color. You can also layer them with other simple shapes since those are very simple to start with.


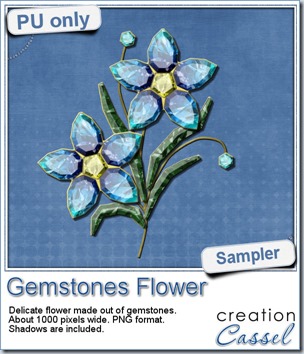 This week, i had a lot of fun creating your free sample and i am super happy with the result. I created these gem flowers using the script. Here are some tips i used to get such a great result:
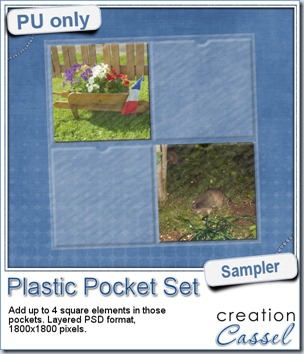
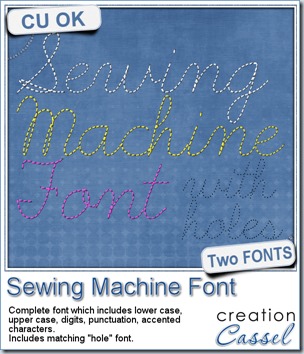
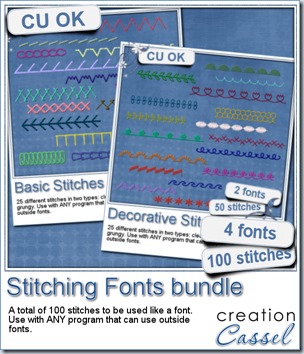
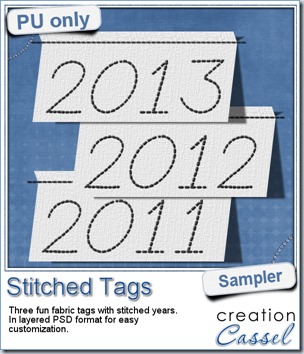 As a sample, this week, i created a set of simple fabric tags with the years. They are in layered PSD format so the tag, the stitching on top and the shadow are on different layers. This should allow you to colorize the tags and the stitching without affecting the shadow and you can also add your own shadow if you need to rotate the tags.