Diamond painting offers a way to turn an "ordinary" image into something magical and shimmering. It is a long and tedious process.
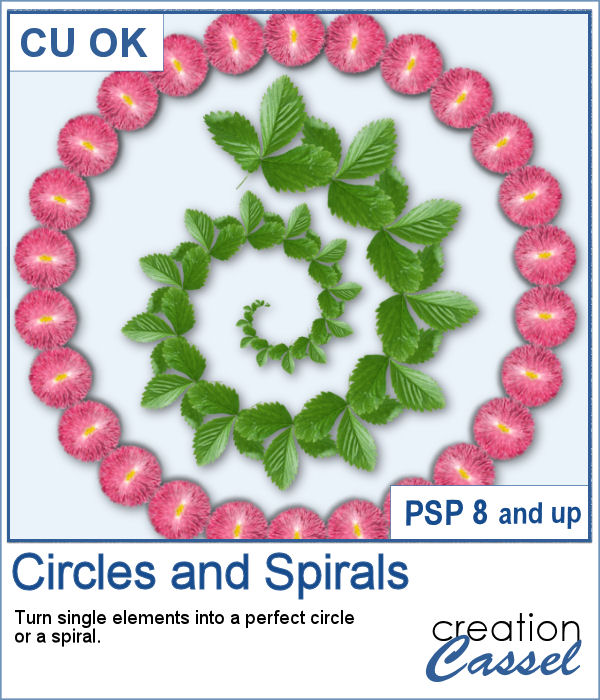
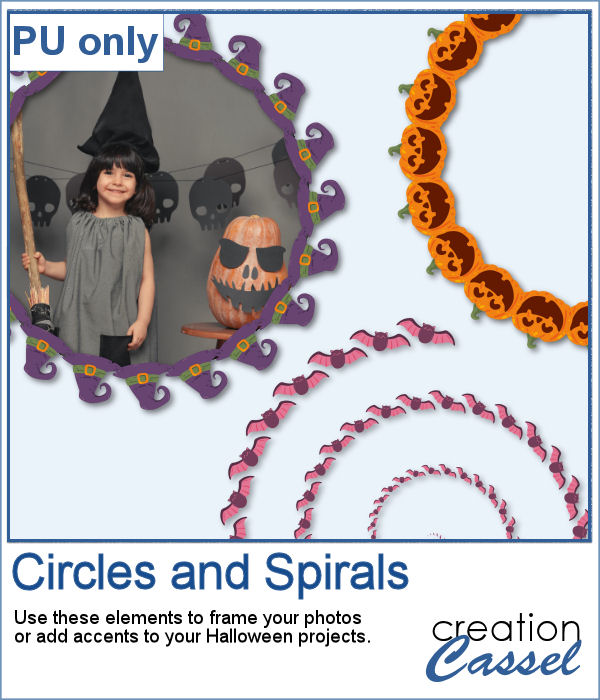
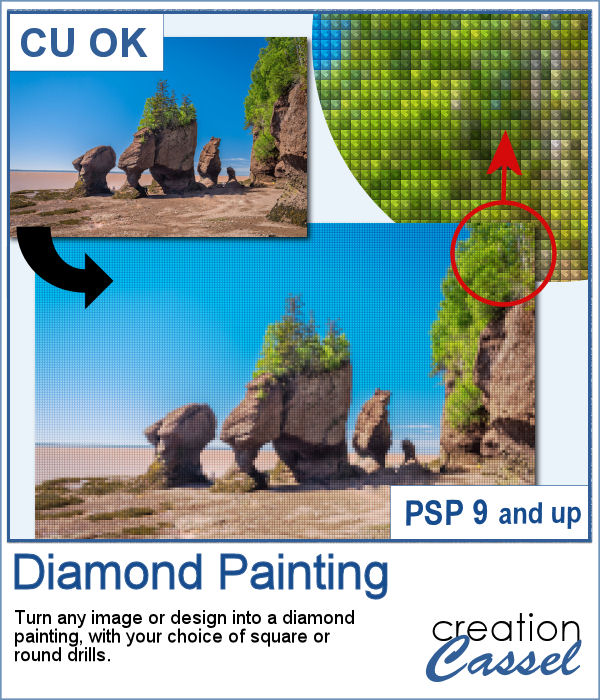
The script will convert any image (or design) into a diamond painting. Of course, you won't have the physical texture to play with but it will only take you a few seconds to complete.
The zip file also includes picture tubes for the individual "drills" in case you want to add some in other locations.
Get this script: Diamond Painting
In order to win this script, add a comment on this Facebook post telling us if you have ever done diamond painting (remember, add a comment, not just a Like!) The winner will be announced in the newsletter, next week. Not a subscriber yet? Not a problem. You can register here and it is free (and you only get one email per week).
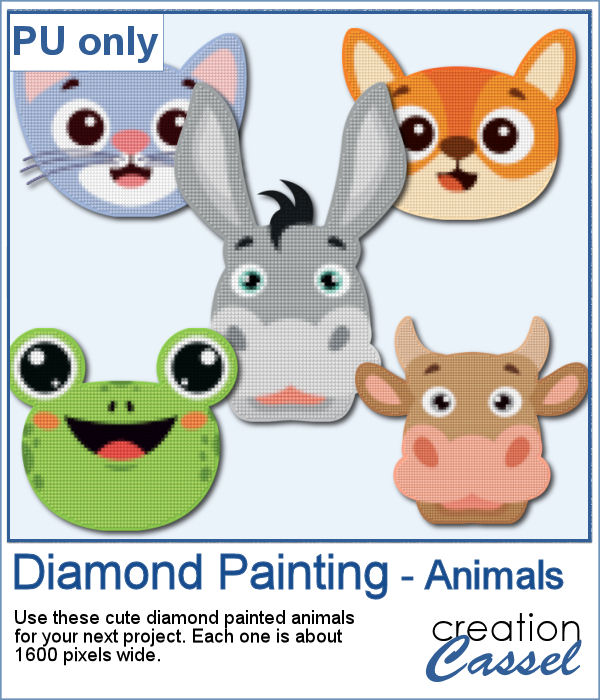
For a freebie, I used some cute animal cliparts and converted them into diamond paintings. Each one is fairly large so you can size them down as needed.
You need to be logged in to download this sample. You can either login, or register on the top of this page.

You can create gold and silver chains with various picture tubes available in the store, and now, you can add colored pearls to your jewelry box.
For a sampler, I created a set of digits using the red pearls. Each digit is about 550 pixels high, so you can resize them as needed.
With graphic programs, we can manipulate images in ways that the camera itself cannot do. With this script, you can add streaks from your image, to convey a sense of movement, speed, or displacement. Then, you can also manipulate those streaks to give some wave effects, to show elements through, to fade its colors, etc. So many ways this can be manipulated.
For a sample, of course, I cannot use my photos as they would likely be useless to you. So I decided to create some stitched ribbons for you using the Two-Tone Stitches from last week. I started with a basic greyscale ribbon, added the stitches on both edges, added texture, bevel, and shadows, and then, with the warp brush, I modified the stitching line so it would follow the uneven edges of the ribbon, for a more "realistic" look.
Travel tags are one of those types of tags that can really mean a lot of things. Whether you actually traveled and want to showcase the various cities or airports you went to, or just want to use the tag as an element to add something more personal, this script will help you.
As a sample, I created four tags, one for each season. It is up to you to add dates or locations if you want.
It is always fun to have Easter Eggs to put in a basket, or as add-ons to a graphic project. This script is the fourth in the series and will let you create up to a dozen different eggs based on the colors you want and other options.
For a sampler, I created a dozen eggs matching the colors of the sample for the previous similar script (so you have 2 dozen matching eggs).
Newspapers can be a fun medium to print letters on, and create a random effect. This might be easy but it is quite tedious to have something very irregular. That is why this script will be a time-saver.
As a sample, I created a basic red alphabet (in lowercase) on black and white newspapers.
A simple bow might be all you need for your project, but how do you find the correct one? Using a ready-made bow and colorizing it might work but might also be a lot of work.
For a sample, I created three straight polkadot ribbons with holiday colors and ran the script to generate three matching bows. The straight ribbons are also included in the zip file so you can use them separately.
You can place elements along a circle or a spiral manually, but it is quite tedious.
For a sampler, I created two large circle frames and one spiral with bats coming at you. Each element is in png format and about 3000 pixels wide, so you can resize them as needed.
Using bows and knots can be quite versatile as long as you have variety. This is the 19th type of bow in the store (and we have knots too) so using your own straight ribbon, you will have the option to create some matching bows. The script uses a random location on the ribbon so if you run the script multiple times on a patterned ribbon, you will get different results.
As a sampler, I created six little bows using ribbons from Janet Kemp. I layered a grosgrain ribbon with lace and flattened both. Then, I ran the script. I then ran the script on the grosgrain ribbon alone (without the lace), and since the layers were not merged, I copied and pasted the knot part only to replace the one on the "lacy" bow. It is a little more work but it shows how versatile this script can be with unmerged layers.
The Doppler effect is that difference in sound you hear when a vehicle runs in your direction, and then away from you. It is a sort of echo of the soundwave.
As a sample, I ran the script on individual digits starting with a black text. This will allow you to colorize the elements to match your project. To maintain the transparency on these digits while adding color, lock the transparency of the layer, fill with the material you want, and unlock the transparency.