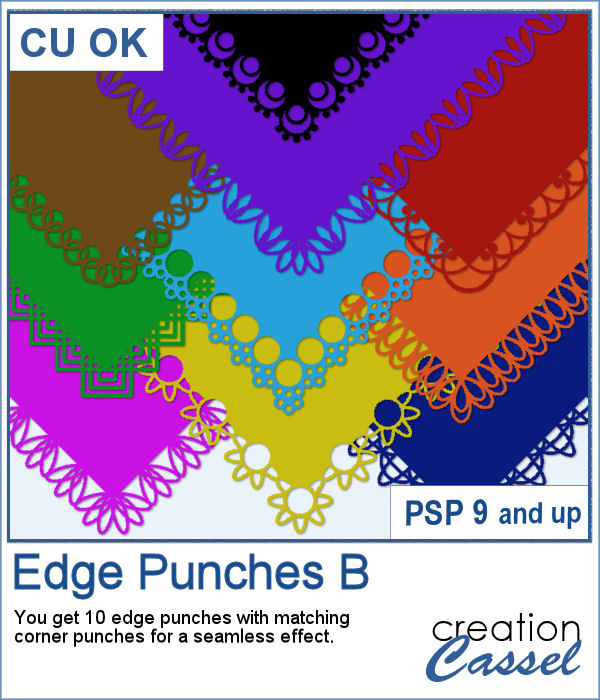
 In paper crafting, punches are popular to create a decorative edge on papers, frames, photos, etc. With PaintShop Pro, you can create a similar effect by using the Eraser tool with special brush tips.
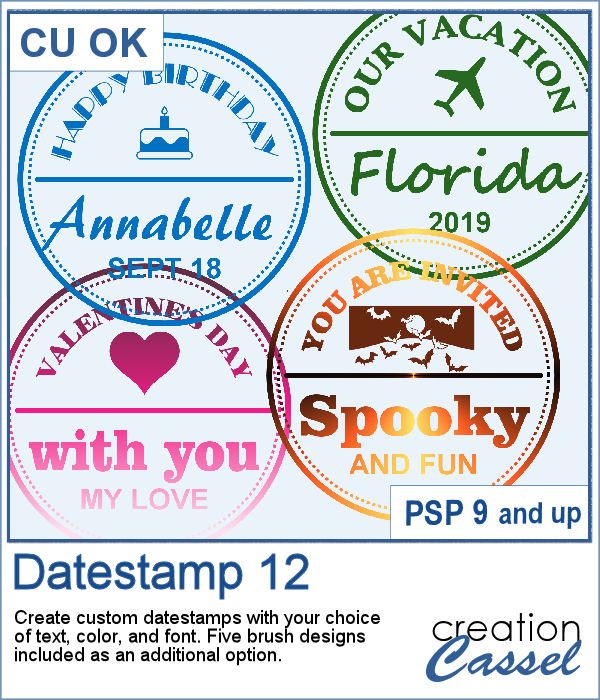
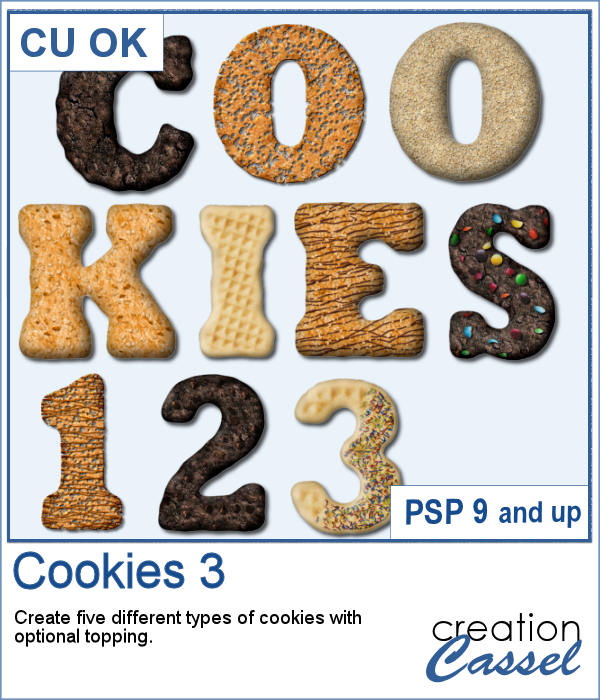
This is a set of 10 different brush tips to cut out the edges of a paper, but you also get matching corner brushes so you can create a continuous cutout.
Get these punches in the store: Edge Punches B
In order to win this script, add a comment on this Facebook post telling us if you have any of the other punches from the store (remember, add a comment, not just a Like!) The winner will be announced in the newsletter, next week. Not a subscriber yet? Not a problem. You can register here and it is free (and you only get one email per week).
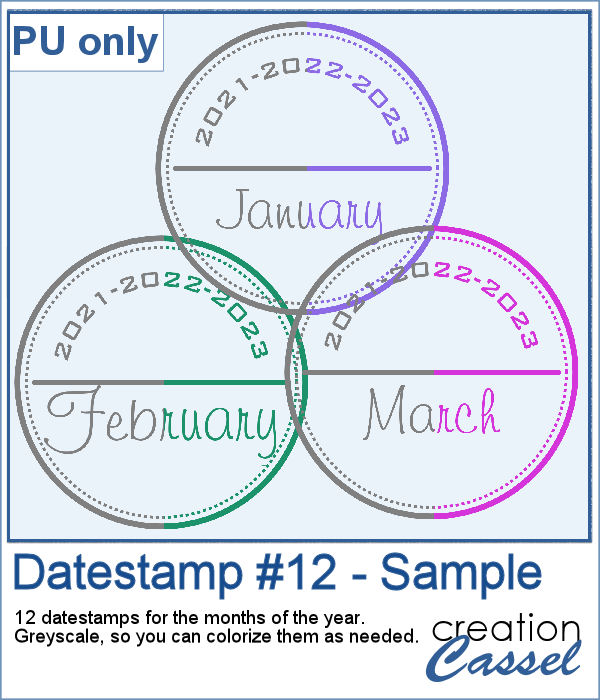
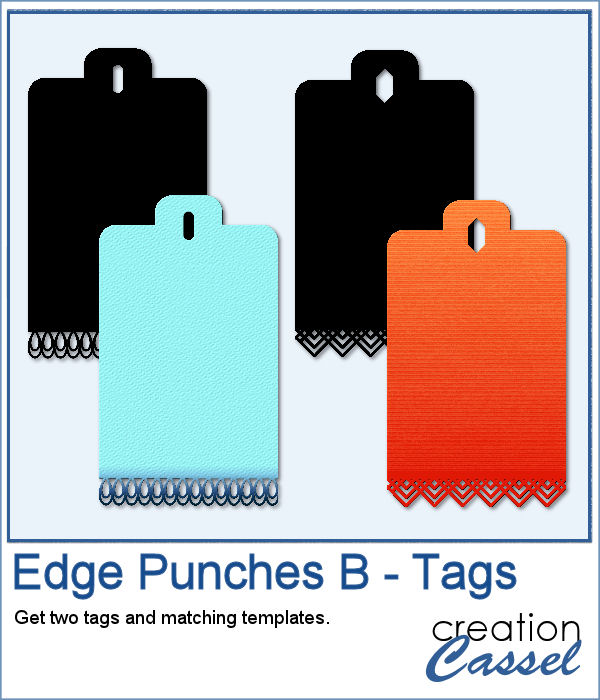 As a sampler, I created two tags with different colors but I also include the template for each of them so you can create your own in the color that will suit your project. Then, simply add texture, bevel or decorations to them.
You need to be logged in to download this sample. You can either login, or register on the top of this page.