 Although it is summer, you probably have some winter photos that you need to enhance with some icy elements.
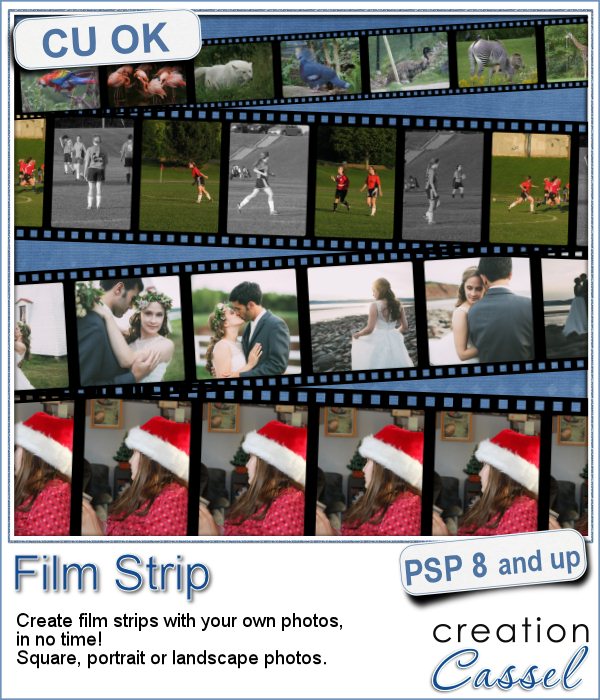
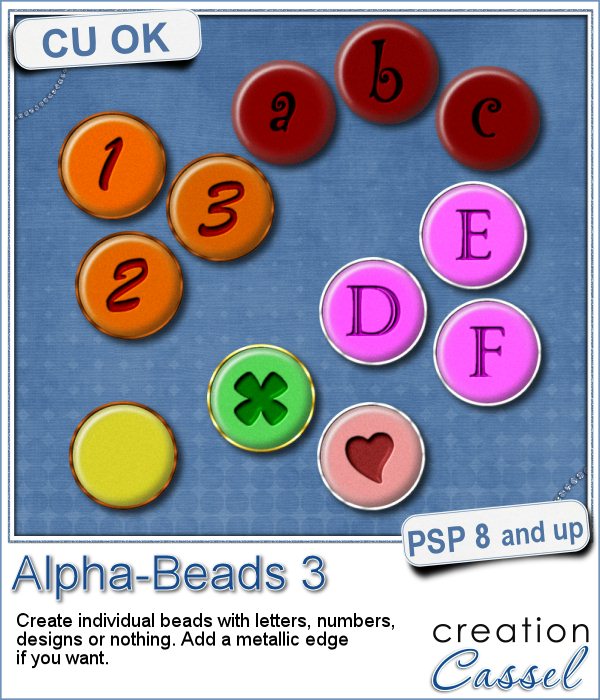
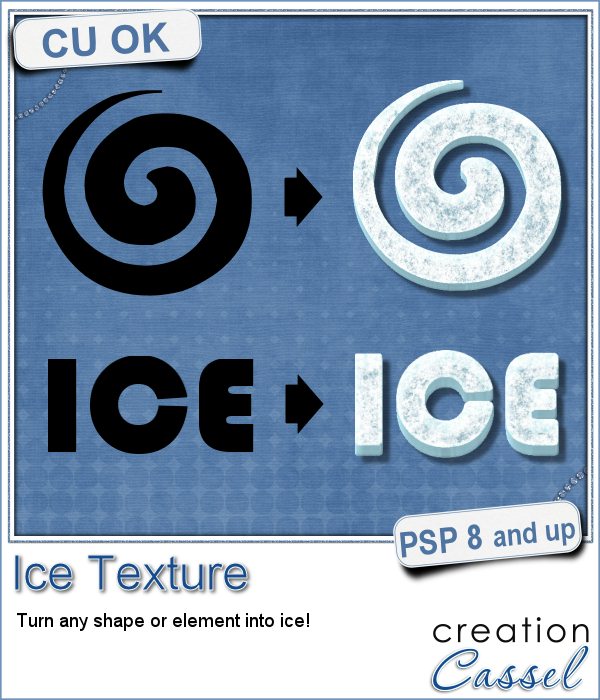
With this script, you can convert any shape into an icy element. You can choose simple elements, arrows, frames, or even convert an alpha of your choice into a cold one.
The script will take the shape of your element, whether it is a raster or a vector layer, and work on a copy of it, so it won't affect your original. The end result will be a bit translucent to simulate real ice that lets you see through, somehow.
Due to a random feature integrated into the script, you will get a slightly different ice texture every time, even if you use the same shape to start with.
You can get this script in the store: Ice Texture
What element or shape would you convert to ice? Tell me in the comments below for a chance to win this script. The winner will be announced, next week, in the newsletter. Not a subscriber yet? Not a problem. You can register here and it is free (and you only get one email per week).
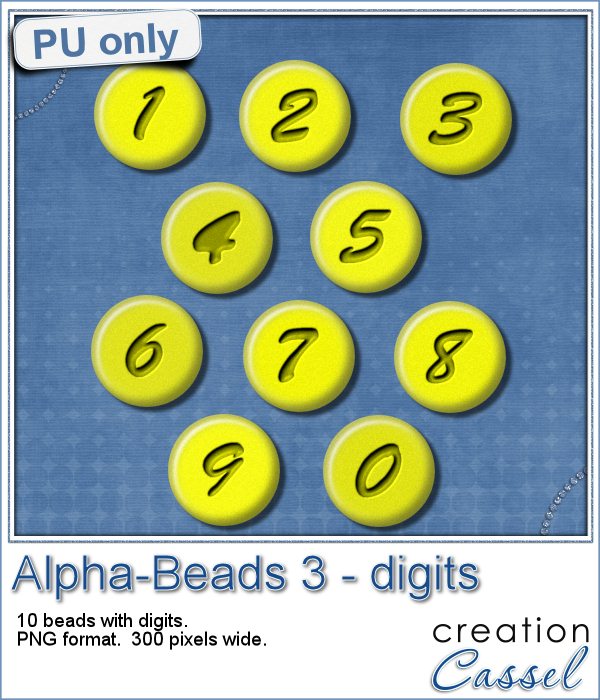
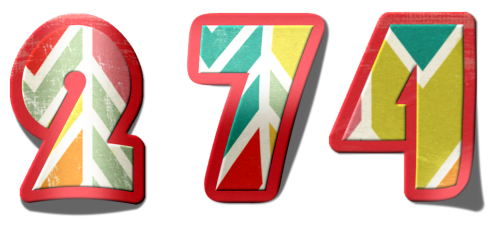
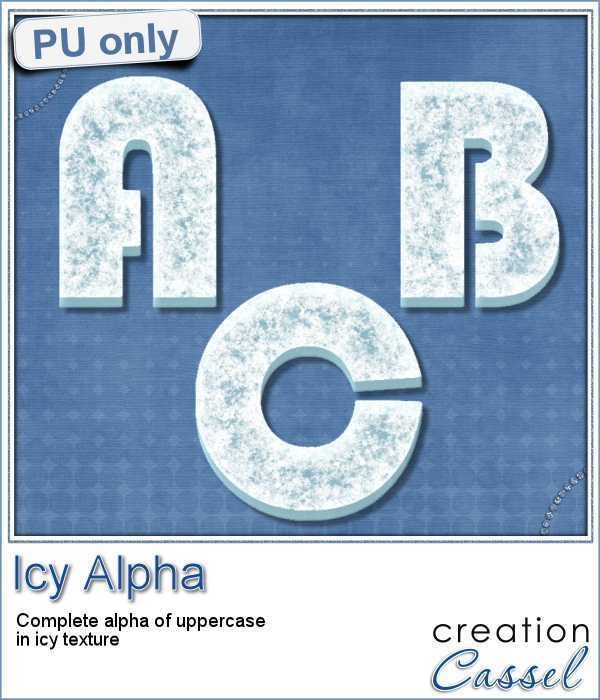 How about an icy title? Check out this fun alpha i created with this script. To make it simple, i just typed in my alphabet on a 3600x3600 pixels image. I used a 350 pixels size, and a kerning setting of 300 to space out each letter. Then, i ran the Alpha Sheet Separator 2 script to create individual files from each letter.
Each letter of this set is 325 pixels high.
You need to be logged in to download this sample. You can either login, or register on the top of this page.
So, what layout will you do using this alpha?
Show us your masterpiece by posting it on our PSP Scrapbook Showcase pinboard on Pinterest. If you don't have access to pin on that board, just send me an email so i can grant you that access.