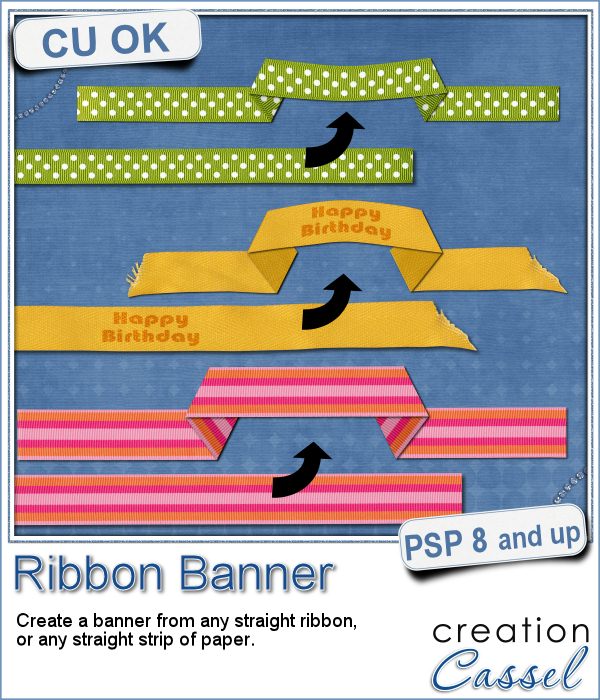
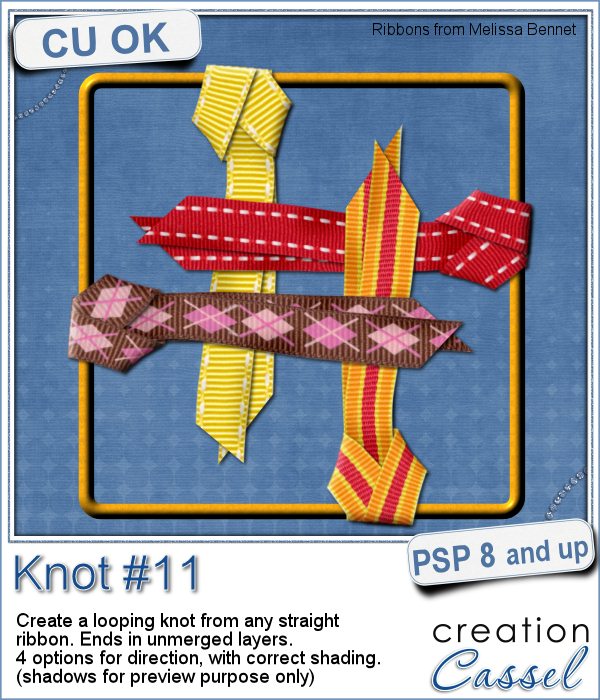
 Sometimes, you might have some interesting straight ribbons, but you would like to use them differently. How about creating some banners with bits and pieces of those ribbons? Does it sound like too much work? Of course, it can be tedious to do by hand, but with this script, you will have it done perfectly, in no time.
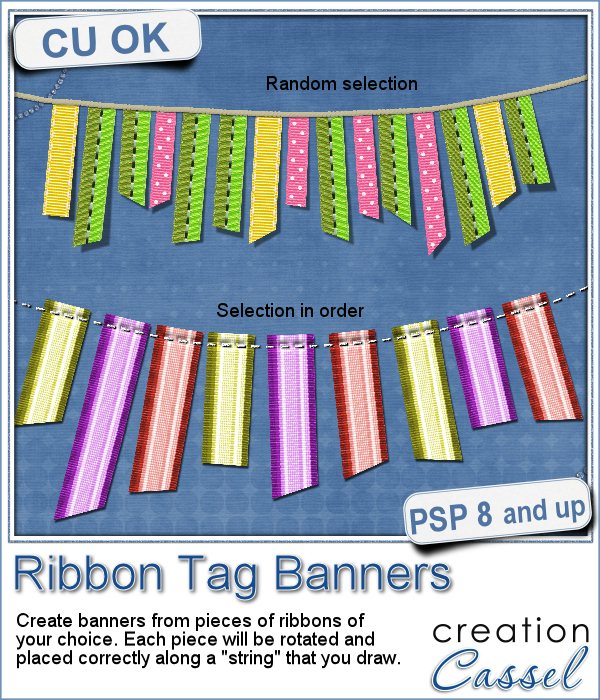
You have many options and even if you used the same options with the exact same ribbons, you will always get a slightly different result. Add a rope or a stitching on the top and you get another result.
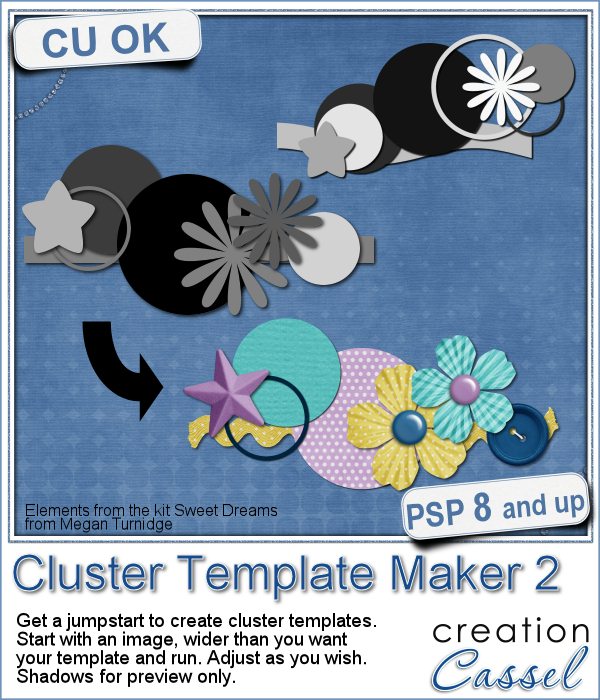
Use your Paintshop Pro and this script to create a matching decorative element for your project, especially if you are using the straight ribbons elsewhere on the page. Or, if you want to add a decorative banner in your kit.
Have fun with this script. Get it in the store: Ribbon Tag Banners.
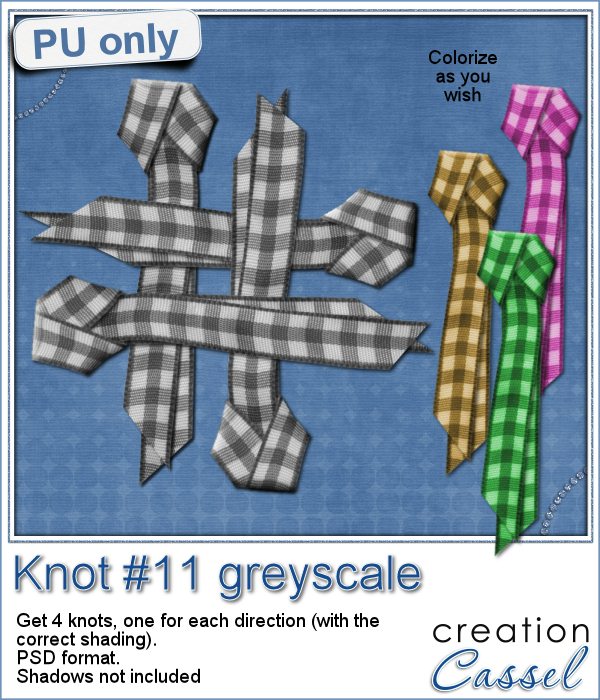
For a chance to get this script for free, tell me how you would like to "tie" those ribbon pieces: a string or a stitching or something else? I'll announce the winner in next week's newsletter. Not a subscriber yet? Not a problem. You can register here and it is free (and you only get one email per week).
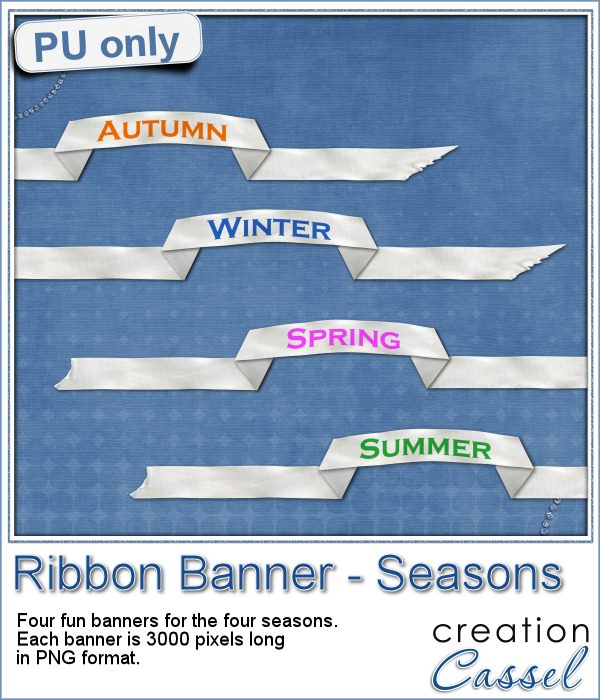
 For a sample of what this script can do, I used a single ribbon and colorized it in orange, and darkened the other copy to create a Halloween theme banner. The whole element is 3600 pixels wide, but you can easily resize it down to match the the space you need on your project.
Use this banner across the page, or between two photos, or just under the journaling to add focus on it.
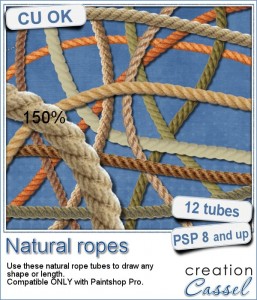
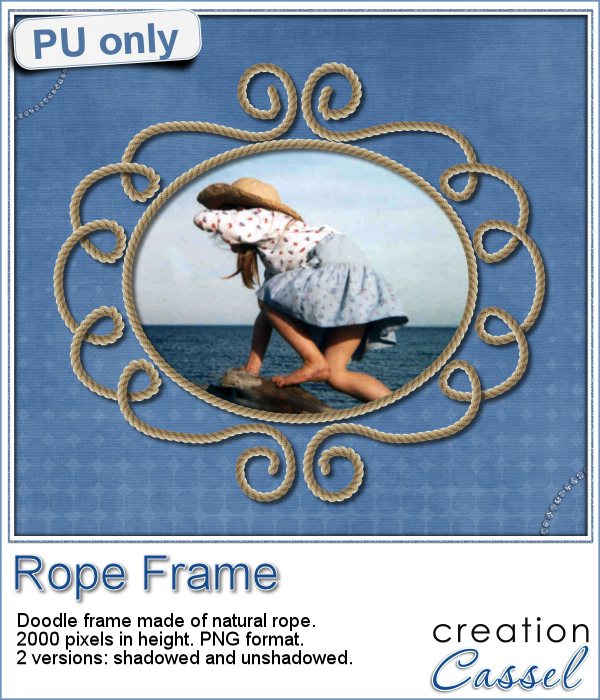
The string on top, was made using the VectorTube script and I applied one Rope tube.
You need to be logged in to download this sample. You can either login, or register on the top of this page.