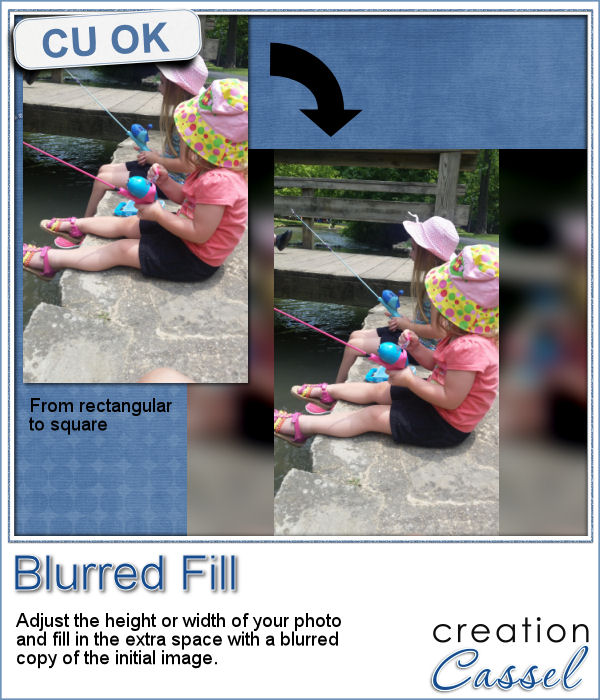
 You probably have seen those images where a video has been shot vertically, but it has to fit in a horizontal space, then the extra on each side is a copy of the main image, but blurred and darkened to keep the focus on the main image.
This script will achieve the same effect. You can start with any kind of photo, whether it is square or rectangular, and then, you can "fit it" inside an image that is rectangular or square.
This is a great way to fit your photo into a space that is of different proportions without having to crop the photo.
Use this strategy to fill in a carousel or a slide show. Or use it as a header, or to fill a PowerPoint presentation of some kind. Or just fill part of your scrapbook page.
Get this script in the store: Blurred Fill
What would YOU use this for? Can you see yourself using this in a scrapbook project? what would it be? Tell me in the comments below and i'll pick a winner next week. Not a subscriber yet? Not a problem. You can register here and it is free (and you only get one email per week).
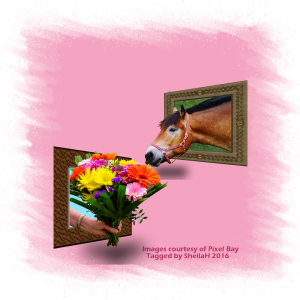
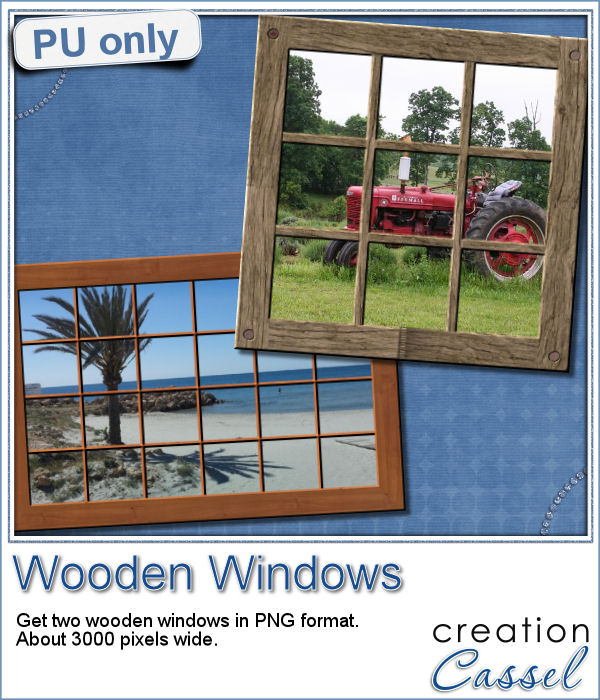 Since this script is about creating a special effect on your own photo, i can't really create a sampler from any photo of mine. Well, I could, but i doubt you would find it very useful, so instead, i created a different sampler based on one that was VERY popular recently: the Wooden Window.
I created two windows in png format: one is using a fine wood while the other is more rustic, with visible nail heads holding the pieces of wood.
Both windows are 3000 pixels wide so you can use them for a scrapbook project, or even size it down too.
Place your favorite photo behind it for a wonderful display.
You need to be logged in to download this sample. You can either login, or register on the top of this page.
News from the Campus
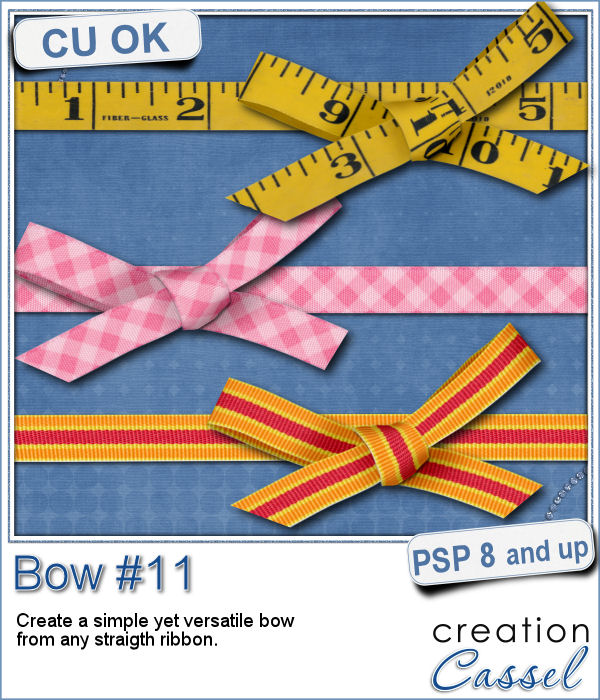
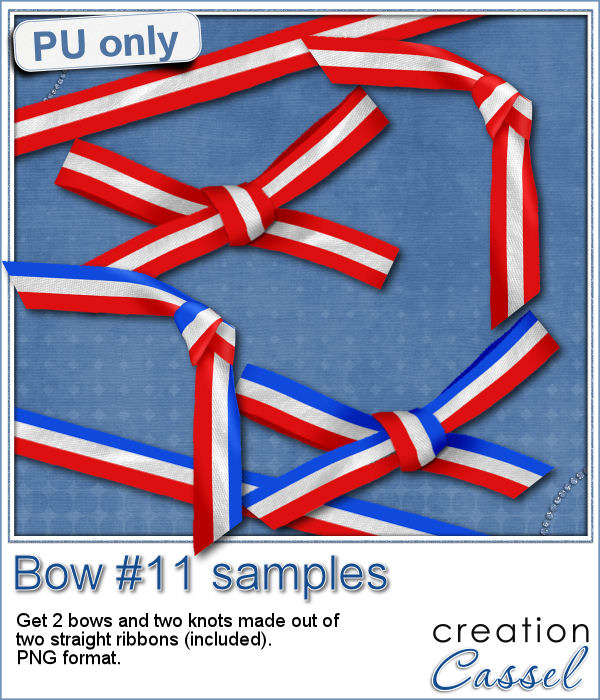
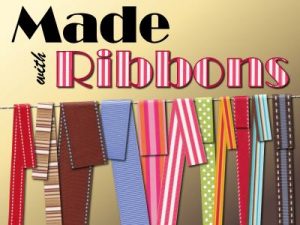
 Join us for our live presentation on Ribbons and Bows, where we will take a look at how to create knots and bows from straight ribbons, using PSP.
It is free, as usual, so join us and tell a friend.