 Triangle patterns are basic designs that are timeless. Change the size and the colors, add outlines or not and you can get a wide array of different seamless patterns.
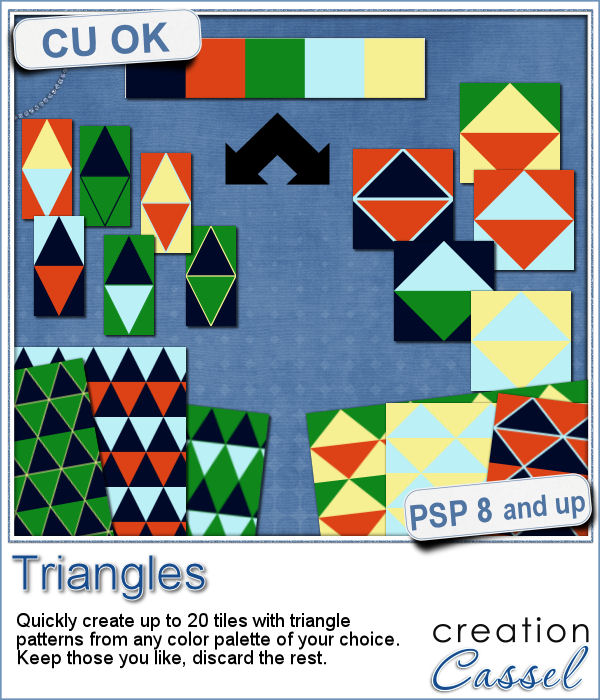
Using those seamless tiles, fill any size paper to create matching background for your various projects.
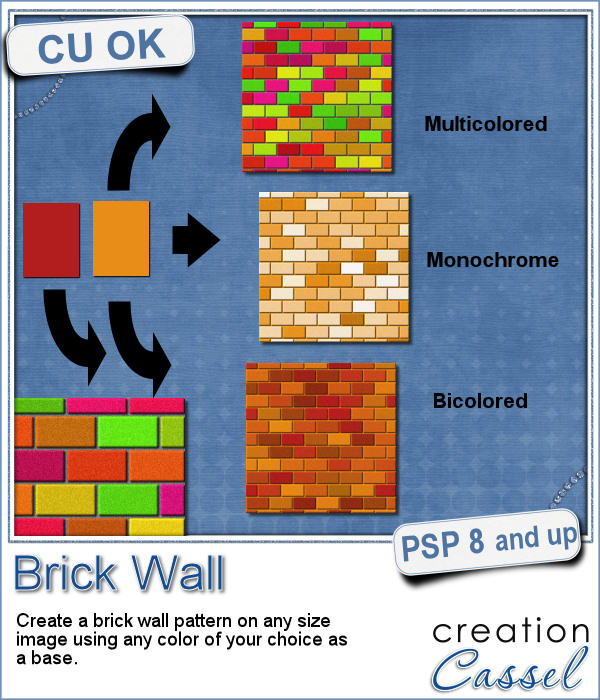
Pick from up to 6 different colors and generate up to 20 tiles in a single run. You can choose to have square tiles or rectangular ones for yet, a different look. Since the outline of the triangles can be hidden, emphasized, changed color, thickness or even linestyle, the possibilities are endless.
Grab this script in the store: Triangles
What kind of colors would you like to see in a set of seamless triangle pattern tiles? Tell me in the comments below for a chance to win this script (or a coupon for the same value purchase). A winner will be announced in the newsletter, next week. Not a subscriber yet? Not a problem. You can register here and it is free (and you only get one email per week).
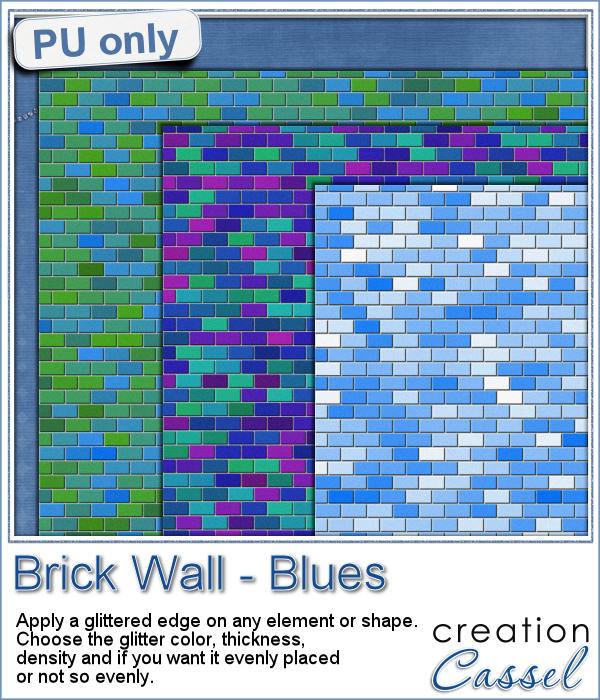
 As a way for you to have fun with the end result of this script, i generated a set of 15 tiles with fall colors from a palette of 5 colors. Use those tiles as is as flood fill pattern, or you can also change the proportion of the tiles to get different types of designs.
Each tile is 600 pixels in size so you have ample opportunity to resize the tiles to your need.
You need to be logged in to download this sample. You can either login, or register on the top of this page.
What will you do with those tiles??
You can also show us by linking in the comments below.