
Add a Coffee Texture to Your Designs in PaintShop Pro
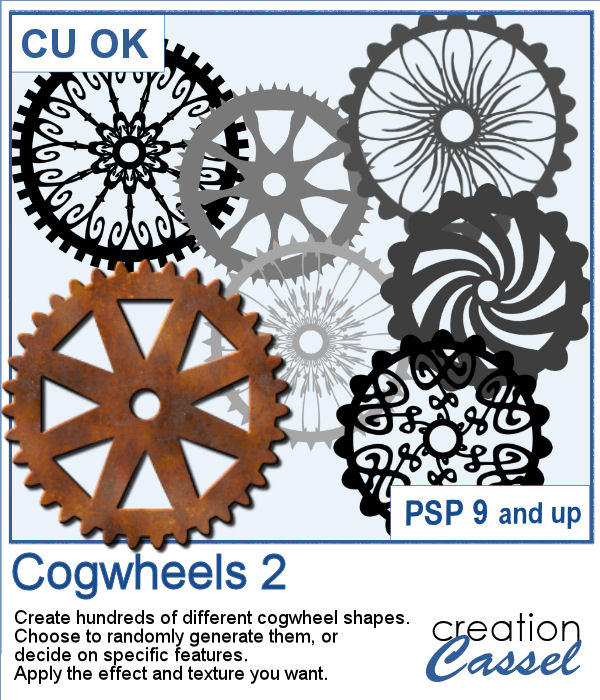
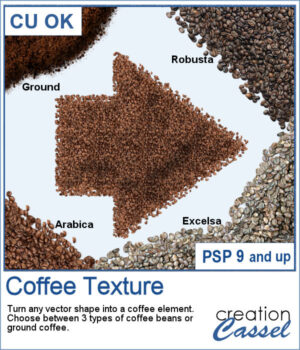
Want to turn your vector shapes into realistic coffee-themed elements? Our new Coffee Texture script for PaintShop Pro lets you convert any shape into coffee beans or ground coffee, with a choice of Arabica, Robusto, or Excelsa styles.
You can use this script to create coffee-themed titles, design decorative frames, or add fun accents to your layout.
It also includes picture tubes, so you can scatter individual coffee beans on your project for an extra touch of realism.
Get this script: Coffee Texture
Win this Script!
To enter the draw, leave a comment on this Facebook post telling us:
Do you like coffee? If so, what’s your favorite kind? Note: Comments only — Likes don’t count! The winner will be announced in next week’s newsletter. Not on the list yet? Subscribe here — it’s free and we only email once a week.
Free Sample Download
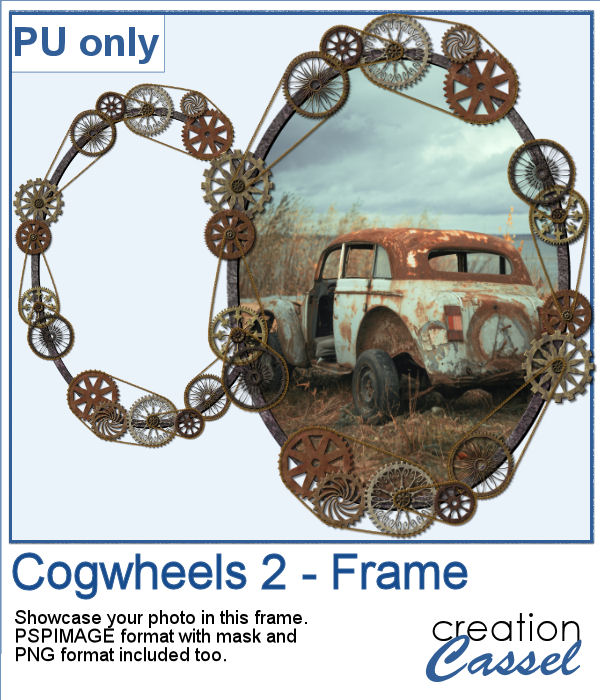
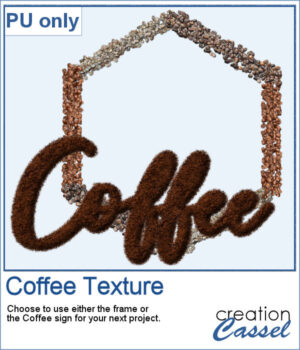
This freebie includes a coffee-themed word art (made using the ground coffee option) and a decorative frame (created with the included picture tubes).
Please log in or create a free account using the links at the top of this page.

Although you can place brush imprints easily along the edge of an image, it is not always easy to make it EVEN on all sides.
For a sample, I created three holiday-related frames of different formats: square 3600x3600 pixels, and rectangular 2100x1500 and 1500x2100 pixels with different holiday brush tips.
These braids combine a white section and a colored section. You get 12 different colors. Each braid is slightly different and not just colorized versions of a single image.
For a sample, I created two large frames: one red and one grey that you can colorize to match your project.
You can now add some painted frames around any photo, element, or even just a selection. This means that you can even work directly on your work in progress.
As a sample, I created two frames for 4x6-inch photos. I left the layers unmerged so you can use the Lock Transparency to change the colors of the different layers.
Whether you want to showcase school pictures or flowers in your garden, you might also want to feature one special photo. This script will create a template for you with all the settings you want.
As a sampler, I created a 6x6 template with small images on top and on the left only, leaving an even larger area in the bottom right.
Although you can create a painted frame manually, sometimes, you want to save time and work and create a simple yet precise frame that still looks hand drawn. This script will do that for you in just a few seconds.
For samplers, I created two double frames with the script, on a 5x7 photo. Since both layers are left separate, I changed the color of one of the two to create something more interesting. I used the colors from the June blog train at DigitalScrapbook.com.
For a sample, I created a frame using various cogwheels generated by the script. I resized them, added a texture using Filter Forge, added a bevel, and shadows. I also had fun adding chains to connect those wheels.
Sometimes, you just want to add a simple frame to your photo in order to show it off. This script will help you do that quickly, while still letting you choose the colors for the frame and the mats.
As a sample for this script, I created a set of four frames based on seasonal photos so you get a frame for each of the four seasons. Each frame allows a photo of about 7 inches on the longest side. They are all in PNG format, so they are useful in various graphic programs.
You can place elements along a circle or a spiral manually, but it is quite tedious.
For a sampler, I created two large circle frames and one spiral with bats coming at you. Each element is in png format and about 3000 pixels wide, so you can resize them as needed.
In order to create a paper fringe with PaintShop Pro, you will need to cut your element multiple times, and then, warp each piece one by one. But there is a problem: how do you warp one piece of paper without warping the next one? Well, there is a way to do it, but it is tedious, which is why this script will be a time saver.
As a sample, I created this square frame from four strips of paper that were run through the script, one by one, and then put together to make the frame. I added a little contrasting border to add some interest. Now, you can showcase your favorite photo.