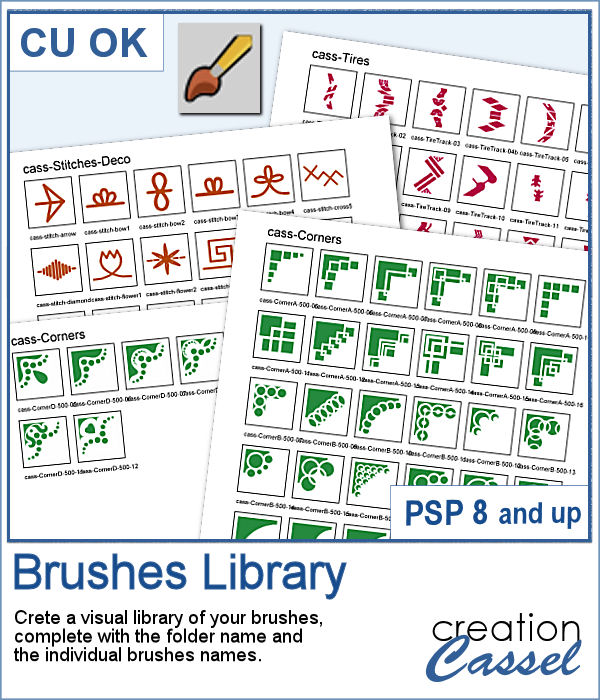
 Natively, you cannot view your brushes from Paintshop Pro when you look in Windows Explorer, so if you want to see what you have on hand, you have to go through PSP itself, and pull down the list of brushes from the Brush tool settings.
Now, with this script, you can get a visual representation that you can keep in jpg format, or print out to keep in a binder.
This script will include the name of the folder, and all the brushes inside that one folder where resides the active bruh, and will also add the name of the brushes underneath. If you need more than one page to display all the brushes, it will add as many as needed to show them all. And for the fun of it, you can choose a different color for the brushes in different folders!
Get it in the store: Brushes Library
In order to win this script, add a comment on this Facebook post telling us what is your favorite brushes to use (remember, add a comment, not just a Like!) The winner will be announced in the newsletter, next week. In addition, the color choices from the winner will be turned into a free picture tube that will be given to all the posters. Not a subscriber yet? Not a problem. You can register here and it is free (and you only get one email per week).
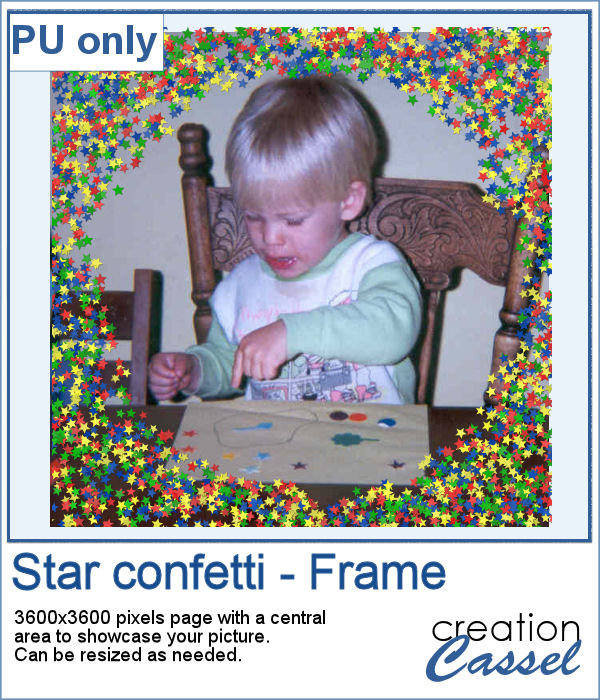 As a free sample, this week, I made a fun frame using star confetti made with basic colors. The whole frame is 3600x3600 pixels so you can use a single photo on your project. If you want to use it smaller, you can add a solid color border on the edges so you would not see the cut off confetti.
You need to be logged in to download this sample. You can either login, or register on the top of this page.

 Last week, I released some new corner punches and they were a hit! But not only that, I got some inspiration from Sue, who suggested some more punches for Christmas next year. But I didn't wait until next year! I started working on those immediately.

 As a sample, I created a fun frame for you using one of the corner brushes. Since the brush was not making an exact circle, I added some parts to make it into a real circle. Then, using the locked transparency, I painted all the elements separately. It is not hard, but a bit tedious. Then, I simply added some colored edges inside the frame. The whole frame is about 3200 pixels wide so you can size it down as needed.
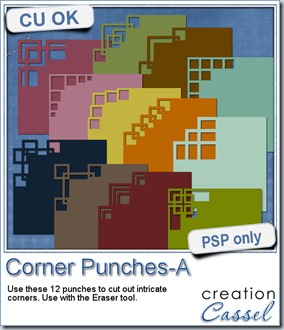
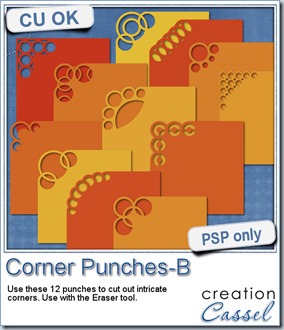
 In traditional paper scrapbooking, there are tools that allow the user to punch the corners into intricate shapes. They are great if you want to use the same size for all the projects you do. In digital scrapbooking (or card making), you now can use similar "punches" simply by using the eraser tool and those fancy "corner punches" shapes. This is the fourth set of those brushes.
 As a sample, this week, I created this fun frame (and matching template so you can use it with other colors/papers/effects).