Web
Analytics

New brushes – Holiday Punches

Holiday Brushes for Paintshop ProLast week, I released some new corner punches and they were a hit! But not only that, I got some inspiration from Sue, who suggested some more punches for Christmas next year. But I didn't wait until next year! I started working on those immediately.

Not only this set includes corner punches, but also edges so that you can cut out along the edge of your paper. And even more, I included the basic shapes so you can punch anywhere else. Do you realize that you can't easily punch a snowflake in the middle of a paper if you are a traditional paper scrapper? But with these, you can punch ANYWHERE!

The whole set includes 50 different punches! You'll have enough to embellish your cards, tags and many other elements.

Get these brushes in the store: Holiday Punches

Have a look at some of the edges that can be created using the Edge punches from this set:


In order to win these punches, add a comment on this Facebook post telling us what shape/element you like to use on holiday projects (remember, add a comment, not just a Like!) The winner will be announced in the newsletter, next week. Not a subscriber yet? Not a problem. You can register here and it is free (and you only get one email per week).
Holiday frame in PNG formatAs a sample, I created a fun frame for you using one of the corner brushes. Since the brush was not making an exact circle, I added some parts to make it into a real circle. Then, using the locked transparency, I painted all the elements separately. It is not hard, but a bit tedious. Then, I simply added some colored edges inside the frame. The whole frame is about 3200 pixels wide so you can size it down as needed.

You get a colored frame and the template if you want to make more with different colors.

You need to be logged in to download this sample. You can either login, or register on the top of this page.

New Brushes – Corner Punches D

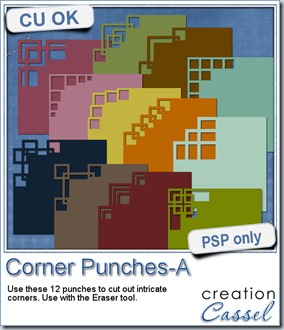
Corner punches for digital scrapbooking with Paintshop ProIn traditional paper scrapbooking, there are tools that allow the user to punch the corners into intricate shapes. They are great if you want to use the same size for all the projects you do. In digital scrapbooking (or card making), you now can use similar "punches" simply by using the eraser tool and those fancy "corner punches" shapes. This is the fourth set of those brushes.

Although they are meant to be used with the Eraser tool to cut out the shapes, you can also use them with the Brush tool to add a design instead of cutting it out, adding more versatility to these tools.

Get them in the store: Corner Punches D

In order to win these punches, add a comment on this Facebook post telling us what project/element you would create with those punches (remember, add a comment, not just a Like!) The winner will be announced in the newsletter, next week. Not a subscriber yet? Not a problem. You can register here and it is free (and you only get one email per week).

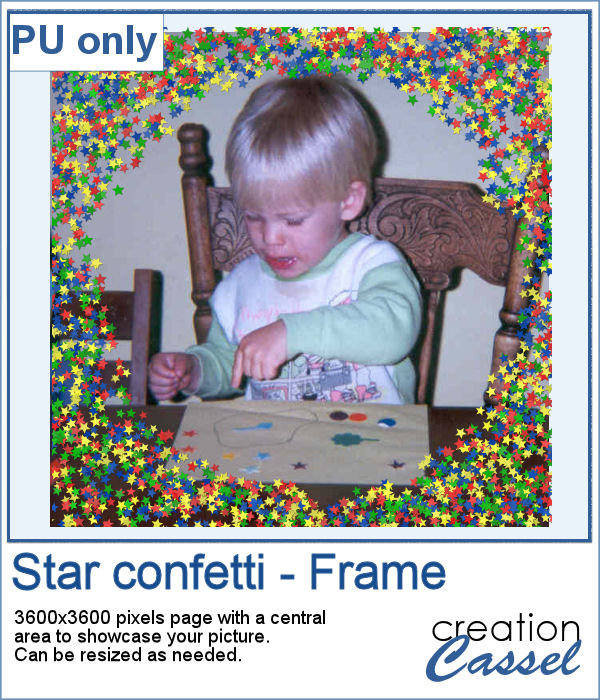
Frame from the Corner PunchesAs a sample, this week, I created this fun frame (and matching template so you can use it with other colors/papers/effects).
I started with a square image filled with black. I punched the four corners but slightly inside of the edge to leave that "frame" corner. Then, I duplicated that layer and rotated it by 45 degrees, which gave the 8 "corners". Since the two layers overlapped some of the holes of the other layer, I erased the area on each layer that was covering the holes of the other one. Once merged, I cut out the circle shape in the center to make the template. After that, it was just a matter of playing with the color and bevelling.

You can do the same with different punches.

You need to be logged in to download this sample. You can either login, or register on the top of this page.

New brushes – Corner punches A and B

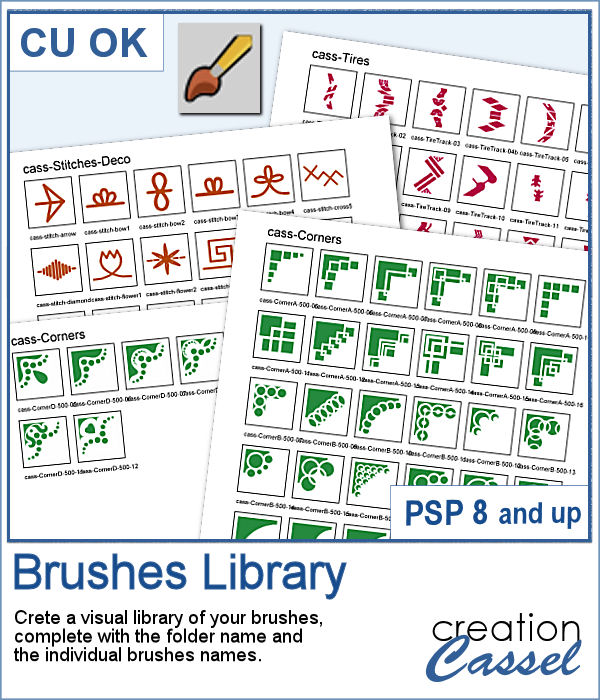
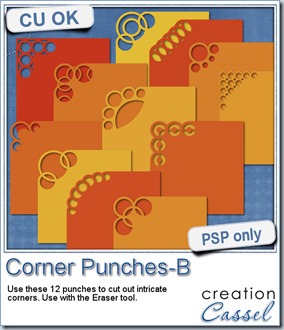
cass-CornerPunchesA cass-CornerPunchesB

Last week, i released a set of brushes to be used like corner punches are used in the traditional paper crafting world. Those brushes are really brush tips that can be used with the Eraser tool to punch out the design but they can also be used with the Brush tool to add a corner “stamp” to the projects.

These brushes were so well received that i thought of making a second set, using mostly circles (the first ones were using mostly squares). They work exactly in the same way.

Each set includes 12 different designs, in two sizes: 500 pixels if you are using PSPX and older and a 999 pixels if you are using a newer PSP version. Of course, you can always size them down when you use them to match your particular project. Add a rotation and you can punch all four corners.

(and there is also a set for PS and PSE users!).

You can get those sets here:Set A and Set B.

There is still another thread in the DST forum where you can add your name and have a chance to win this Set B. Check out this thread, and tell me what graphic program you are using. I’ll be back next week with the name of a winner.

Are you unsure how to install brushes in PSP? No worries. I uploaded a short video tutorial just for you. You might also want to subscribe to this new channel so you can see the newest videos i will upload as i do.

cass-Ready-to-Use


If you are not yet subscribed to the newsletter, get on that list now! It is free to register and you get advanced notice of sales, and exclusive tips and tricks to make you more efficient with your PSP.

Register NOW

New product–Glitters B

cass-Glitters-B

Do you like glitters? Do you like all those “styles” available for Photoshop and wonder if you could ever find something like that for Paintshop Pro? Now you have your answer.

A while ago, i released a script that made a glitter tile, but i have to admit, it needed some upgrade: the tile was small, it used the seamless function in PSP which gave that diagonal fading effect. All in all, it was outdated. So i decided to create a totally new script to make seamless tiles (REALLY seamless, as there is no fading, no blending).

With more advanced coding, you even have options of colors and color combinations too. You can get a monochrome colored tile, which will varie between the chosen color and white. You can have a bicolored tile where you choose the two colors that the script will blend together, and finally, you can get a cass-Glitters-B-01multicolored tile where you choose one color and the script will vary the hue to the point of creating many colors, all around that base one you picked.

As if getting a seamless tile is not enough, you also get the brush presets to create the matching glitters, in a scattered format. Use it to draw lines, doodles, frames, edges, fill in shapes, etc. You get one preset for each type of glitters.

You can grab this product in my store : Creation Cassel


Do you want to win this set? You can just add your name to the Happy Place thread HERE and tell me if you would more likely use the script to create seamless tiles, or the presets to create scattered glitters. And on Monday night, i will draw for a winner who will get this amazing set.cass-GlittersB-holiday


Do you want to see these glitters up close? I created 3 seamless tiles using basic colors and also some elements made out of scattered glitters with the brush presets. They are Christmas-y colors, and of course, the tree might be pretty seasonal but the heart and the star can be used as frames if you want to place them on, or around a photo, or even some journaling.

You need to be logged in to download this sample. You can either login, or register on the top of this page.


What will you do with those? Show us and we might post it in here or in the newsletter.


News from the Campus

Motorcycle-06


The recording for last week’s presentation on basic extraction techniques should be available later today. Those who purchased the Master Class should get the whole package ready today or tomorrow at the latest. Did you see what we did in that presentation?

Check out the Campus, later today, to view everything.


Did you start the Calendar Making Class yet? We have had many new members in the Campus who registered for that class. After all, it is free, so why not start on your Christmas presents?

New product – Tire Tracks

cass-TireTrackBrushesSet1  cass-TireTrackTubesSet1

Do you own a motorbike? a four-wheeler? a dune buggy? or any other vehicle on wheels? This is a perfect tool to help you add some accents to any layout featuring a vehicle or its owner! It could be about your passing your driver’s licence, your child’s first car (be it a full size or a toy one), or it could also be around your long road trip, your camping vacations, etc. You can use those to create a random background, to circle around some featured photos, create frames, or even a ribbon (why not?).

This week, i released two matching products. Which one to choose is a matter of preference. I would recommend the brush set as it is the most versatile. You can change the color, and even use some texture in your material palette to create that grungy worn look. However, if you use PSP8, the way the program uses the brush does not give a very smooth line if you have some sharper “corners”, so the tubes set will work better in those cases. However, if you are not using any such sharp angles, the brush works fine.

You can find both products in my stores: Creation Cassel and DigiScrapWarehouse.

As usual, i have a little draw for you at the DST forum, so if you want a chance to win one of these, just add your name to this thread.

cass-TireTracks-Frame-Sampler

I know, you are waiting to see things upclose aren’t you? Well, this week, i created a wooden frame with tire tracks on it. Pretty simple and i think it looks like a fun frame to use but it is yours to download for free.

You need to be logged in to download this sample. You can either login, or register on the top of this page.

I would love to see how you would use this frame so if you create a layout, how about showing it to me?