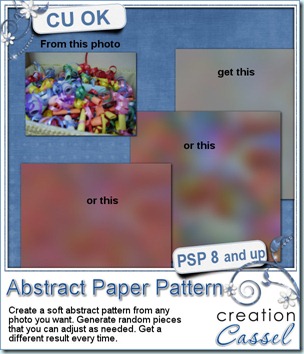
Do you sometimes, want to have an abstract design based on a photo but you don’t want to just add a blur? This method of making an abstract pattern based on a photo is easy to do but tedious, and making something different every time is not always that obvious. Using your Paintshop Pro, this script will do that, in just a short time. Start with your photo, the script will grab some blurred sections, at random, and will layer them onto a new 3600 x 3600 pixels canvas, and rotate them at random, and move them also at random. You can choose how many pieces you want the script to add, and you can move them around before they are merged. And if you find that the pieces are not covering everywhere you want, the script can do another run of pieces cut, added, rotated, and moved. At the end, the script will grab a color from the original photo and add a base layer below all those merged pieces. Those two layers will be left unmerged so you can change the base color, adjust the opacity of the top color, play with the blend mode, etc. And then, you can do whatever you want with the two layers, before or after you merge them: add a texture, add an artistic effect, a reflection effect, run a filter on them, etc.
You can get this script in my stores: Creation Cassel and DigiScrapWarehouse.
And if you want a free script, just check the Happy Place thread here, and add your name to it, after telling me what type of effect you can think of adding to this paper once done. I will pick a winner on Monday.
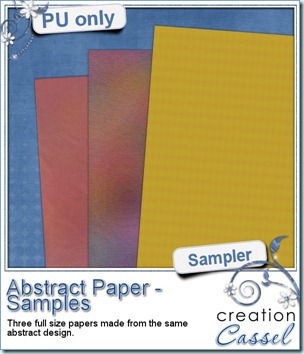 Do you want to see what this script can do? I am sure you do. You always like to get a free sample too, so i made those three papers from the exact papers displayed in the script preview. For one paper (the yellow one), i just added a Reflection Effect – Pattern. For the multicolored one, i applied the Topography effect and added a texture. For the pinkish one, i just reduced the opacity very low, changed the blend mode and added a texture.
Those papers are full size. What will you do with them?
You need to be logged in to download this sample. You can either login, or register on the top of this page.
News from the Campus
Last week, we had our workshop on Playing with Vector. From the comments added to the surveys afterward, it seems that a lot of people will feel more comfortable to manipulate vectors and several found some great new uses for vectors. Did you ever want to write some text along the edge of an element in a photo, like a car, a mountain, an uneven building? You can do that now, with the use of vectors and you will see, it is pretty easy too!
The edited video should be up Sunday.
Our next workshop is already set for April 1st (no, it is not an April’s fool) and the topic will be Colorization. This will certainly be useful to designers who might want to use some CU products and make them really different to match their kits, or for scrappers who want to modify some of their stash elements to make a perfect layout. We will also look at colorizing in photos so you can make some fun effects.
Registration is already open so just click the button below to register.
Did you want to view the workshops we had before? Would you like to have them right on your computer to view any time you wish? Do you want to download the multiple pages of handouts so you can print them? Now you can. Check out your favorite workshop and purchase the set you need. No more waiting for streaming, or your internet connection: you can have them all on your computer.
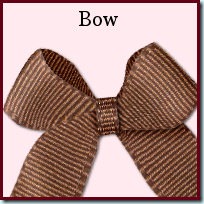
Last week, the newest tutorial uploaded was the Bow tutorial. That was requested by Lisa in our forum and i finally recorded it. Can you believe that the video is 33 minutes long and i skipped 2 thirds of the process as it was 2 repeats of what was shown? Yes, making bows from another ribbon (digitally made or an extracted flat ribbon) is a tedious task but you can then have a perfect match with what you want to use it for. Check it out!
Although this might be the March break in some areas (it was for us here), the Campus is still open, 24 hours a day, 7 days a week, so see you in the Campus, and bring friends along!


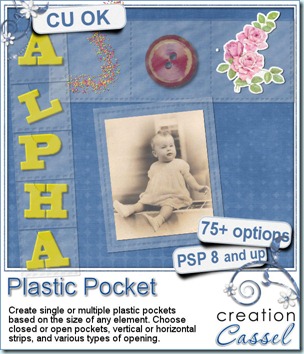
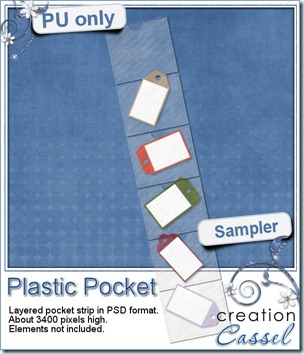 I know you would like to see one of those pockets on your layout and play with it. You are lucky because i created this multiple pocket for you. It consists of two separate layers, in PSD format, so anyone can use it, even if you don’t have Paintshop Pro.




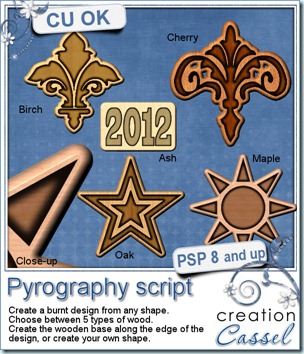
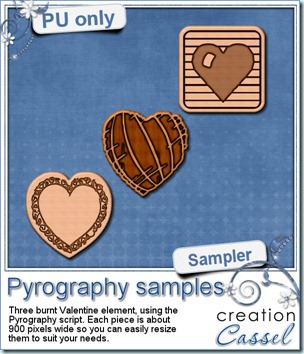
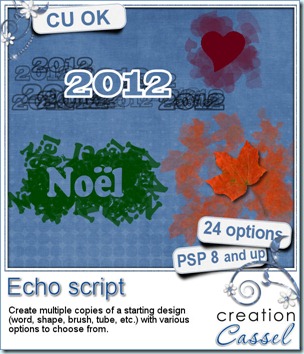
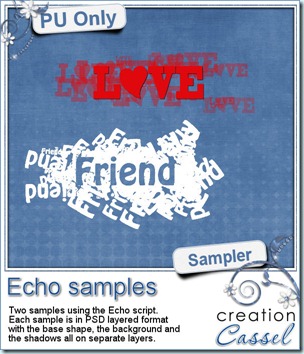 I know, you want to get a chance to see this end product up close, right? So here is your chance. I created 2 samples in PSD format (so you can play with the pieces separately). What would you do with those?


 To create the preview, i used a layout made with the kit Floreala Arrossisca by Silver Fox Studio. With her permission, i am making the full size QP available to you. It is a very simple design because it is also the
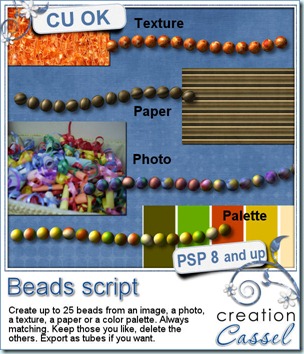
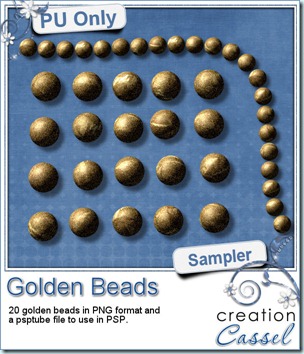 How about a little Freebie now? I created these TWENTY beads for you. They are all in PNG format for all to use, but there is also a psptube file for Paintshop Pro users so they can “draw” with it.


 I am sure you wanted a freebie, right? You will be able to see a full size of three embossed tapes you can use on your layouts. What kind of layout will you do with that?

 And what about a little sampler of an embossed layer? Here are two samples. They will fit a photo or a mat about 7 x 5 inches. They are in PNG format, so you can use them in just about any graphic programs. And you can adjust them, blend them with a paper of a different color, resize them, etc.