 What do you like about incorporating ripped pieces of papers in a digital project? The rustic look? Maybe. But how do you go around getting those for your layout other than scanning them?
Easy! You use a script in Paintshop Pro!
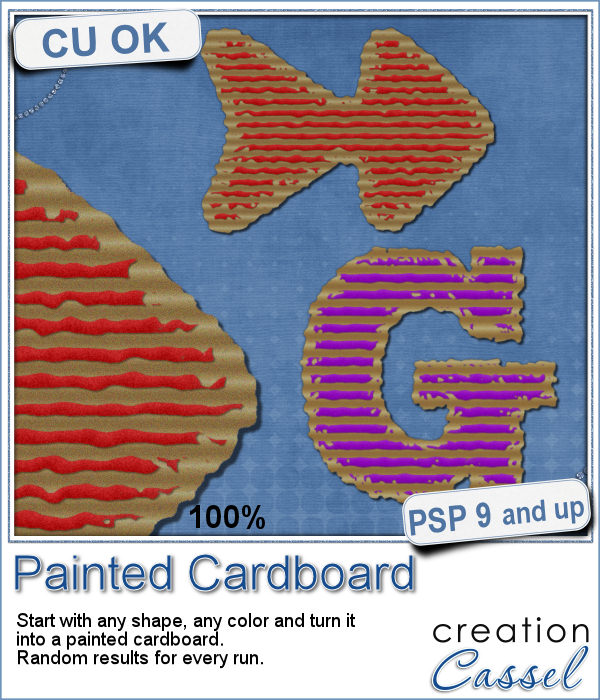
This script will let you start with any shape, in any color and it will work its magic with just a few questions to answer or choices to make. That's it! It will create the ripped uneven edges, and convert your initial color into strips of uneven paint.
And best of all, every run will yield a different result because of the random function incorporated into the script. If you don't like one result, undo (Ctrl-Z) and run again. It's that easy!
Get this script: Painted Cardboard
For a chance to win this script, i decided to change things around a bit. THIS WEEK, you need to comment on THIS FACEBOOK POST instead of here. The winner will be announced NEXT week in the newsletter. Not a subscriber yet? Not a problem. You can register here and it is free (and you only get one email per week).
 As a sample, i created 3 frames using this script. All three were made starting with a different gradient instead of a solid color. They are about 6 inches in the longest side so you should be able to get a photo in them.
With this rustic look, you can probably combine those frames with other elements in a cluster. That would be great! Don't you think?
You need to be logged in to download this sample. You can either login, or register on the top of this page.