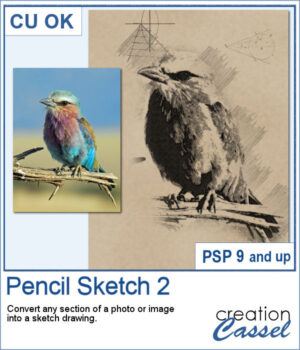
If you want to convert a part of your photo into a "technical" pencil sketch drawing, this script will help you with it. You can use any image and any section to convert.
The script will create a brownish base paper, but you can also use your own, in any color, with any texture.
All the layers are left unmerged so you can tweak each of them as you want, erasing sections, colorizing them, etc.
Get it in the store: Pencil Sketch 2
To win this product, add a comment on this Facebook post telling us how you would use a sketch drawing effect for (remember, add a comment, not just a Like!) We will announce the winner in the newsletter, next week. Not a subscriber yet? Not a problem. You can register here and it is free (and you only get one email per week).
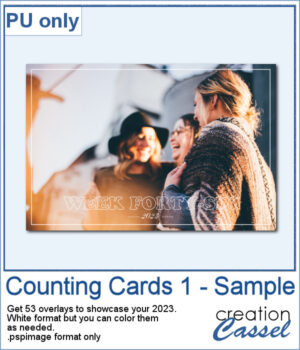
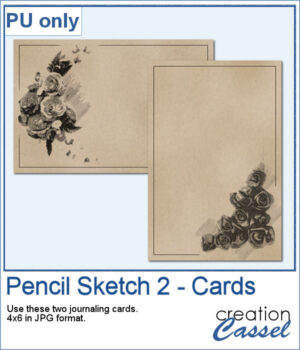
o, sketch, As a sample, I used pictures of isolated flower clusters and ran the script. I added a separate frame and removed the "technical" drawings as they didn't seem to fit with the theme. Each card is 4x6 and has enough space for you to write a sentiment, a quote, or a message.
You need to be logged in to download this sample. You can either login, or register on the top of this page.

You can now add some painted frames around any photo, element, or even just a selection. This means that you can even work directly on your work in progress.
As a sample, I created two frames for 4x6-inch photos. I left the layers unmerged so you can use the Lock Transparency to change the colors of the different layers.
You can now display your favorite quote or title in a unique way.
For a sample, I created a whole alphabet in basic font and a single row board for you to display a title of your choice.
Whether you are doing a "Project 52" or just want to showcase your photos, sometimes, it can be fun to have an overlay to show the week and year of that particular photo.
As a sampler, I created a whole set of raster overlays for you to showcase the year 2023. All the layers are in white, but you know that you can change that easily, right? The format is 6x4, which is fairly standard for printing, but also if you are doing pocket scrapbooking.
In the store, we have some garlands that are bold and full, but this time, we offer you some more delicate variations on those garlands. You get 10 different colors with white ends. In addition, there is one gold and one silver set for more festive projects.
For a sampler, I drew the text for this Happy Holidays sign using the gold tinsel tube. I also used the VectorTube script to outline the sign. Each section is on an individual layer so you can use the sign without the text, or the text without the sign. You can even replace the red background with something else.
This set now includes 15 additional designs to create your own Christmas ornaments with your choice of colors and color combinations. This will allow you to create up to a dozen Christmas balls in one run.
As a sampler, I ran the script using a red background for the balls and a single red color for the design. You get 6 different designs to use in your holiday projects.
Whatever theme you are using for your next graphic project, you might want to add some light to it. I mean, literally. With this script, you will be able to turn any vector object into a lit lightbulb, with your choice of color.
For a sampler, I created a simple set of digits for you to add any date you want. I used basic colors so they will be as versatile as possible. Each one is in png format so you can add them onto any background. They are in png format so you can use them with most graphic programs and they have some transparency so you will be able to see through them.
It might be a design of the past, but sometimes, the past comes back into fashion. You can create this design manually, but it is tedious. You can use a template, but it is still tedious to change the colors especially if you want more variety.
For a sample, I chose the color palette from the Digital Scrapbook November blog train and generated six fun designs that you can use as seamless patterns. They are in png format, and have no background so you can add whatever color you want behind it.
You can surely create stacks of wooden characters, but it is quite tedious. You have to duplicate each character, and then rotate and move them one by one, then add some thickness AND if you want to add the proper inside shadows, you have to do that on each individual layer.
For a sampler, I created a set of 10 digits, using cherry wood. Each digit is about 500 pixels high in png format.
If you want some variety in your supplies but still want something to match what you currently have, this is another script to create a bow from a straight ribbon.
For a sample, I used some ribbon templates from Marisa Lerin and colored them with some autumn colors. The freebie includes the three bows but also the matching straight ribbon I created for them so you can even use them with other scripts to create other types of bows and knots.