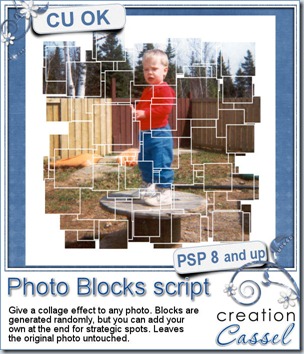
Last week, someone told me she wanted to find scripts to add some photo effects. She had seen all those fancy actions for Photoshop, but she was using Paintshop Pro. She asked me if i could do some. Without a specific effect in mind, i just browsed the net for interesting photo effects, photo frames, and such. I ended up on a collage effect, and sure enough, there was a tutorial for achieving it in Photoshop. I started reading the instructions, trying to see if it could be done in Paintshop Pro too, but i got discouraged with the amount of work it involved. I had no intention of working on 60 individual layers, even in PSP, so i thought of a different way to achieve it and it was also easy to turn into a script. Although doing it manually is not hard, it still takes time, so the script will allow you to get a great result in no time.
The script will generate small, medium or large squares, depending on what you choose. It will generate many blocks. Maybe you will find that some spots are not covered, or maybe you won’t like the arrangement. No problem. Ask the script to add more blocks. In fact, they are “full” blocks with an outline, so even if you were to add 200 blocks, you will not see a ton of outlines.
If you end up with something that is almost perfect, but you still want to tweak it, no problem: you can add more blocks with the tool that will be already set for you. And you can also add a rectangular block for a real focus on a part of the photo.
This script is available in the store: Creation Cassel
 As usual, you can add your name to the RAK thread in the DST forum for a chance to win this script. Just tell me how you would do this manually. I will be back on Monday night to draw for a winner.
As a freebie, this week, i created a mask and a matching png template. You can use either one, depending on your program or the technique you want to use. It is suitable for a 6x4 photo, but as a mask, you can use it with a larger image. Not only you can use it on a photo, but maybe you can also use it with a paper. That would make a fun background, don’t you think? And it will be great to use with the upcoming workshop on Masks!
You need to be logged in to download this sample. You can either login, or register on the top of this page.
Sarah had fun with the License Plate script last week. She posted her dream plate. Isn’t that gorgeous?
I would love this as a dream plate too, since i have never been in Hawaii. That would be great!
New from the Campus
 Last week, we held two totally new activities. They were both called Video Speed Scrap, but really, they should be renamed. One was on templates and one was on monograms. It was really fun to all work on our own project yet be able to see what others were doing. That is the beauty of the set up we had. The participants all created templates and monograms. You can see one monogram that Teejay did. They will be distributed to all the Campus members as soon as i get all the pieces together. Here are some comments sent by the participants:
“Amazing” – Rachel
“I really liked being able to see your screen” – Susie
“It was fun. Lets do it again.” – Elaine
“i thought it was fantastic... what a great way this would be ..to learn of each other..this was what the net is meant for” – Teejay
Are we going to have another one of those? Probably. When? That, i don’t know. I am thinking of repeating the event with similar themes but i also have other ones in mind. When that will be scheduled, i will post it for you.
Finally, both the Basic Scrap course and the Element Creation tutorials course are still on sale. This will only be available for a few more days as it will end at midnight on July 31st. Check them out.
for
$49
Basic Scrap Course Element Creation Tutorials
On August 5th, we will have our next live workshop. The theme will be Masking in PSP. We often see masks as individual products in stores, but how do you use them? Can they have other purpose than just making a nice shape around a photo?
We’ll be looking into that. Of course, if you have any particular question you would like us to address during the workshop, just drop us an email, or include the question in your registration form.



 I am sure you will LOVE this free sample i made for you. I used one of my bead tubes and ran it on a 600x2000 pixels image asking for a triangular shape bottom. Then, i used that tile to flood fill a 3600x2000 image to get that chevron effect at the bottom. Isn’t that lovely? You can use it as a background for something fancy, or formal, or maybe a wedding page, or Christmas layout. What will you use it for? This is a png format, so anyone can use it.


 I am sure you want to have a look at these tags, before purchasing them, right? Of course. So i created a few free samples for you. You get 3 instead of 2 because i know that our UK friends are using a different spelling than the commonly seen “Mom”, so to give them an opportunity to use this freebie, i made one with “Mum” too.


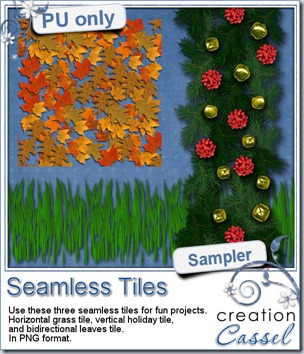 As a free sample, i chose to create three seamless tiles for you with the script. First, i used the Grass blades tube from PSP, and created a horizontal seamless tile. This would be great to add to any project with a nature or vacation theme. Second, i use a combination of spruce branches, bows and bells to make a vertical tile. You can use this tile to embellish some stationary or cards with a holiday theme (i know, it might be ahead of time, but you can start early). Then, i made a diagonally seamless tile with the fall leaves tubes from PSP too.


 This week, i created a set of glass pebbles for you based on red, white and blue colors. I know the 4th of July is coming soon, and we also have our French scrapper friends celebrating their national day on July 14th using the same colors. Canada Day is on July 1st, and it uses red and white (you can drop the blue ones). Of course, you dont have to use those colors only for national holidays: many other themes or events can use those pebbles for embellishments, even if it is only for a basic kids layout!

 As for every new release, i have a give away in the DST Happy Place section. Check
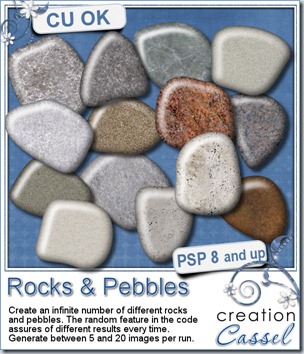
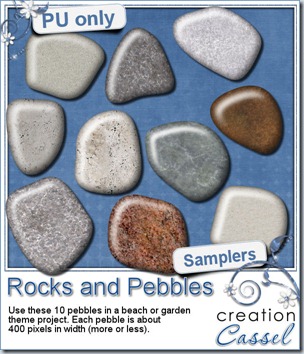


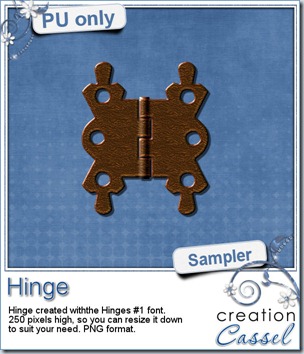

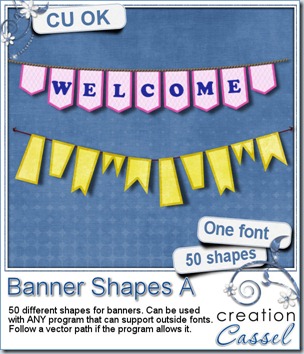
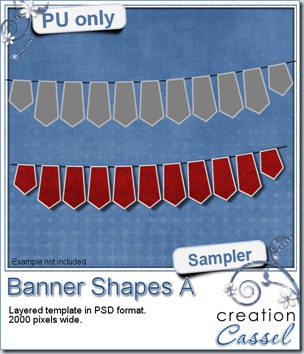 I created a freebie for you this week using this font. I made it into a layered template so you could use any color or pattern you want, or even use a paper you like (or more than one!). You can use the banner shape with or without the outline, or you can play with the opacity of the banner while using an opaque outline. That would be a fun idea too! If you want to make them slightly uneven, as if the wind was at work, you might want to use a warp brush tool to “move” them a little!
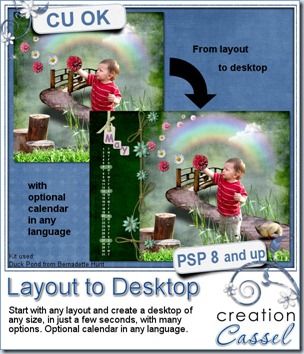
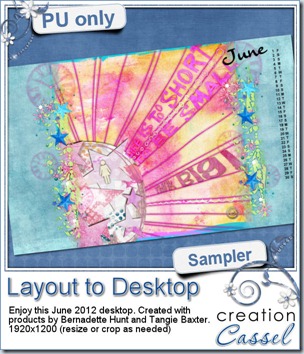 Usually, i create a sampler with the newly released script, but this week, it will be a little different. In fact, Bernadette was “playing” with this script to test some details of it, and ended up creating a desktop and she allowed me to share it with you.