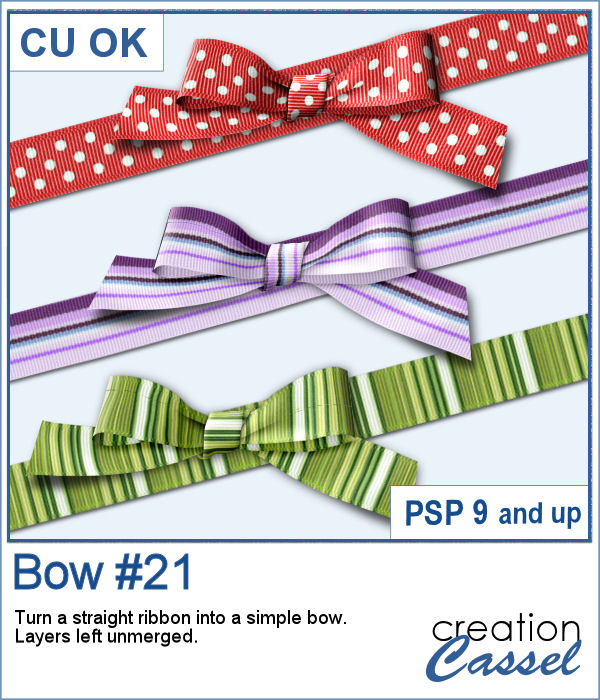
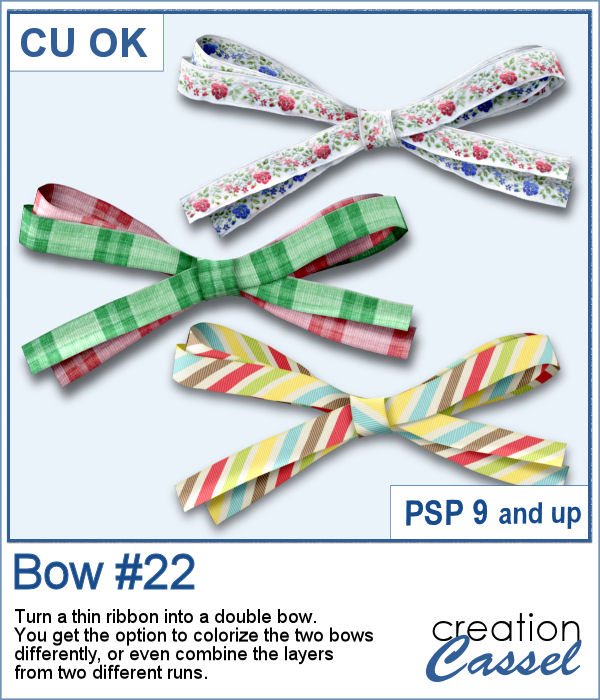
Sometimes, it can look interesting to have a series of paper strips of different colors or patterns to serve as a background for a project. However, that can be tedious and time-consuming.
This script will just do that for you in a very short time, using your papers, and your options, sprinkled with some randomness too. Every run of the script will yield a different result, even if you were to use the same papers and the same options.
Get it in the store: Paper Strips
In order to win these tubes, add a comment on this Facebook post telling us if you have ever used series of papers as a background for a project (remember, add a comment, not just a Like!) The winner will be announced in the newsletter, next week. Not a subscriber yet? Not a problem. You can register here and it is free (and you only get one email per week).
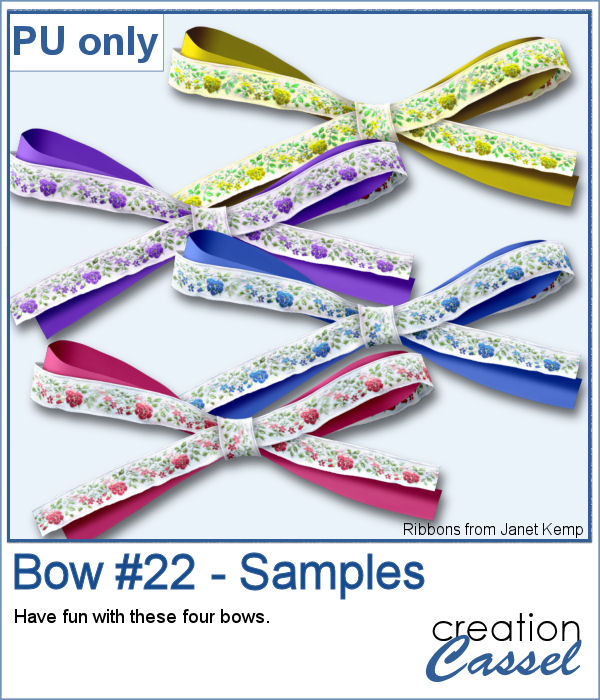
As a sample, I chose to create a series of strips, aligned to the bottom, and turned them into a template so you can use it with your favorite papers. These strips are grouped so you can copy and paste them onto your project in one step (instead of copying them one by one!).
You need to be logged in to download this sample. You can either login, or register on the top of this page.

Using bows and knots can be quite versatile as long as you have variety. This is the 19th type of bow in the store (and we have knots too) so using your own straight ribbon, you will have the option to create some matching bows. The script uses a random location on the ribbon so if you run the script multiple times on a patterned ribbon, you will get different results.
As a sampler, I created six little bows using ribbons from Janet Kemp. I layered a grosgrain ribbon with lace and flattened both. Then, I ran the script. I then ran the script on the grosgrain ribbon alone (without the lace), and since the layers were not merged, I copied and pasted the knot part only to replace the one on the "lacy" bow. It is a little more work but it shows how versatile this script can be with unmerged layers.
I released the first set of gold chain picture tubes over 10 years ago and they were VERY popular especially since those were totally new among the PSP tools. Today, I created another series of gold chains picture tubes. Those are mostly double-links chains.
As a sampler, I created a vector shape with wavy edges and ran the VectorTube script to place the gold chains neatly along that edge. For the double frame, I used the same method to create two "matching" shapes and then used the interlacing technique to give the frame that twisted appearance.
Creating a pinwheel out of paper might sound simple using a template, but would NOT respect the correct orientation when the paper is flipped.
As a sampler, I used papers from a kit called Summer Fun from Janet Kemp and created four simple pinwheels. You can get all the matching papers from this kit
Time flies and in the fall, those vines will often change color. These picture tubes are made from vines that have already turned to a pink or orange color due to the season.
As a sampler, I created a large frame, covered it with chicken wire (from the Chicken Wire tubes) and added some vines, and some clothespins to hold some photos. These photos are showing as a mask group so you won't have to do any cutout of your photo to place it in the frame.
You can now create your own admission ticket (or other types of tickets) with this script. You get various options to incorporate into the making of it, including colors, text, fonts, texture and design.
For a sample, I created some generic seasonal tickets with little shapes in the boxes to match the season.
Now, you can turn any vector shape into one of 8 fabric textures. The script will use the color you started with and will blend in the texture. You can create titles with it, frames, mats, cluster elements, etc.
As a sample, I created some random patches in different basic colors. Use them as you wish. They are about 700 pixels in width and in png format.
To create a nautical project, using netting is a common element. Recently, we had some netting picture tubes that you could use to embellish your project. This time around, the netting is variegated, giving the whole project a different look.
As a sampler, I created a wood frame (using a script) and added three layers of netting. I distorted them irregularly, and deleted what was extending outside of the frame. I then added some seashells from the 2019 picture tubes.
You can now create a custom tag, with the colors from your palette, or even with some interesting patterns, and include details of your choice. Although these tags would typically be associated with travel (like a location, an airport code, etc.), you can use them for any occasion since you can choose any text you want.
For this week, the samples I made were run through the script, but I stopped it before the final merge, which allowed me to remove some of the text. This helps create "blanks" that you can fill however you need.
The Doppler effect is that difference in sound you hear when a vehicle runs in your direction, and then away from you. It is a sort of echo of the soundwave.
As a sample, I ran the script on individual digits starting with a black text. This will allow you to colorize the elements to match your project. To maintain the transparency on these digits while adding color, lock the transparency of the layer, fill with the material you want, and unlock the transparency.