It is always interesting to use an actual photo and use it to create background papers since they will perfectly match.
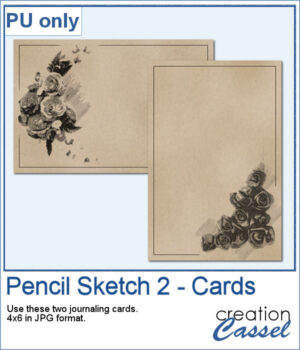
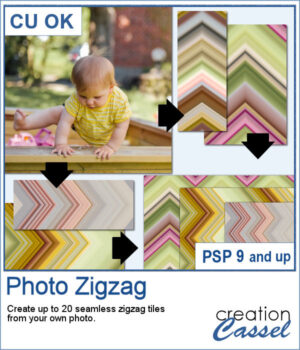
This script will use random sections of the photo and create seamless tiles with a zigzag pattern. You can use those tiles in any scale you want to fill any larger canvas. You can generate up to 20 tiles in one run. Keep the tiles you like and discard the others.
Get this script in the store: Photo Zigzag
To win this script, add a comment on this Facebook post telling us if you use zigzag patterns, sometimes (remember, add a comment, not just a Like!) The winner will be announced in the newsletter, next week. Not a subscriber yet? Not a problem. You can register here and it is free (and you only get one email per week).
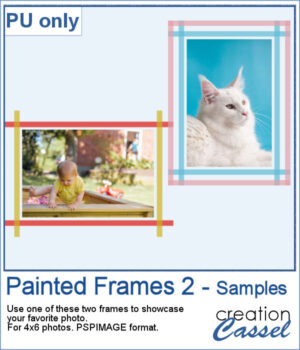
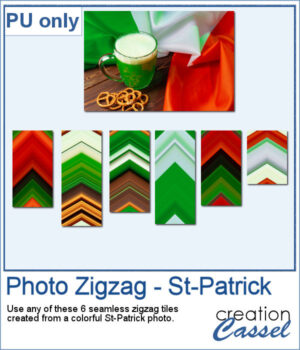
As a sampler, I used this St-Patrick photo to generate 6 seamless tiles. All the tiles are 400 pixels wide but of different lengths. They all show some greens but also the white and orange from the Irish flag. This is perfect for you St-Patrick projects. If you find the colors too bright, you can blur them or desaturate them to suit your projects.
You need to be logged in to download this sample. You can either login, or register on the top of this page.

You can simulate the old method of fastening photos in albums but without actually cutting the background.
As a sampler, I used the dimensions of a standard 7x5 photo, and ran the script on a black rectangle. The script treated the rectangle as a photo, and now, you can replace the rectangle by your own photo. Convert it to a mask if you want, but you can also just trim it. More interesting for you, you can move the linked layers to place the photo somewhere else on the page. Build the rest of the page as you wish with papers under it and elements on top.
I have seen someone wear one of those t-shirts where individual tiles spelled out a meaningful word. I was wondering how to create those tiles for any word a user would want. And I did manage to code a script that will use any word you give to generate individual tiles.
For a sampler, I created the tiles to spell out the words ADORABLE and TECHNICAL. Each tile has a transparent background so you can add your own, and customize them further.
You might be able to get some ready-made templates to showcase your photos but how about creating some that will perfectly match what you need?
For a sampler, I am sharing the basic template created to make the preview. It includes eight circular areas for you to showcase your photos, or something else.
If you like to decorate cakes or even want to showcase some dessert, you can use these picture tubes to add a sweet decoration to your page.
For a sampler, I created two frames using chocolate flavors: one is darker chocolate and the other is likely more milk chocolate. Each frame is in PNG format and about 2600 pixels wide.
Yes, this is another bow script, but honestly, who can have too many different bows in their stash? This script will generate a bow that will be kind of droopy.
For a sample, I created three bows that would be suitable for Valentine Day's projects. I used various straight ribbons and colorized them to get that traditional red color for the occasion. Each bow is in PNG format.
If you want to convert a part of your photo into a "technical" pencil sketch drawing, this script will help you with it. You can use any image and any section to convert.
o, sketch, As a sample, I used pictures of isolated flower clusters and ran the script. I added a separate frame and removed the "technical" drawings as they didn't seem to fit with the theme. Each card is 4x6 and has enough space for you to write a sentiment, a quote, or a message.
You can now add some painted frames around any photo, element, or even just a selection. This means that you can even work directly on your work in progress.
As a sample, I created two frames for 4x6-inch photos. I left the layers unmerged so you can use the Lock Transparency to change the colors of the different layers.
You can now display your favorite quote or title in a unique way.
For a sample, I created a whole alphabet in basic font and a single row board for you to display a title of your choice.
Whether you are doing a "Project 52" or just want to showcase your photos, sometimes, it can be fun to have an overlay to show the week and year of that particular photo.
As a sampler, I created a whole set of raster overlays for you to showcase the year 2023. All the layers are in white, but you know that you can change that easily, right? The format is 6x4, which is fairly standard for printing, but also if you are doing pocket scrapbooking.