 Do you like the look of delicate jewelry made of fine gold or silver threads? You can recreate something similar with this Paintshop Pro script.
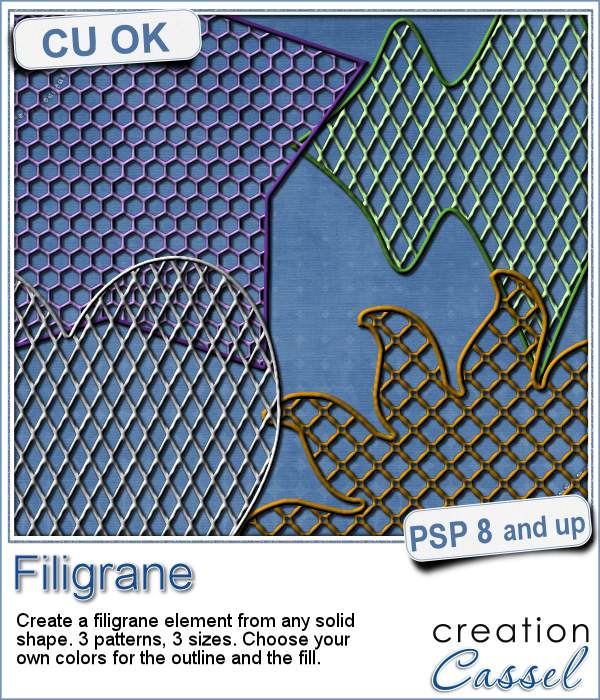
Starting with any solid shape, run the script and pick your choices: thickness of the outline, color of the outline, pattern, size and color for the fill. You can get unlimited results by changing the colors, size, or even making the outline a different color than the fill.
Add a ring if you want the shape to become a pendant, or add gemstones for an even richer look. Write someone's name with individual letters for a unique label.
Grab this script in the store: Filigrane.
Do you want a chance to win this script? Tell me, in the comment, what element you would like to create with this filigrane script. I'll be back next week with a winner, which will be announced in the newsletter. Not a subscriber yet? Not a problem. You can register here and it is free (and you only get one email per week).
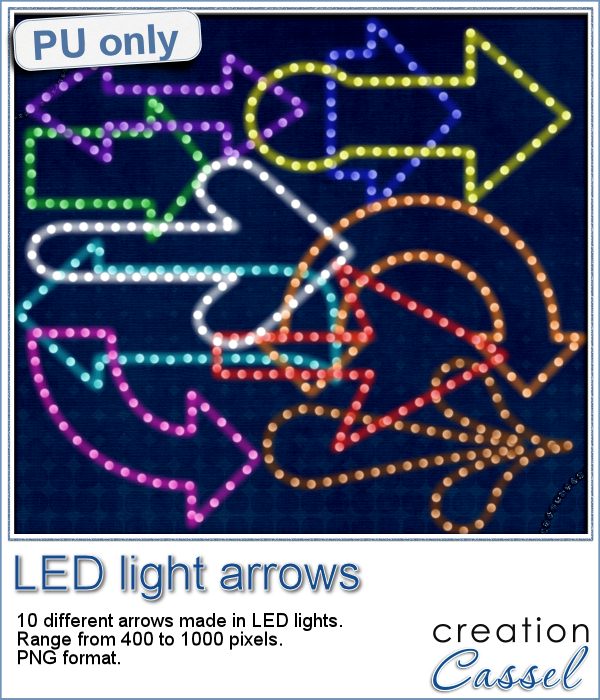
 As a sampler for you to have a closer look at the end result of this script, i created 3 sets of arrows. You can use those as accents on your layouts. Each set has a different fill pattern, and three colors (gold, silver and bronze).
They are PNG format, about 600 pixels each. This should allow most users (even if not using PSP) to enjoy those arrows in a graphic project.
You need to be logged in to download this sample. You can either login, or register on the top of this page.