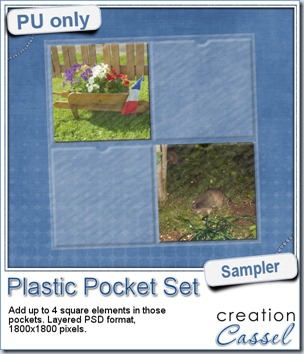
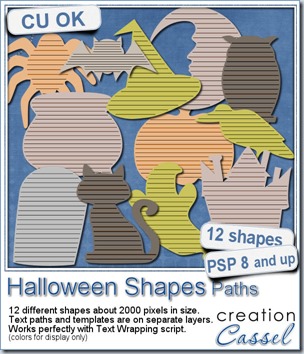
Do you have some photos or anecdotes to share about Halloween time? These are great to add some journaling or stories while keeping inside a Halloween theme shape.
Since Paintshop Pro does not have an integrated text wrapping feature, you can use those paths to manually add text (just like Text on path) and adjust the spacing and kerning, or you can use the Text Wrapping script that will automatically adjust those for you, to have your text along those paths and inside the shapes.
The paths and the shapes are on separate layers so you can use one without the other, or even use the templates to create something completely different, like a frame, a cutout, or just a decorative element.
You can grab this “scary” set of Halloween paths in my store.
Do you want a chance to win those paths? Add your name in the Happy Place thread HERE while answering the simple question. I’ll be back next week to announce a winner.
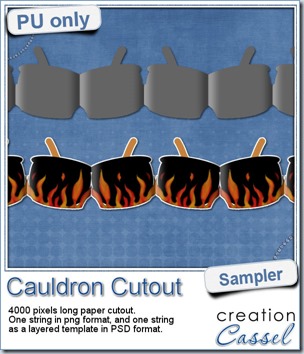 This week, to make sure that everyone (using Paintshop Pro or not) could use my product, I opted to create a paper cutout using a cauldron image, which was turned into a sticker (with a little white edge). Then, i ran thePaper Cutout script and it generated the long string of colored cauldrons, but also a separate template in unmerged layers. Both the png string of cauldrons and the layered template in PSD format are included in the zip.
Each string (the png and the psd ones) are 4000 pixels long so they are long enough to reach both sides of a full size layout.
You need to be logged in to download this sample. You can either login, or register on the top of this page.
News from the Campus
 You know about the Scrapper’s Dozen event, right?
Did you watch the first video where i shared a trick to organize your digital kits?
This week, i am sharing another trick to help you save money, by reusing kits that have colors you are not too sure about. Maybe they are too bright for your project, or they are too washed out to add life to your layout.
Be sure to watch that video, and add your name to the mailing list for the event.


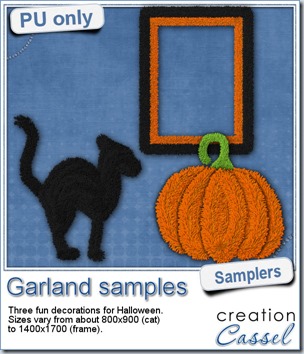 Now, how about a little look closer at those garlands and their texture? I created a few Halloween decorations for you using those garlands.
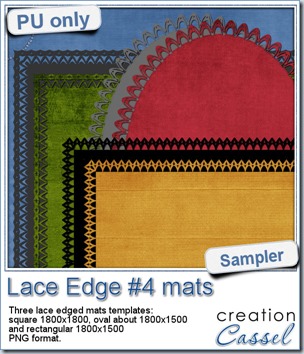 This week, i created more mats for you, using the lace font from last week.
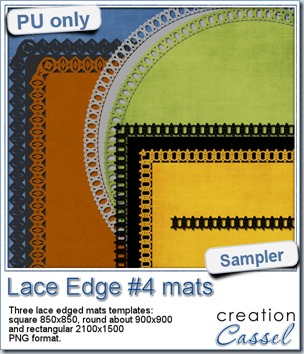 This week, i created 3 decorated mat templates. You can use them to cut out your favourite paper, or simply to color. You can also layer them with other simple shapes since those are very simple to start with.

 Do you want a chance to win this script? Just tell me what you would use it in a scrapbook project, in
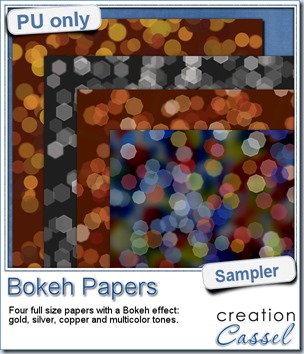 For this week’s free sampler, i created four full size papers for you. Since i dont really know what type of photos you have to use in a layout, i decided to create three of those papers using just gradients i had in my stash: one for silver, one for gold and one for copper. Once i had a paper made out of those gradients, i just ran the script on it.

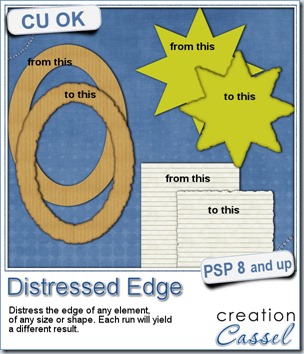
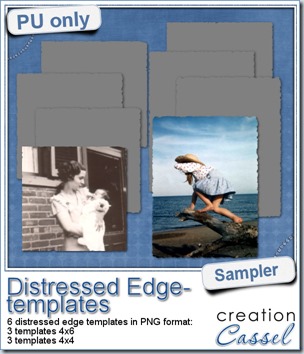 One neat use for the distressed edge is that although you can use it directly on the element you want to have irregular edges, you can also create your own templates for shapes you might want to use in the future. In fact, that is what i did for you. Since i could not show you a sample on YOUR elements, i made some grey templates. They are for 4x4 and 4x6 photos. If you are into pocket scrapbooking, or Project life or using Instagram, you will surely find some use for those. Use them for photos or journaling cards.
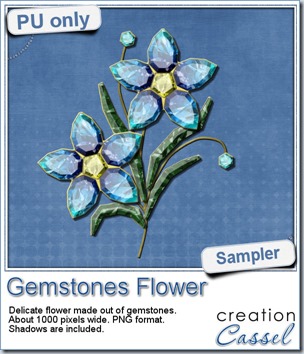 This week, i had a lot of fun creating your free sample and i am super happy with the result. I created these gem flowers using the script. Here are some tips i used to get such a great result:
