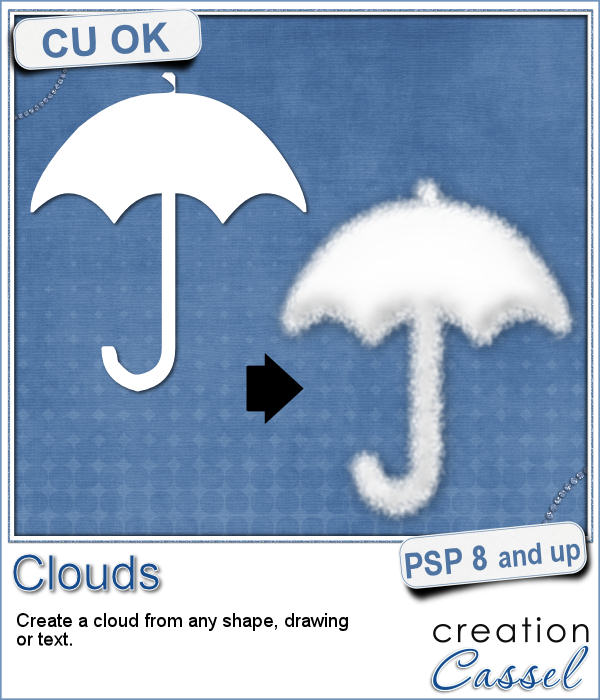
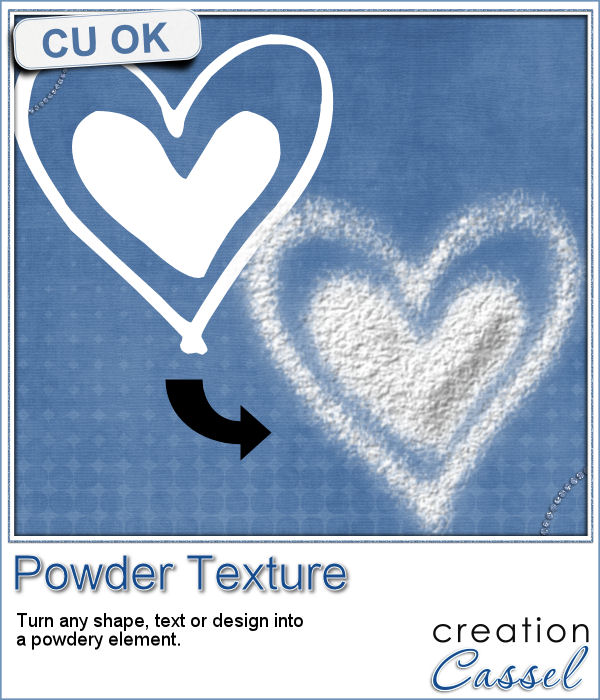
This script will be fun for anyone who has a cooking theme project: now you can write and draw with flour. Well, not real flour but you can turn your design into flower looking elements.
If you are using different colors, it could become spices: yellow for turmeric, red for paprika, grey for black pepper, etc.
Write a name, draw a shape, have fun with any design. Make it uneven with the Brush variance for an even more realistic look.
You can have flour (or baby powder) on your scrapbook pages, without making a mess!
Get this script today in the store: Powder Texture
For a chance to win this script, tell me what element you would most likely create with it (flour, baby powder, spice, paint, etc.) in the comments below. Not a subscriber yet? Not a problem. You can register here and it is free (and you only get one email per week).
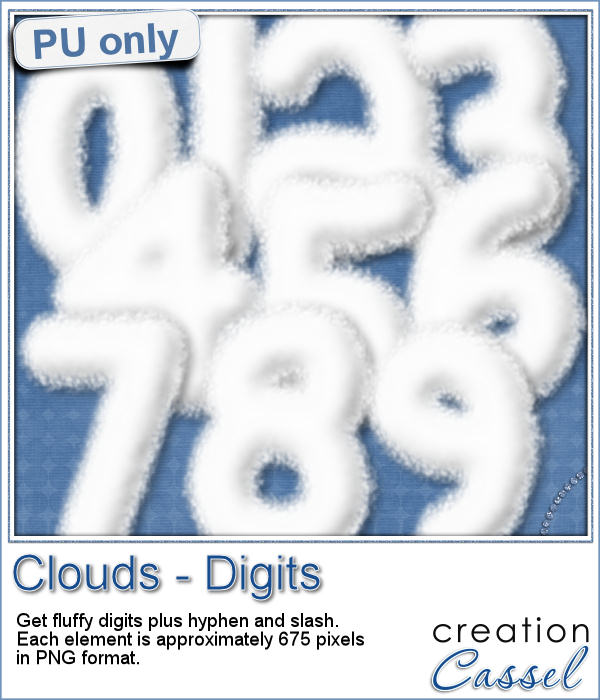
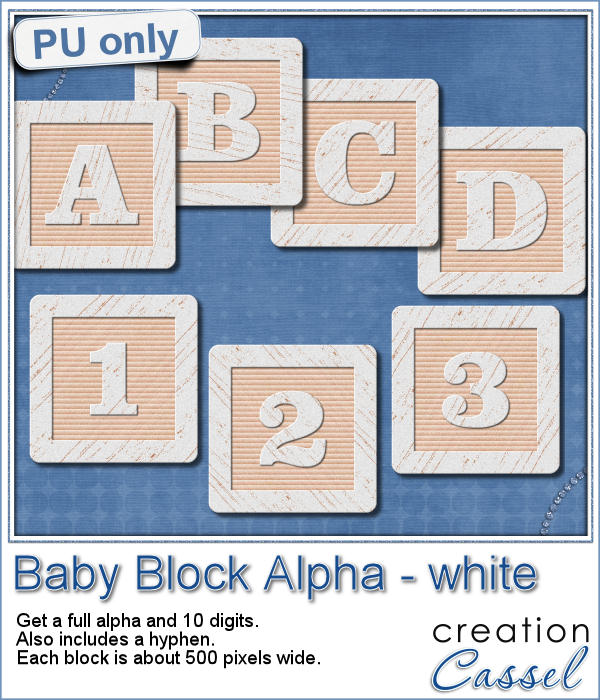
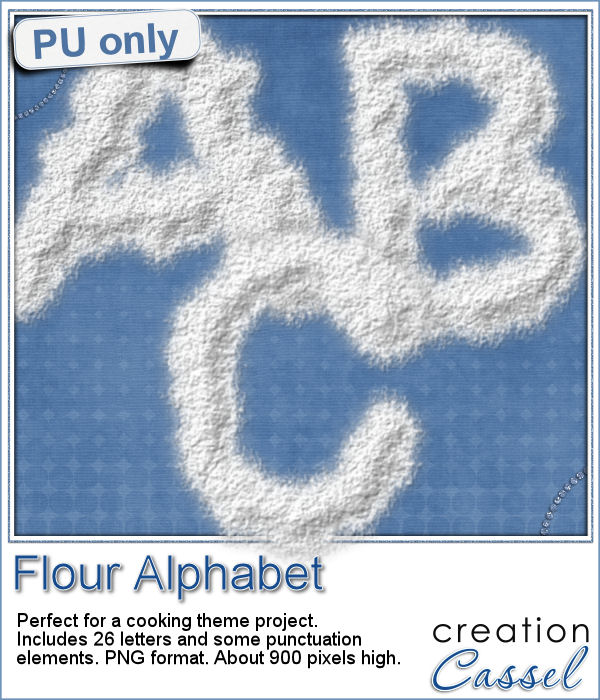
As a sampler, this week, I created a complete alphabet for you. It includes all the 26 letters, and some punctuation elements.
Each letter is about 900 pixels high so you have ample opportunity to resize them to suit your project.
Will you use them as flour or baby powder?
You need to be logged in to download this sample. You can either login, or register on the top of this page.
News from the Campus

Are you joining us this Sunday for our monthly live online class?
We'll have a different perspective on angles... and Paintshop Pro.
It is free and you can register today.

When you have a whole album, how many photos would you need? If you want to use layered templates to complete your project faster, you still might have to add dozens of photos. How long would it take you to open each of those photos, copy them, paste them on the template, in the correct layer, resize them, center them in the correct location, crop or trim them and save the layout when all the images are added? Just listing those steps in here, i am out of breath!
As a little sampler today, I created a couple of strip clusters using the Strip Cluster script. I used Southern Creek Design's kit, Spring Thing for that.
Sometimes, you might want to add identical borders to the photos on your layout, but since you want the photos to be of different sizes. How do you do that? Adding the borders before placing the photos on the montage is not the solution since you will resize the photos, and therefore, the border will also be resized.
As a way to show you how this script can create identical borders even on photos of different sizes, I created this layered template for you. I had to tweak the end result since the script would merge the edge to the photo.

You might be able to use a photo of a brick wall as a paper background for your project, but you might wish to have something that would match more closely your favorite color, or color palette.
As a sample, I created 3 full size papers (3600x3600) all based around the same blue color. It gives you a good idea of how flexible this script can be.
We will have a live presentation on Sunday, August 7, at 5 pm Eastern Time.
Did you ever see those movies where someone has a plane write "Will you marry me?" in the sky? That is a cool idea but more expensive than most budget allow!
For a sample, I created some hand written digits so you can write a special date in the sky.
You have certainly seen those wooden blocks young kids have been playing with for decades. You can often see those blocks associated with baby or even pregnancy pictures. Now you can create them yourself to write any name or phrase you want in your baby project.
As a sample of what you can do with this script, here is a full alpha that includes letters, digits and a hyphen. I chose white so it is gender neutral.
A lot of scrapbookers and designers love to create and use clusters, but the task is often daunting because of numerous repetitive tasks that seem to drain their creativity. So, why not have a script to give them a jumpstart?
As a samplers, this week, I used a kit from Hat of Bunny, Baby Mine. I ran the script to create a corner cluster for the bottom right corner.
Although they might be getting less and less popular in real life, photobooth are still often associated with fairs, and fun places. Back in the days, you could get a set of 4 black and white photos in those booth. Over time, they became more modern and started offering color photos. Those strips of photos still bring back memories to many people.
As a free sample, I am offering you the frame that was created when I ran the script for the four pictures of my daughter and her friend. It is 660x1950 pixels, which is about the size of a real photobooth strip of photos. Add your own photos to it and place the result in your next scrapbook project.
You probably have seen those images where a video has been shot vertically, but it has to fit in a horizontal space, then the extra on each side is a copy of the main image, but blurred and darkened to keep the focus on the main image.
Since this script is about creating a special effect on your own photo, i can't really create a sampler from any photo of mine. Well, I could, but i doubt you would find it very useful, so instead, i created a different sampler based on one that was VERY popular recently: the Wooden Window.
Join us for our live presentation on Ribbons and Bows, where we will take a look at how to create knots and bows from straight ribbons, using PSP.
Who can say they have enough bows in their digital stash? Nobody!
This coming weekend, it will be July 1st (Canada Day) and July 4th (Independance Day) so i created two basic ribbons with the blue white and red colors and one with red and white. Then, i ran the script for each one. I also used the Knot#7 script to create the additional knot.
Next week, we will have another live presentation in the Campus. Last month, Diana suggested we had a class on making knots and bows with the ribbons, so that is what we will play with. Will you join us?