It is time! I promised you all the details of this promotion TODAY. Were you stalking my blog? Ok so here are the details.
The promotion will last the whole month of February (it is only 28 days so the suspense will be shorter!). You will have THREE ways to enter your name into the draw. Yes, it will be a random draw because i personally do not like judged contest, and i want everyone to have the same chance, whether you are a beginner, or an experienced scrapper/designer. No favorite. Everyone is even.
FIRST WAY to enter: simply comment on this post that you want to enter the contest. Not too hard is it? So, by simply adding your name as a comment, you have ONE entry.
SECOND WAY to enter: this will require a tiny bit more work (but it wont be hard). Just browse in my store, and tell me, in a comment, what product of mine you find the most unique, original or useful. You can name only ONE (i know, that is the hardest part!). You simply post it in a comment to this post (you can put it in the same comment as your previous entry if you want, and i will count them separately).
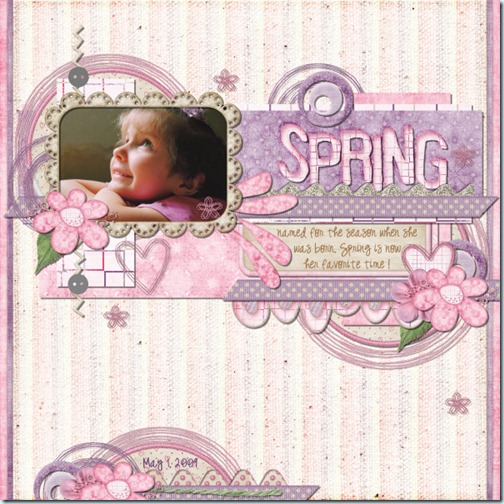
THIRD WAY to enter: ok, this one will make you work, and that is why you have the whole month of February. I want you to make a layout or a montage using at least ONE of my products. It CAN be a product from the store, but it can also be one of the freebies from this blog. That means, you do not have to be a PSP user to participate. See? i am thinking of everyone here: PSP users, PS users, PSE users, GIMP users, etc. I know, some of you might have more than one of my products (from the store or the samplers), but you can enter only ONCE in this manner. You post the link to your layout, as it could be anywhere, on your blog, in a gallery, or even in MY gallery if you want (here).
Remember, no matter how many comments you make, how many products you name, or how many layout you show, you have a maximum of THREE possible entries (you wont get disqualified for showing more though!).
Now, what is there to win?
There will be three prizes.
First prize: one full copy of Paintshop Photo Pro X3 (given to me by Corel!) and a full access to the PSP course i put up, including 36 video tutorials for scrappers, beginning designers or beginner PSP users. That is a value of $150 total.
Second prize: full access to the PSP course. Value of $50
Third prize: $15 GC to my store (and i have more than just PSP products!)
So, as you can see, it is a fun contest for PSP users who might want to get the latest version of PSP, or non-PSP users wanting to give it a try, but for more than the 30 day trial period allowed. What do you think? I am waiting for your entries through the comments on this post! So, is it worth it?
Let’s begin!
I am waiting for your comments!!!


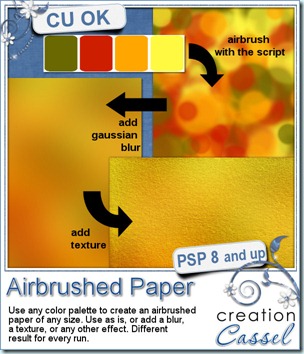
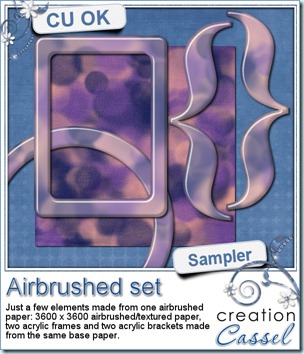 I know, you always look for something to see the product up close. Or, if you are not a PSP user, you want to play with the result, even though you cannot use the script. Well, this week, i created a paper with the script and then, made a few elements for you using that same paper as a pattern. You can get the base paper (with texture), in addition to 2 frames, and two brackets that were also run through the Acrylic script.
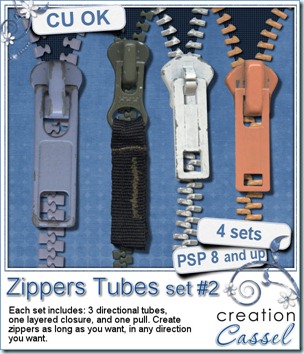
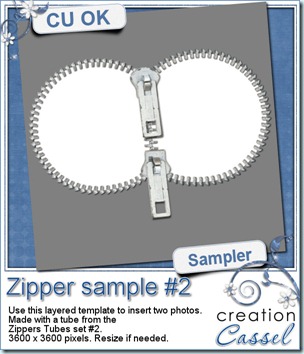 Do you want to play with the zippers? Check out this free sample i have for you. It is almost a template, using a zipper to frame two photos. This is 3600 x 3600 pixels layered PSD template with the zipper already placed and shadowed for you. Use both inserts to place photos, journaling or both.
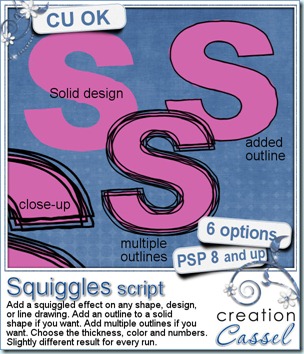
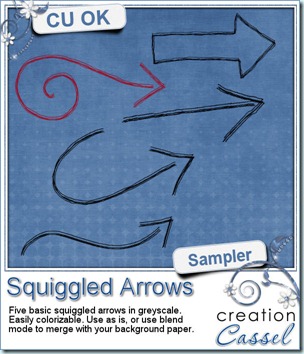 And here is a little sample made using this script. These arrows were initially drawn by hand, so they are not vector base and probably did look a bit uneven to start with! Each of them is in greyscale (i darkened them so you could see them better on the blue background!) so you can colorize them to match your layout or your kit. Use them as is on your layouts, or use a blend mode to get a different effect. Add noise to simulate a little glitter. Apply whatever effect you want. They are in png format and about 400 pixels wide.