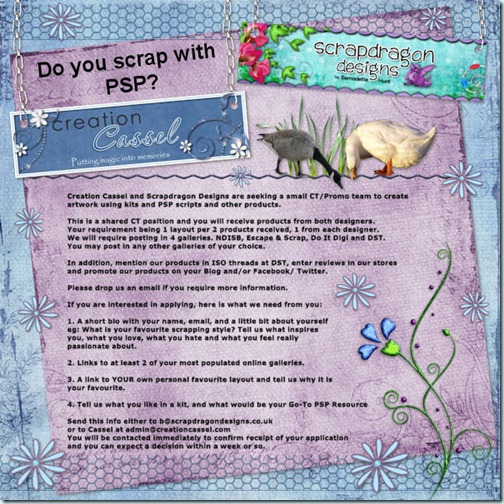
Creation Cassel and Scrapdragon Designs are seeking a small CT/Promo team to create artwork using kits and PSP scripts and other products. This is a shared CT position and you will receive products from both designers.
Your requirement being 1 layout per 2 products received, 1 from each designer.
We will require posting in 4 galleries. NDISB, Escape & Scrap, Do It Digi and DST.
You may post in any other galleries of your choice.
In addition, mention our products in ISO threads at DST, enter reviews in our stores
and promote our products on your Blog and/or Facebook/Twitter.
Please drop us an email if you require more information.
If you are interested in applying, here is what we need from you:
1. A short bio with your name, email, and a little bit about yourself
eg: What is your favourite scrapping style? Tell us what inspires
you, what you love, what you hate and what you feel really
passionate about.
2. Links to at least 2 of your most populated online galleries.
3. A link to YOUR own personal favourite layout and tell us why it is
your favourite.
4. Tell us what you like in a kit, and what would be your Go-To PSP Resource
Send this info either to [email protected]
or to Cassel at [email protected]
You will be contacted immediately to confirm receipt of your application
and you can expect a decision within a week or so.


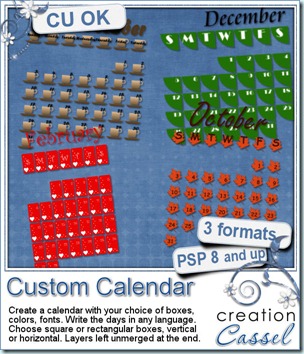
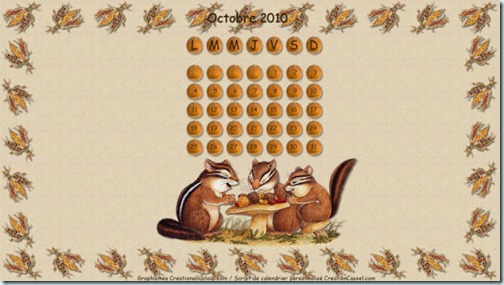
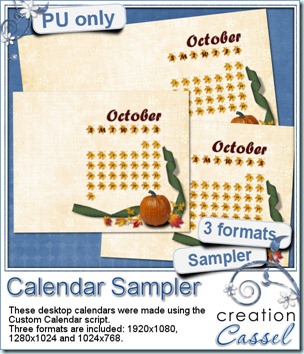 Now, you probably would like to get a closer look at the result of this script, so i made up this desktop calendar for you. The zip file includes 3 formats. This calendar was made using elements from KimericKreation.
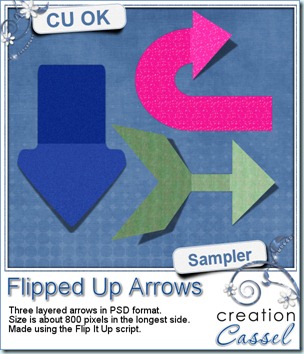 In the mean time, i have a little something for everyone. Here is a set of three arrows for you to use. They are layered PSD files so the shadow can be modified as you wish. Each arrow is about 800-900 pixels long. I am sure you can find some very creative ways to use those.
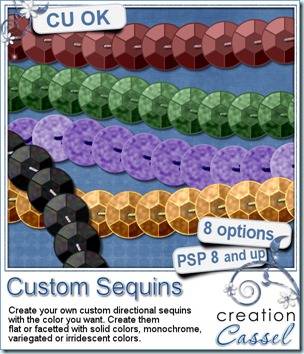
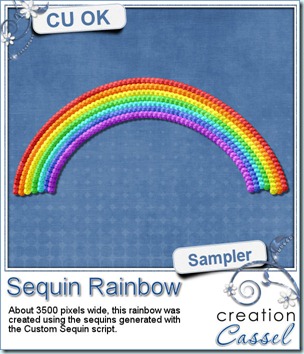 Now, just for the fun of it, here is a little something made entirely with sequins created with this script. It is about 3500 pixels wide so you can use it in just about any layout you want, by sizing it down. It is a png format so useable with just about any program.

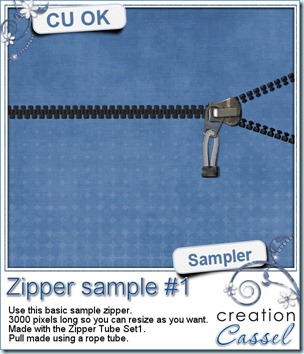 Now, you might want to play with one zipper and see what you can do with that? Here is your chance as i have this 3000 pixels long sample for you. It does include shadows as the element was pretty layered. Hopefully you can find some use for it?
