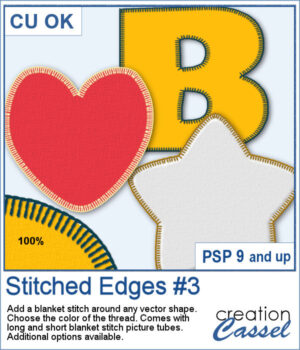
 Although you can add a serged edge on any shape (with the Stitched Edges #1), you can now add a blanket stitch around your elements. Starting with a vector shape, you can choose to have long or short stitches and you can pick any color for the thread. The end result is left on unmerged layers so you can tweak that thread color by changing the blend mode as needed.
You can also add custom textures or puffiness to the element if you want, but it is optional.
Get this script: Stitched Edges #3
Want a chance to win this script? Add a comment on this Facebook post telling us what project could use some stitched edges (Remember, comments count — not Likes!). A winner will be announced in next week’s newsletter. Not subscribed yet? Sign up here — it’s free, and we only send one email per week.
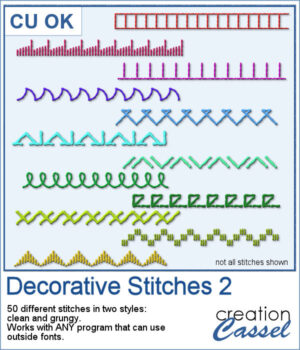
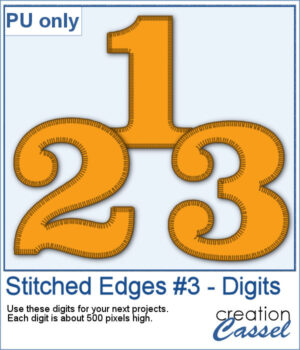 For a sampler, I created some basic set of digits that are stitched for you. Each digit is about 500 pixels high so you can resize them as needed.
You need to be logged in to download this sample. Please log in or register using the links at the top of this page.