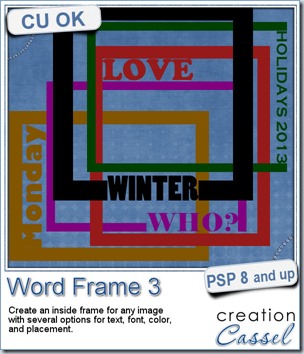
Journaling cards are very popular lately and scrappers are often looking for some original ways to display theirs. Also, sometimes, a single word would be a fantastic caption for a photo, so why not put that caption as part of the frame?
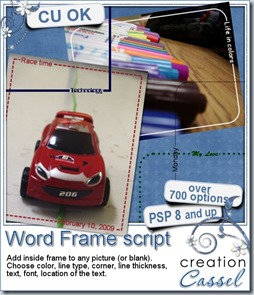
This script will let you create a frame of various thickness around any image (even a blank one) with the text of your choice, the font of your choice and the color of your choice. You also decide on which side of the frame the word will appear, if you want it aligned left, right or center. If the text is too long, the script will even resize it to fit the available space. You can also have the text butt up to the frame or inside a cut section.
In the end, you will have two separate layers, one for the word and one for the frame, so you can add various textures, change colors, or add effects to one or the other (or both).
You can get this script in the store HERE.
Would you like to get this script for free? This is easy. Simply post your name in this thread, and tell me what would be the word(s) you would use in using this script to create a frame.
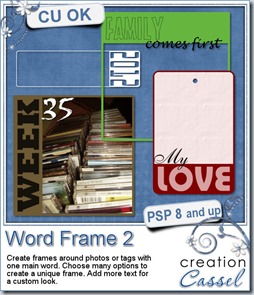
This script is the third one of the series. The Word Frame 1 script would give a discrete line frame inside the image with a multitude of options. The Word Frame 2 script would give a frame where the word would be part of a thicker area. They are both create tools to add a caption to a photo or create a journaling card.
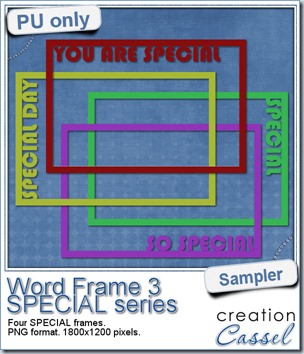 As a free sample, i created a set of SPECIAL frames that will match a 4x6 inch journaling card. Of course, you can resize them for 2x3 cards too.
They are in png format, so they can be used by most programs.
Each frame is in greyscale, so you can either colorize them, or flood fill them using the Locked Transparency option (you know about that option, right?).
You need to be logged in to download this sample. You can either login, or register on the top of this page.
So, who will be the special person, or what will be the special event you will focus on, with these frames?

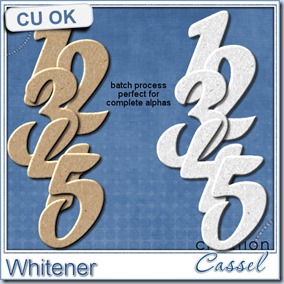
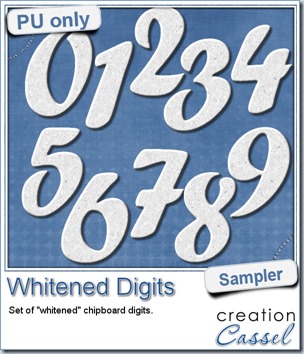 For the sampler, today, i decided to turn an existing set of digits (the
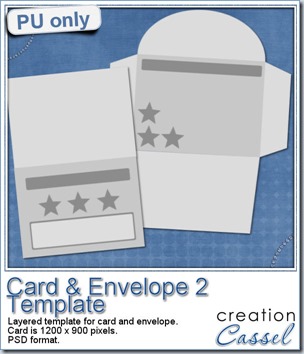 I am including a set of matching Card and Envelope, in PSD format that you can use to create a variety of holiday cards. The basic template was made using the
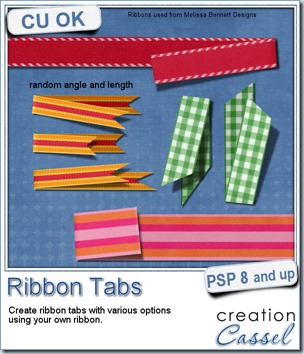
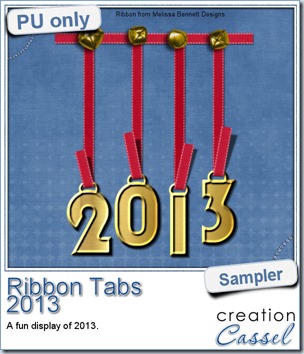 In order to show you what this script can do, i created a whole set of digits, attached with folded ribbon tabs made from a single ribbon (from Melissa Bennett) and i ran the script 10 times on that same ribbon, using the same options (create a tab with the full length, keeping the end straight, and facing the bottom).
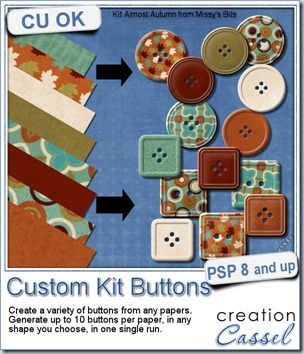
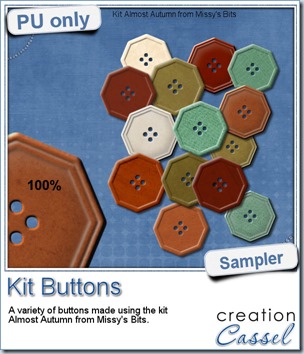 This week, i used Missy’s kit called Almost Autumn to create a set of 14 octagonal buttons. Then, i tweaked them to add a slight variation in size, brightness and contrast, just to make sure they were not all exactly identical. What do you think of that?
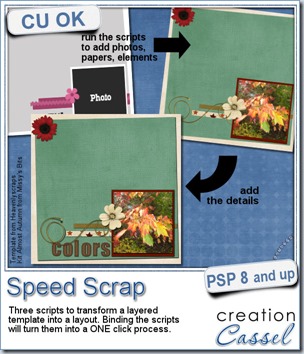
 Do you want a chance to win this set of scripts? Head over to the DST forum in
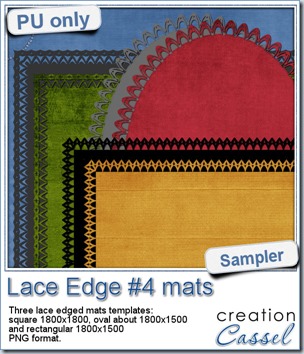 This week, i created more mats for you, using the lace font from last week.
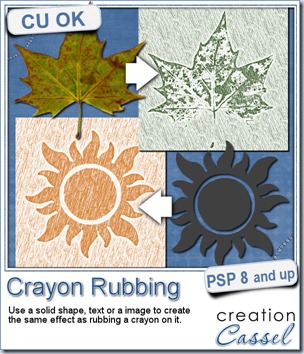
 Do you want a chance to win this script? Just tell me what you would use it in a scrapbook project, in
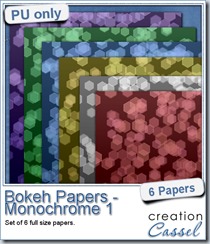
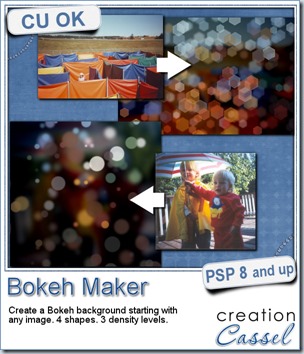
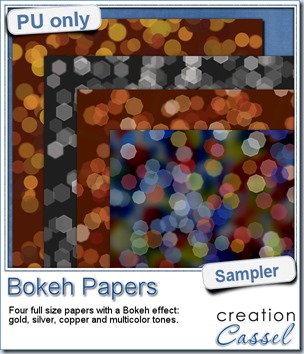 For this week’s free sampler, i created four full size papers for you. Since i dont really know what type of photos you have to use in a layout, i decided to create three of those papers using just gradients i had in my stash: one for silver, one for gold and one for copper. Once i had a paper made out of those gradients, i just ran the script on it.