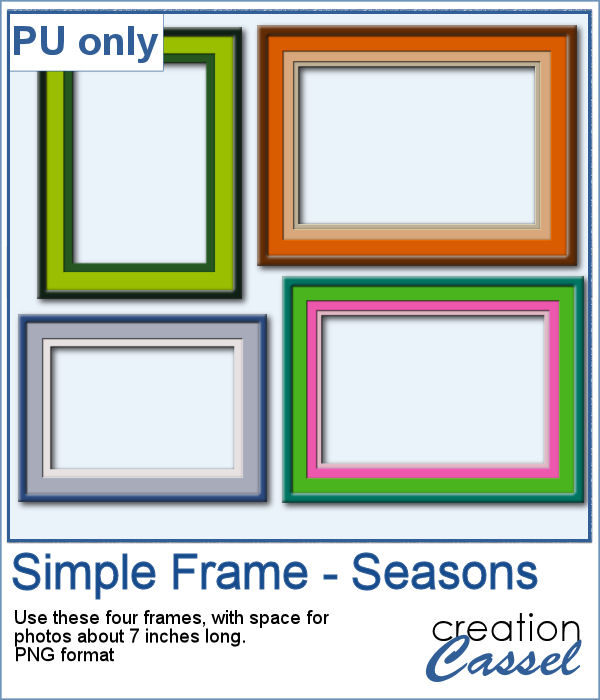
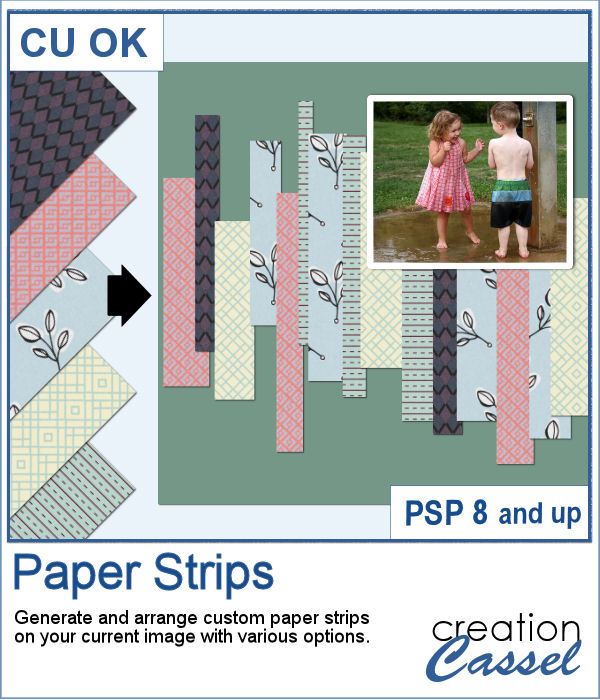
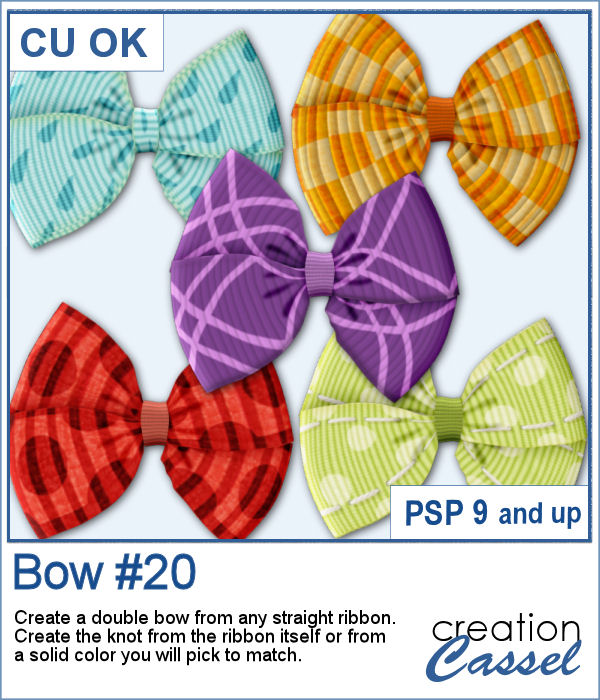
A simple bow might be all you need for your project, but how do you find the correct one? Using a ready-made bow and colorizing it might work but might also be a lot of work.
This script will use any straight ribbon and cut random pieces from it to create the bow. This means that even using the same starting ribbon, you will have different results.
In the center, you can let the script use the ribbon for the knot or choose a solid color for a contrasting effect.
Get it in the store: Bow #20
In order to win these tubes, add a comment on this Facebook post telling us if you do use bows in your projects (remember, add a comment, not just a Like!) The winner will be announced in the newsletter, next week. Not a subscriber yet? Not a problem. You can register here and it is free (and you only get one email per week).
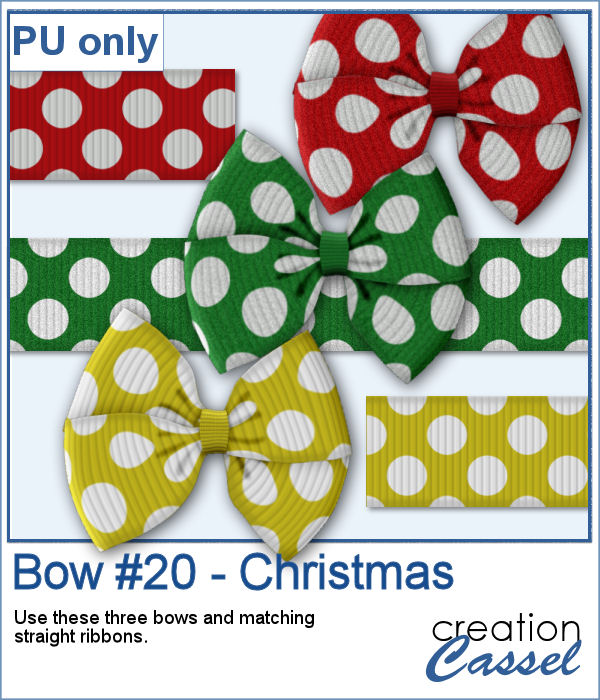
For a sample, I created three straight polkadot ribbons with holiday colors and ran the script to generate three matching bows. The straight ribbons are also included in the zip file so you can use them separately.
You need to be logged in to download this sample. You can either login, or register on the top of this page.

If you are doing some holiday projects, whether they are greeting cards or scrapbook pages, you might want to add some Christmas ornaments in specific colors of your choice. This script will randomly draw oblong ornaments with your color palette and 15 different designs.
For this week, I created 6 white ornaments decorated with gold designs.
Buttons can come in many shapes and colors. And they can be so versatile when used in various projects, whether you want to pretend you are fastening photos, or you want to create a decorative element by combining several together.
As a sampler, I created a fun Christmas tree out of buttons from this script and the original Button Machine script for the round buttons.
For a sample, I created a frame using various cogwheels generated by the script. I resized them, added a texture using Filter Forge, added a bevel, and shadows. I also had fun adding chains to connect those wheels.
When I was in school, I remember one art class where we had to use straight lines of different thicknesses to replicate a simple image. I was not very good at that, but I would have loved to have this script, which does it in just a few seconds.
As a sampler, this week, I created some simple word frames for Halloween. You can colorize those frames to suit your project or your photo.
Sometimes, you just want to add a simple frame to your photo in order to show it off. This script will help you do that quickly, while still letting you choose the colors for the frame and the mats.
As a sample for this script, I created a set of four frames based on seasonal photos so you get a frame for each of the four seasons. Each frame allows a photo of about 7 inches on the longest side. They are all in PNG format, so they are useful in various graphic programs.
If you like the idea of coordinating various elements in a page or a kit, using a set color palette is an easy way to do it.
As a sampler, I am including a color palette generated from a fall photo. You get to use 10 colors from this photo. The hex code for the colors is included inside the zip file.
You can place elements along a circle or a spiral manually, but it is quite tedious.
For a sampler, I created two large circle frames and one spiral with bats coming at you. Each element is in png format and about 3000 pixels wide, so you can resize them as needed.
In order to create a paper fringe with PaintShop Pro, you will need to cut your element multiple times, and then, warp each piece one by one. But there is a problem: how do you warp one piece of paper without warping the next one? Well, there is a way to do it, but it is tedious, which is why this script will be a time saver.
As a sample, I created this square frame from four strips of paper that were run through the script, one by one, and then put together to make the frame. I added a little contrasting border to add some interest. Now, you can showcase your favorite photo.
Sometimes, it can look interesting to have a series of paper strips of different colors or patterns to serve as a background for a project. However, that can be tedious and time-consuming.
As a sample, I chose to create a series of strips, aligned to the bottom, and turned them into a template so you can use it with your favorite papers. These strips are grouped so you can copy and paste them onto your project in one step (instead of copying them one by one!).