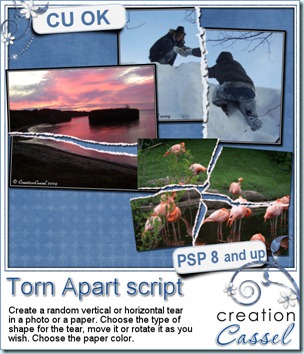
Following the great success of the Torn Edge script, i thought it would be great to have the option to tear in the center of an image or a paper instead of only the edge and so this idea came up. This script for Paintshop Pro will create a rip in the middle of any image, photo or paper, of any size. You can leave the tear in the center or you can move it around, and even rotate it, especially if you want to place it in a strategic place of the image. The torn edges will be left on separate layers so you can add a texture if you want. The layers will be unmerged but linked to the matching torn edge.
You can tear a paper once, or more than once, providing that you either merge the piece and the tear together before running the script a second time, of by copying and pasting the paper piece (without the torn edge) as a new image.
Decide if you want a vertical or horizontal tear.Choose if you want it to be kind of straight, slightly uneven, or more. Many interesting effects can be achieved with this script, tearing photos, papers, or even paper pieces like note papers, heart shapes, etc. This could be a fun way to get some journaling pieces.
You can get this script in my stores: Creation Cassel and DigiScrapWarehouse.
And as usual, you have a chance to win this script by adding your name to the RAK thread in the Happy Place. Unlike usually, the winner will be announced on TUESDAY night instead of Monday, since i will be out of town on Monday. Just tell me what you think you could use this script for.
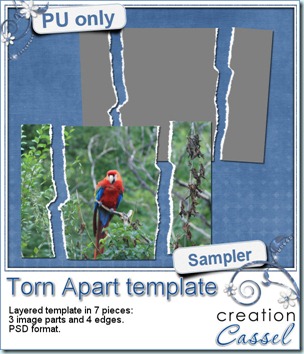 And here is your free sample. This is a layered template in PSD format. It consists of 3 “paper” pieces that will match perfectly, and 4 “edge” pieces. You can adjust the “edge” pieces to match any paper color, and the “paper” pieces are just like a puzzle and you can cut out your paper or photo using the magic wand. The “paper” piece layers are linked to the matching “edge” piece layers so you can move them around together, however, to help you with the “photo” part, all the “edge” pieces are below the “paper” pieces so you will have to rearrange the layers order when you decide to merge them.
You need to be logged in to download this sample. You can either login, or register on the top of this page.
News from the Campus
Not too much new YET, but i am working to bring you some super interesting bonus for the next registration period for the Basic Scrap Campus. So keep a close eye. This promotion will not last very long so you might want to register to the mailing list so you stay informed as soon as the registration re-open. The current students seem to really enjoy the lessons as i have seen some samples of their work. Seeing those, i am sure they are having a blast!
This weekend, we’ll have the FREE webinar on shadows in digital scrapbooking using Paintshop Pro. We’ll look at the regular basic shadows on a flat surface, shadows to make those ribbons look all curled up, shadows for your clusters, and then, shadows for the fantasy layouts.
Register here
If you don’t register and decide to join Sunday, October 2nd, as it will be starting at 3pm Eastern, you can click HERE.
See you around!

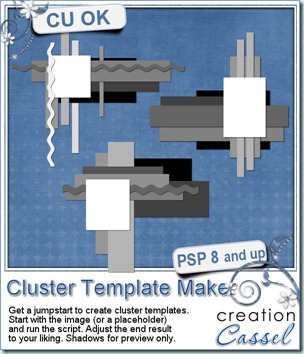
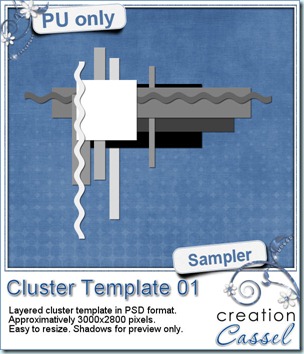 As usual, you want to get a freebie, right? Fair enough. I created this layered cluster template with the script. I added shadows to the preview only, since there is a chance you might want to change some layers and then, the shadows might not work. It is a PSD format, so most of you should be able to open it, and use it. If you DO use it, would you mind showing me how it turns out? I would love to see how different scrappers will turn this ONE template into many unique results.
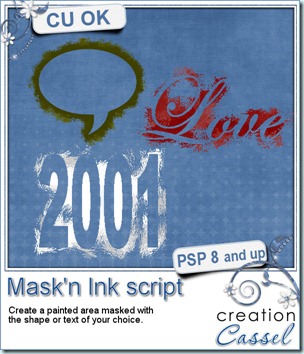
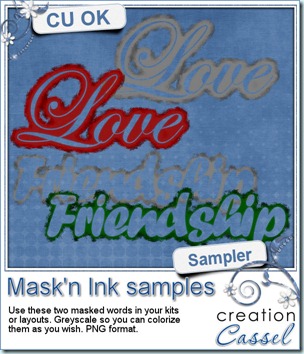 I have a little sample (actually TWO samples) made with this script. They are about 900 pixels wide and in greyscale so you can colorize them to suit your kit or your layout. They are in PNG format so you can use them in most graphic programs.

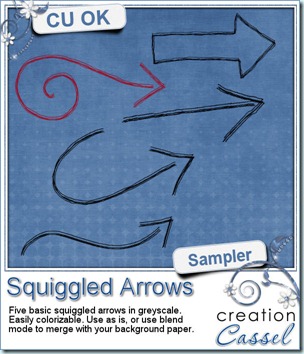 And here is a little sample made using this script. These arrows were initially drawn by hand, so they are not vector base and probably did look a bit uneven to start with! Each of them is in greyscale (i darkened them so you could see them better on the blue background!) so you can colorize them to match your layout or your kit. Use them as is on your layouts, or use a blend mode to get a different effect. Add noise to simulate a little glitter. Apply whatever effect you want. They are in png format and about 400 pixels wide.

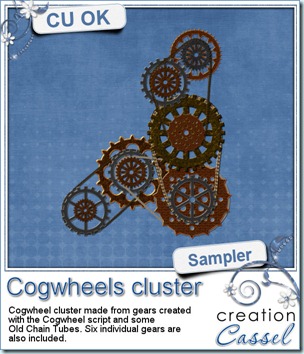

 And if you want to look at those, a bit closer, here is a freebie for you. I Made 2 basic Christmas decorations using these tubes freehand. As you can see, you can outline, draw or even fill a surface with these tubes, just as you would do with a crayon.
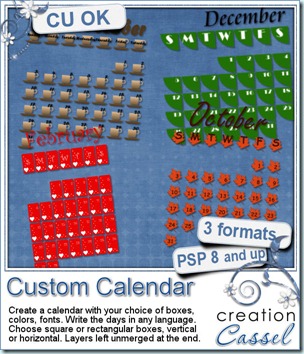
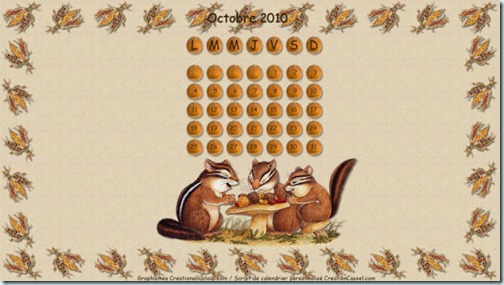
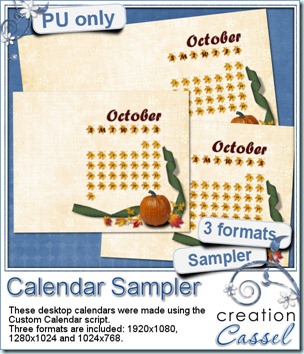 Now, you probably would like to get a closer look at the result of this script, so i made up this desktop calendar for you. The zip file includes 3 formats. This calendar was made using elements from KimericKreation.
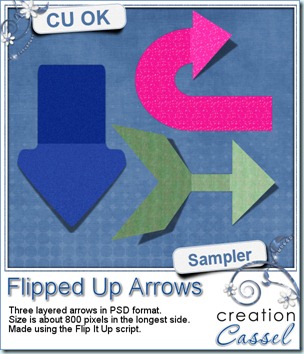 In the mean time, i have a little something for everyone. Here is a set of three arrows for you to use. They are layered PSD files so the shadow can be modified as you wish. Each arrow is about 800-900 pixels long. I am sure you can find some very creative ways to use those.