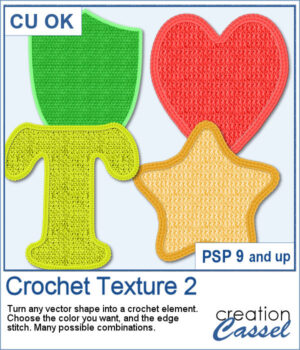
 Love the look of crochet? Crochet Texture 2 gives you even more ways to transform simple vector shapes into realistic crocheted embellishments. This new collection includes five brand-new crochet textures and six coordinating edge styles that you can mix and match for dozens of unique combinations.
Choose any color, gradient, or pattern for the fill, add a matching or contrasting crochet edge, and let the script do the work. Whether you're creating titles, embellishments, numbers, or decorative shapes, you'll have a handcrafted crochet look in just a few clicks.
Get this script in the store: Crochet Texture 2
Want a chance to get this script for free? Head over to this Facebook post and tell us what you would turn into a crochet element. Likes and shares are appreciated, but won’t count as entries.) A winner will be announced in next week’s newsletter. If you’re not on the list yet, you can join right here. It’s free, and we only email once a week!
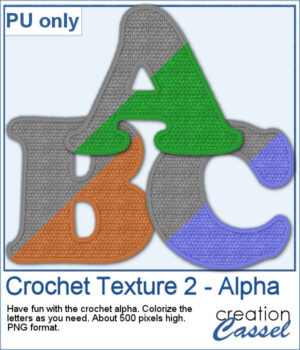 As a sample, you can download a free crocheted alphabet featuring one of the textures from this set. The uppercase letters are provided as individual PNG files, ready to use in your own personal projects. They are in greyscale so you can colorize them to suit your project.
You need to be logged in to download this sample. Please log in or register using the links at the top of this page.