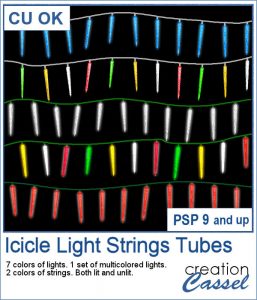
 You might have those lights, at home, to decorate your windows or your tree, but now, you can do the same with your digital projects (and no electric cost).
These are picture tubes that you can use to "draw" the strings wherever you want, and however long you want them.
You get a total of 32 strings!
Get these tubes in the store: Icicle Light Strings
In order to win these punches, add a comment on this Facebook post telling us where you would put REAL icicle light strings at home (remember, add a comment, not just a Like!) The winner will be announced in the newsletter, next week. Not a subscriber yet? Not a problem. You can register here and it is free (and you only get one email per week).
 As a sample, I create another swag for the Holidays, made exclusively of tubes from PSP or from the store. You might recognize the light strings from last year (none of the light is burnt!).
The whole decoration is about 2000 pixels wide. Why not add that to your next holiday card?
You need to be logged in to download this sample. You can either login, or register on the top of this page.

 Last week, I released some new corner punches and they were a hit! But not only that, I got some inspiration from Sue, who suggested some more punches for Christmas next year. But I didn't wait until next year! I started working on those immediately.

 As a sample, I created a fun frame for you using one of the corner brushes. Since the brush was not making an exact circle, I added some parts to make it into a real circle. Then, using the locked transparency, I painted all the elements separately. It is not hard, but a bit tedious. Then, I simply added some colored edges inside the frame. The whole frame is about 3200 pixels wide so you can size it down as needed.
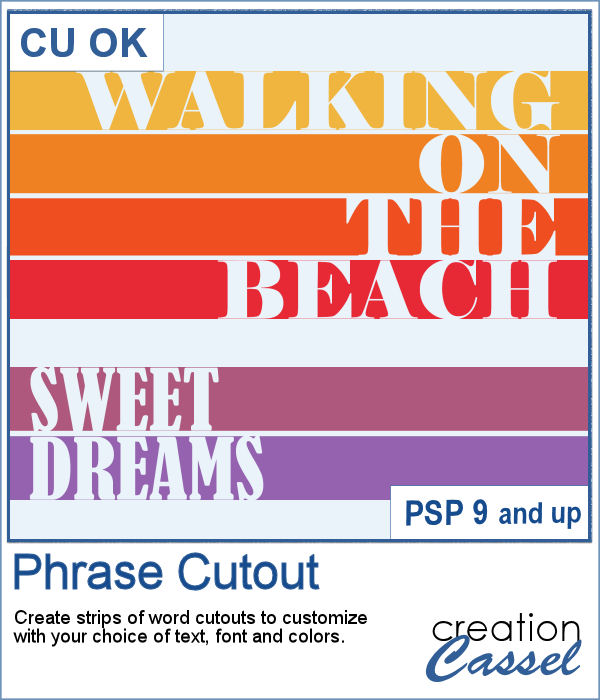 Sometimes, you might want to showcase a word or a phrase in a unique way. Using a cutout is one of those original ways to add a title, a phrase, a greeting, etc.
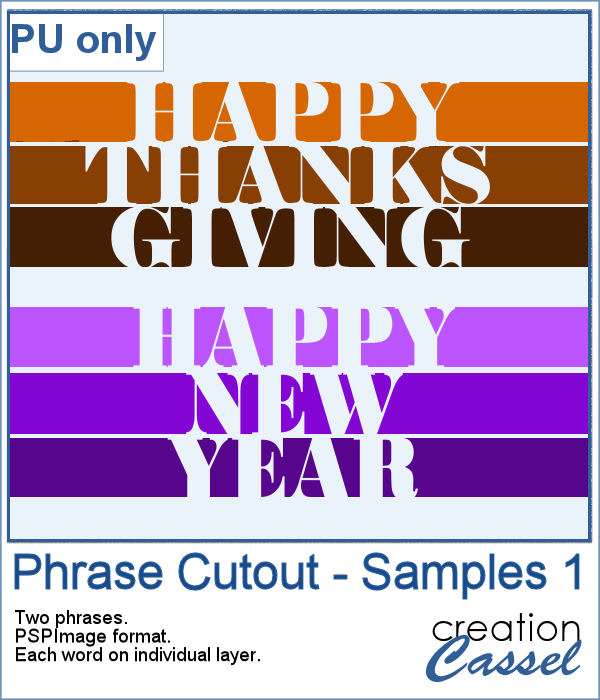 As a sample of what can be done with this script, I wrote two common phrases that you might want to use in the next few weeks. The strips are black (the colors are for the preview only) and about 300 pixels high and 4800 pixels long so you can place them in various ways on your project.
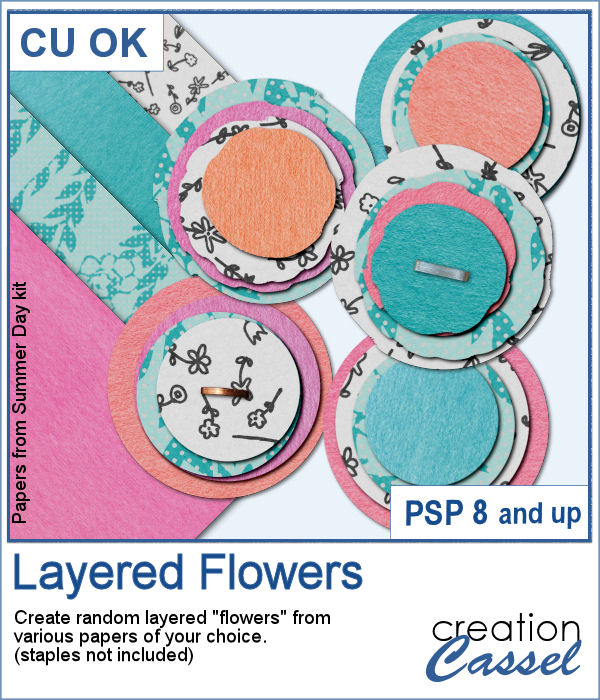 If you had some traditional papers, you might want to cut out some circles and layer them to create a "flower" in the color of your kit or project. Doing that is tedious with paper, but also very tedious with digital ones.
 For a sampler, I ran the script with a few papers from a kit, Happy Birthday, from Marisa Lerin. You can get the whole kit for free, HERE.
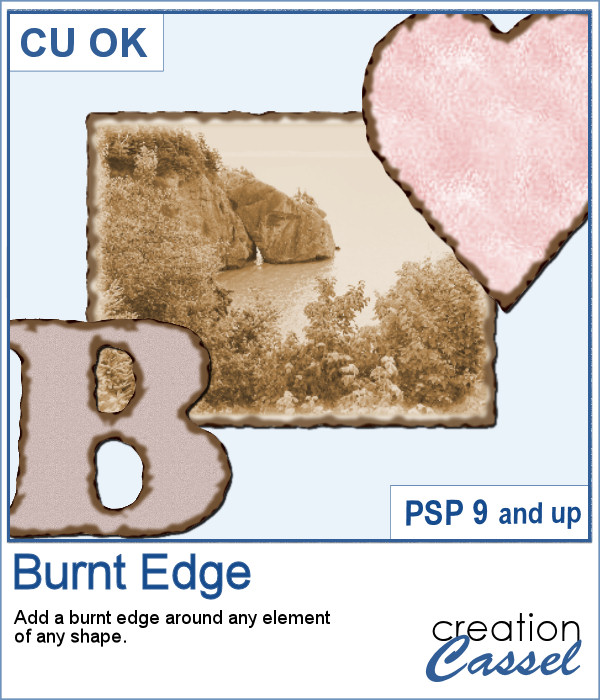 Do you need the look of burnt edges around a particular element but other than doing it yourself, it seems really hard to find the right shape, or the right font or the right size for your own element?
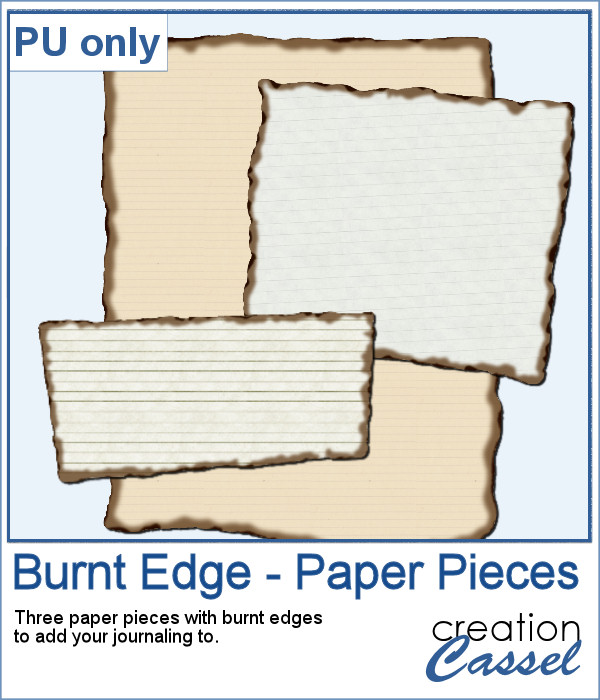 As a sample, this week, I created a few paper pieces that were run through the script. I created those shapes simply with the freehand selection tool to give them a random shape right from the start. Of course, the script would burn the edges but I wanted something a little different.
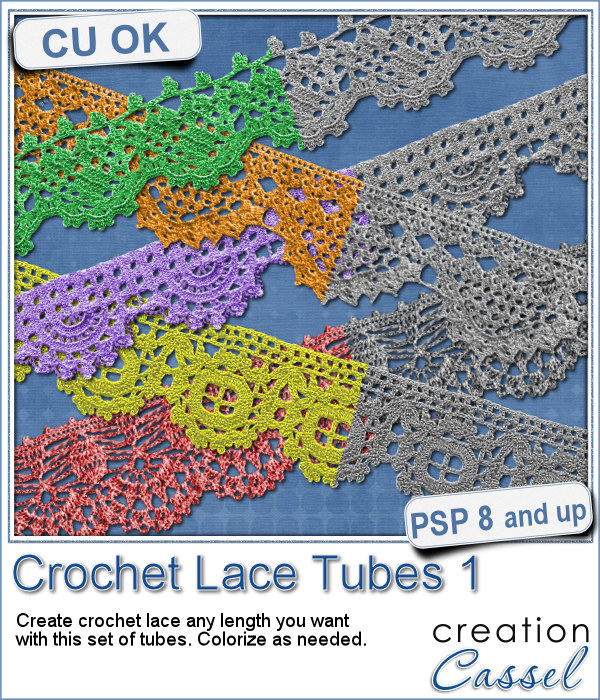 Do you like lace edging? Can you find some that suits your project? Something that is the right color, the right length?
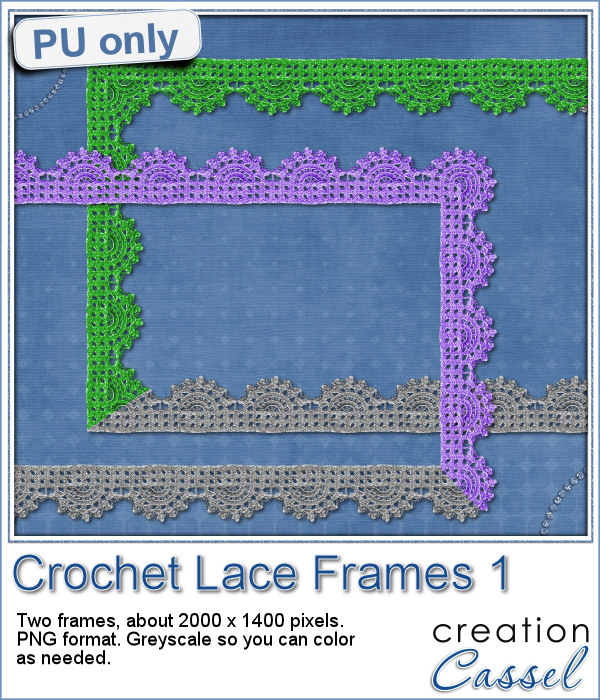 As a sample, this week, I created a long strip of lace and turned it into two frames using the Mitered Corner Frame script. In order to make nice corners, i trimmed the strip exactly between "loops" then measured the length of a loop in order to set a size, in the script, that would use complete loops. I think it turned out great.
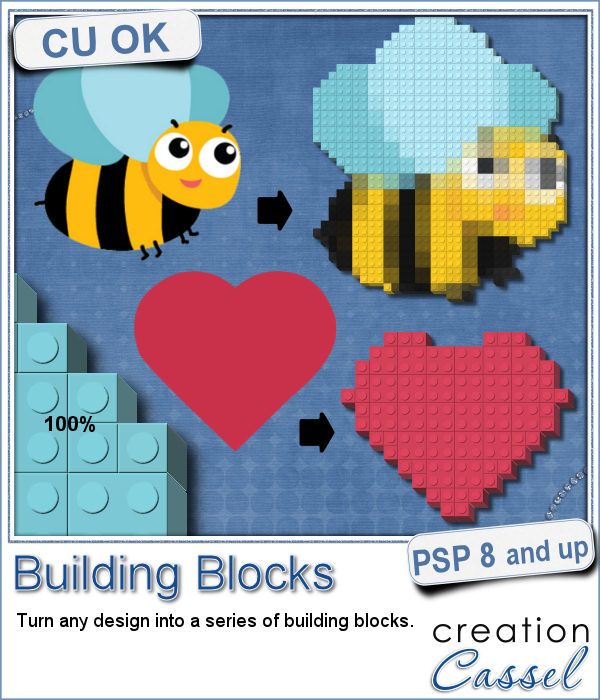 Do you like to play with building blocks? Does it bring back memories of your childhood?
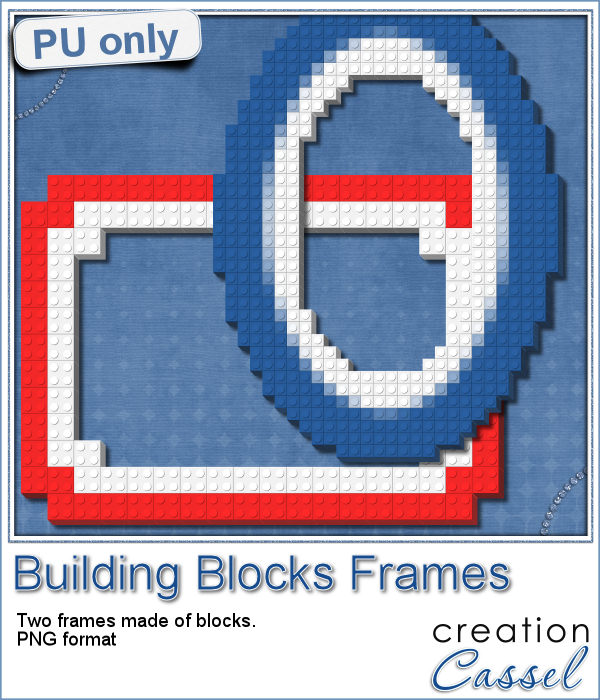 As a sample, I created two simple frames made out of blocks.
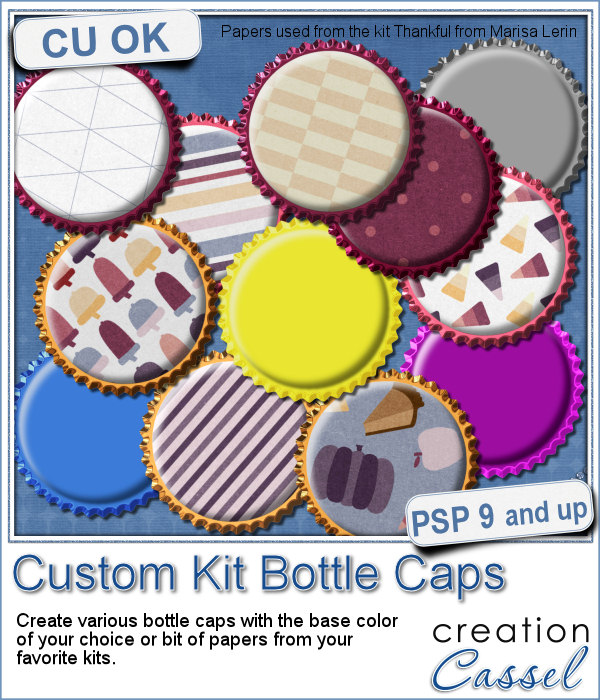 Although bottle caps might be a little thick for a traditional paper layout, you can layer as many as you can in a digital layout! But you don't have to use a boring, plain or typical bottle caps since you can now create them with a touch of your favorite papers, from any kit.

 If you want some precious metal elements, you can create them with this script. It will take just about any shape and outline it in gold, silver or bronze, and then, will fill it with crystal in the color you choose (you can even pick a gradient for a great effect too).
 As a sampler, I created this cute flower. The freebie includes the flower with the stem and leaves but also the flower alone.
 Do you want to rely on the ready-made clips you can find with set colors, or design or create your own that you can customize with any color, gradient or pattern, any text, font or design that would perfectly match your kit, your layout or your graphic project?
 For a sample of this script, I created a set of digits in a nice aqua color for the summer that is coming up (at least for the Northern Hemisphere). You can now write the date of your next vacation or family gathering.