If you like the idea of coordinating various elements in a page or a kit, using a set color palette is an easy way to do it.
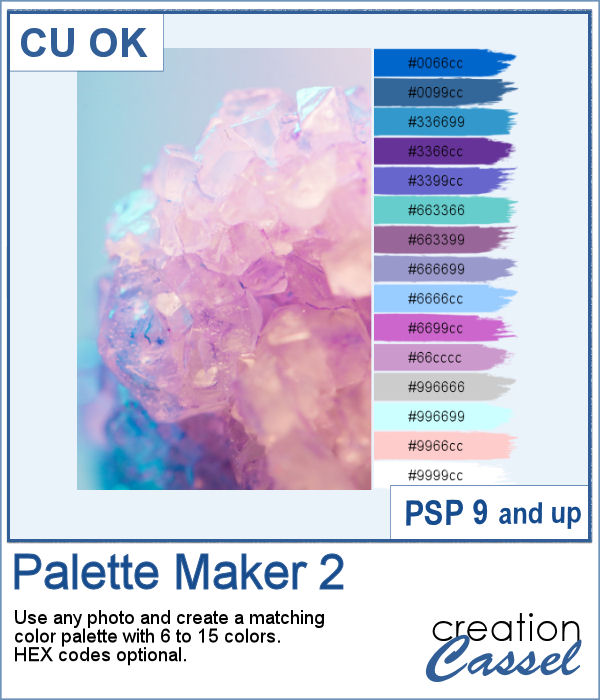
This script will generate a color palette for you starting with any photo you have. Each color will be displayed as a brush stroke on the right or the bottom of the image. The hex code for each color is optional.
Get this script: Palette Maker 2
In order to win these tubes, add a comment on this Facebook post telling us if you have ever created a color palette from an image (remember, add a comment, not just a Like!) The winner will be announced in the newsletter, next week. Not a subscriber yet? Not a problem. You can register here and it is free (and you only get one email per week).
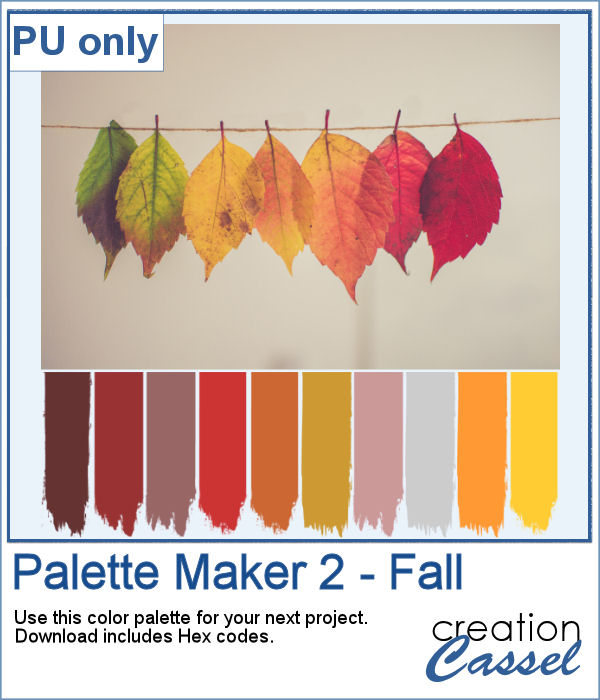
As a sampler, I am including a color palette generated from a fall photo. You get to use 10 colors from this photo. The hex code for the colors is included inside the zip file.
You need to be logged in to download this sample. You can either login, or register on the top of this page.

You can place elements along a circle or a spiral manually, but it is quite tedious.
For a sampler, I created two large circle frames and one spiral with bats coming at you. Each element is in png format and about 3000 pixels wide, so you can resize them as needed.
In order to create a paper fringe with PaintShop Pro, you will need to cut your element multiple times, and then, warp each piece one by one. But there is a problem: how do you warp one piece of paper without warping the next one? Well, there is a way to do it, but it is tedious, which is why this script will be a time saver.
As a sample, I created this square frame from four strips of paper that were run through the script, one by one, and then put together to make the frame. I added a little contrasting border to add some interest. Now, you can showcase your favorite photo.
Sometimes, it can look interesting to have a series of paper strips of different colors or patterns to serve as a background for a project. However, that can be tedious and time-consuming.
As a sample, I chose to create a series of strips, aligned to the bottom, and turned them into a template so you can use it with your favorite papers. These strips are grouped so you can copy and paste them onto your project in one step (instead of copying them one by one!).
Using bows and knots can be quite versatile as long as you have variety. This is the 19th type of bow in the store (and we have knots too) so using your own straight ribbon, you will have the option to create some matching bows. The script uses a random location on the ribbon so if you run the script multiple times on a patterned ribbon, you will get different results.
As a sampler, I created six little bows using ribbons from Janet Kemp. I layered a grosgrain ribbon with lace and flattened both. Then, I ran the script. I then ran the script on the grosgrain ribbon alone (without the lace), and since the layers were not merged, I copied and pasted the knot part only to replace the one on the "lacy" bow. It is a little more work but it shows how versatile this script can be with unmerged layers.
Creating a pinwheel out of paper might sound simple using a template, but would NOT respect the correct orientation when the paper is flipped.
As a sampler, I used papers from a kit called Summer Fun from Janet Kemp and created four simple pinwheels. You can get all the matching papers from this kit
You can now create your own admission ticket (or other types of tickets) with this script. You get various options to incorporate into the making of it, including colors, text, fonts, texture and design.
For a sample, I created some generic seasonal tickets with little shapes in the boxes to match the season.
Now, you can turn any vector shape into one of 8 fabric textures. The script will use the color you started with and will blend in the texture. You can create titles with it, frames, mats, cluster elements, etc.
As a sample, I created some random patches in different basic colors. Use them as you wish. They are about 700 pixels in width and in png format.
To create a nautical project, using netting is a common element. Recently, we had some netting picture tubes that you could use to embellish your project. This time around, the netting is variegated, giving the whole project a different look.
As a sampler, I created a wood frame (using a script) and added three layers of netting. I distorted them irregularly, and deleted what was extending outside of the frame. I then added some seashells from the 2019 picture tubes.
You can now create a custom tag, with the colors from your palette, or even with some interesting patterns, and include details of your choice. Although these tags would typically be associated with travel (like a location, an airport code, etc.), you can use them for any occasion since you can choose any text you want.
For this week, the samples I made were run through the script, but I stopped it before the final merge, which allowed me to remove some of the text. This helps create "blanks" that you can fill however you need.