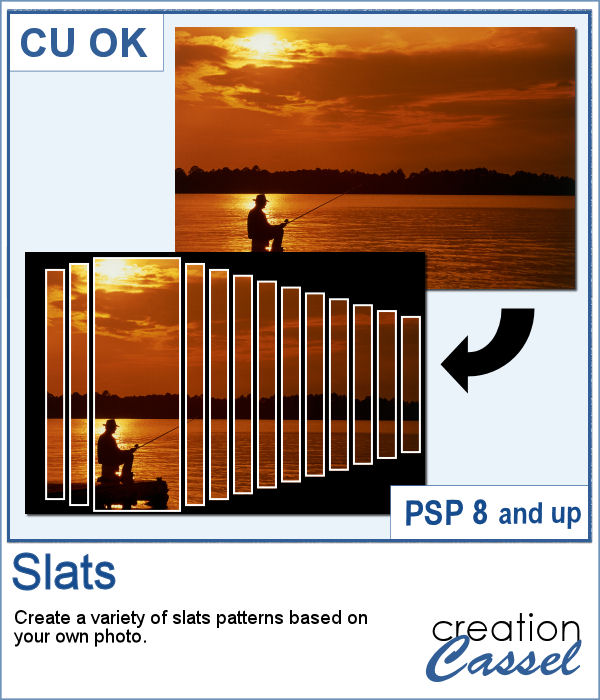
Using slats on a photo is a unique way to showcase it, but it can be tedious to create manually. Furthermore, if you want to showcase a particular area of the photo without cutting it off, you can no longer use a ready-made template as it might not suit your specific image or size or preference.
This script will create slats but you will start by setting the "untouched" area and the slats will be added left/right or up/down that main selection. And you get more options for the creation of those slats. Finally, the script will also add a set of frames that you can keep or not, or customize with a different color, with additional effects, etc.
Get this in the store: Slats.
In order to win this script, add a comment on this Facebook post telling us whether you have ever used slats before (remember, add a comment, not just a Like!) The winner will be announced in the newsletter, next week. Not a subscriber yet? Not a problem. You can register here and it is free (and you only get one email per week).
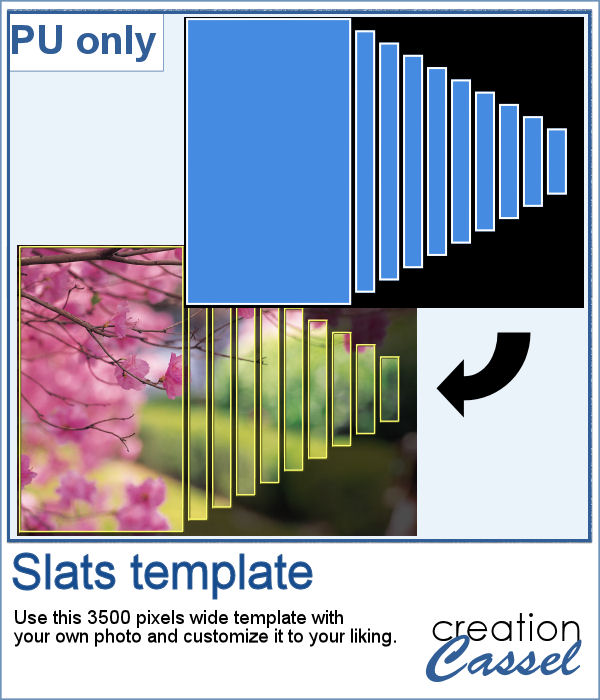
For a sampler, I created this template for you. It will help you showcase an element that would be off center. You can mirror it too, if your element is on the right.
You can change the color of the frame, add a bevel or other textures. You can add shadowing if needed.
For the background, you can simply use a solid color from your image or a pattern that matches. Or you can duplicate your photo and move that duplicate to the "background" layer and play with the opacity, the color, etc. for another unique display.
You need to be logged in to download this sample. You can either login, or register on the top of this page.
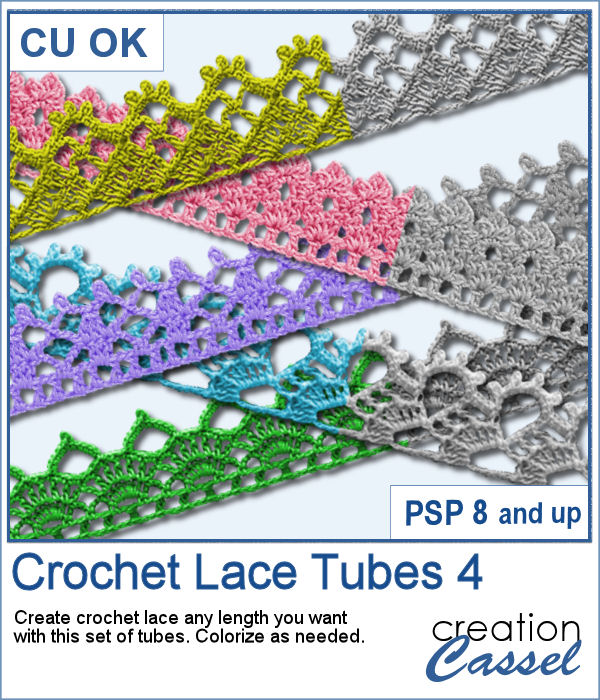
These crochet lace tubes will allow you to create edges of any length you want, and even add some wave to it (not too much as it would distort the design). Once you have your straight (or almost straight) lace, you can turn it into a frame, or just add it to a cluster along with other decorative elements.
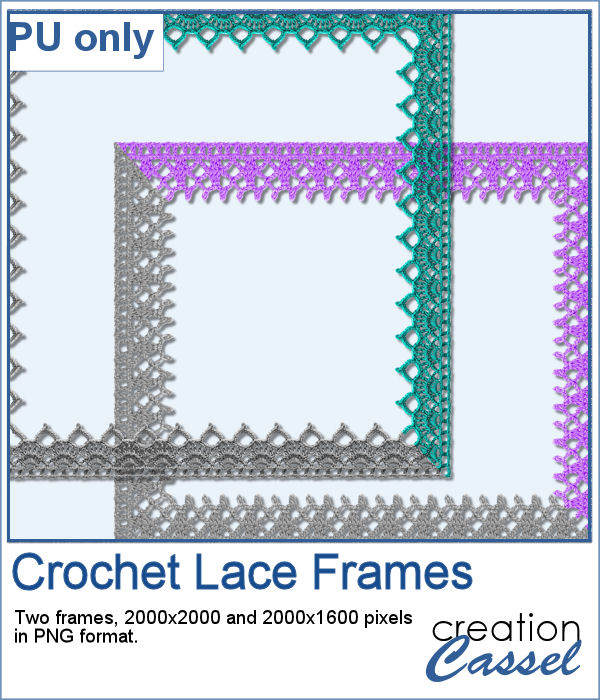
As a sample, I created two frames using two of the tubes included in the set. One frame is square, about 2000x2000 pixels and the other is rectangular, at 2000x1600 pixels. They are in PNG format, and you don't have to import them anywhere into your PaintShop Pro; just open it on your workspace and add it on your project. Easy!?
Creating a gradient might be simple but creating a specific one to replicate an effect you see on an image might be tricky.
As a sample, I created two gradients from photos of sunsets. They look different with different color schemes but can both create a nice background for your next project.
With Easter coming, you might want to create some holiday invitations or maybe you will want to embellish the photos you will take with the kids running around, looking for eggs.
To help you out, I created a dozen eggs that you can use to build some clusters or to line them up at the bottom of your next frame. Using bold colors, those eggs should go well with just about any Easter projects.
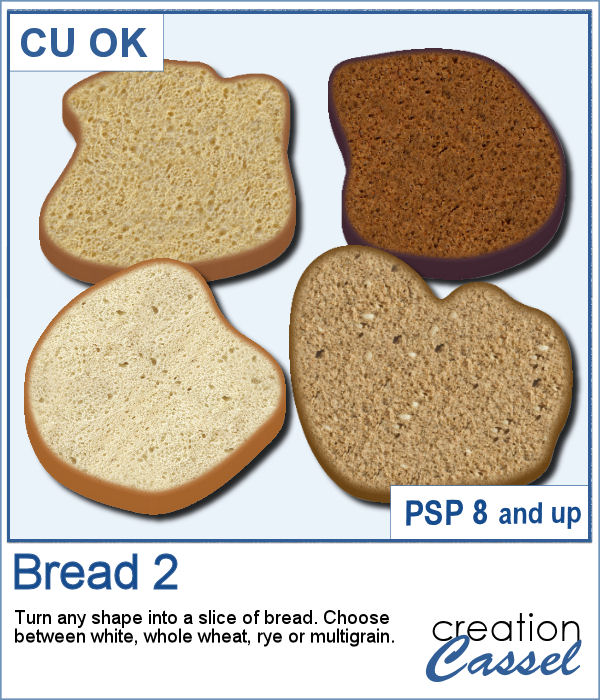
Summer is coming and the thought of fresh sandwiches is on everyone's mind. Although you can have a family barbecue (and use the Hamburger script), you can create slices of bread in various shapes with this script. You can choose between 4 types of bread: white, whole wheat, rye and multigrain. So there is something for everyone in the family.
As a sample, I created a set of slices in the shape of digits. You can use them to add a title, possibly for the photos of your annual family picnic. Each digit is in png format and quite large so you can easily size them down as needed.
You can add dimension and perspective to any design, element, shape or text.
This week, I created a couple of words that might be used to embellish your project. They are big enough to be sized down if needed.
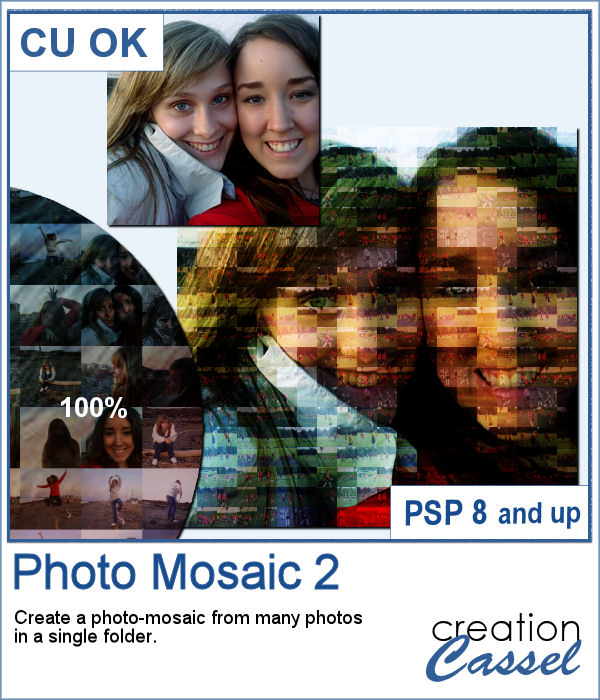
With this script, you can take dozens or hundreds of photos and create a single image mosaic. You choose the "target" image to become a mosaic, and the folder where all the images are saved and the script will take all those images and create that mosaic. You can choose as many images as you want.
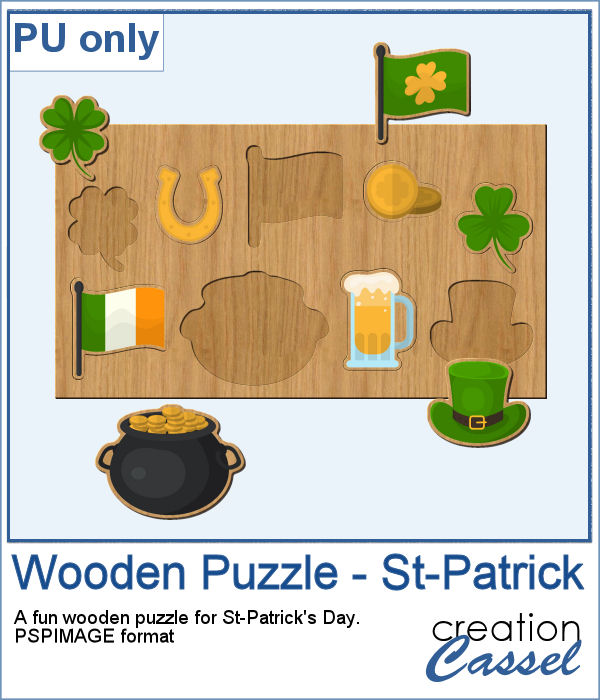
Since it is just a couple of days to St-Patrick's Day, I created a fun wooden puzzle with some St-Pat elements. The puzzle is left in unmerged layers so you can use the pieces separately if you want, and they are also grouped so you can copy and paste the whole puzzle onto another project of yours.
We might sometimes, want to showcase some photos of messy kids (ours or even ourselves). What better way than have a "dirty" element, complete with a splash of mud on the side?
As a sampler, I created a basic square frame and ran the script. You now have the perfect frame to showcase those "muddy" photos.
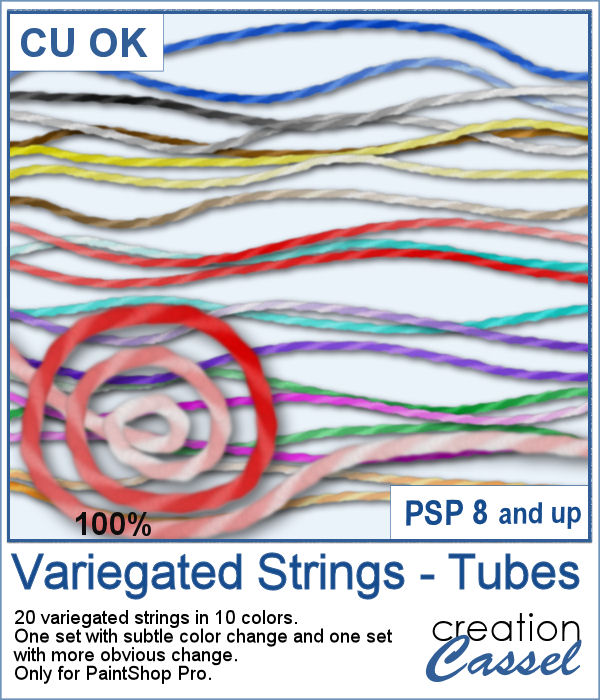
It might be fairly easy to find single color tubes to create a string. In fact, there is one that comes (or came) by default with PaintShop Pro. Strings with two colors can also be found (in the store) but they are much less common. But for variegated strings or ropes, this one is a first as far as I know.
For a sampler, I created a rainbow element that you can use with your projects and a frame using several colors of those variegated tubes. Each element is in PNG format.
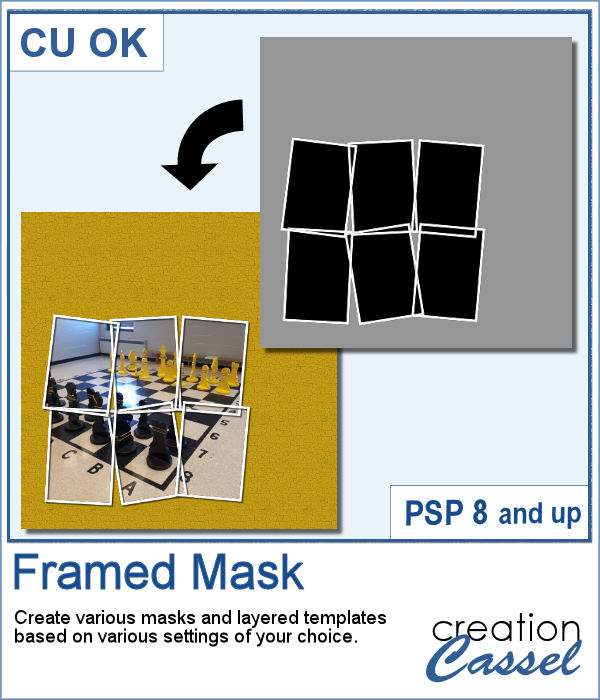
I have seen various masks made from apparent chaos of random frames while allowing the display of a single photo through all those frames. I knew how to create those manually, but figured it would be simpler for PSP users to have a tool to do all the work for them.
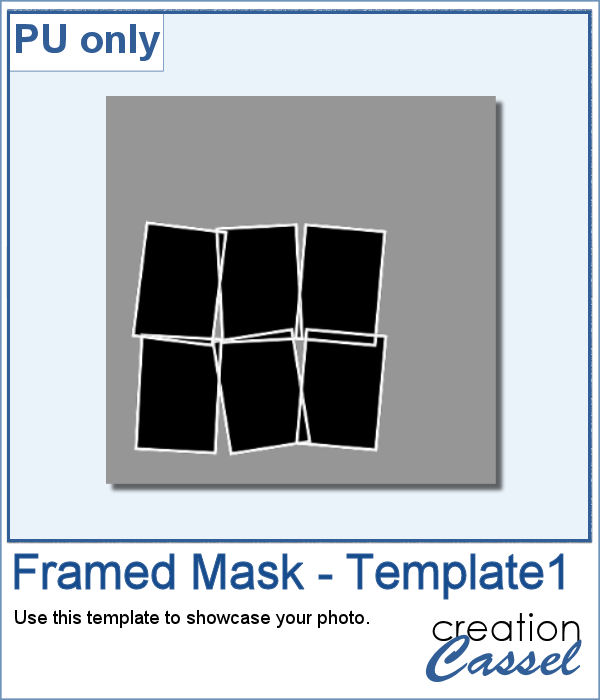
As a sample, I am giving you the same template created in the preview. It has unmerged layers so you can add shadows on the frames if you want, you can merge them all before adding shadows or add them individually. You can also change the frame colors, add a bevel, or tweak them as you wish.