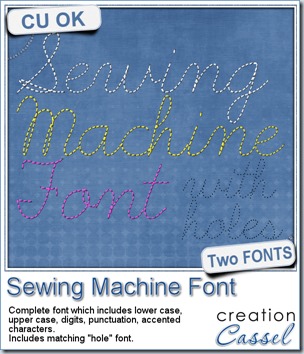
Last week, i released a sewing machine font and i got a request to have a matching “hole” font. I didn’t think, initially, that anyone would want the holes too but i was obviously wrong. So, thanks to Wendy’s request, i am now offering the matching “hole” font with the “stitching” font. You get two fonts in one zip.
You can use the “hole” font on its own if you want, or add it to the “stitching”. They are perfectly matching. Use black or grey holes, or use a blending mode to make them fade in the background. Do whatever you need to make it as realistic as possible.
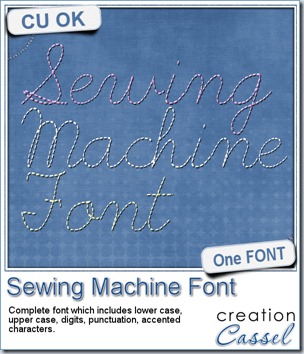
You can get this Sewing Machine Font in the store.
(if you already purchased the Sewing Machine Font, go back and download the newer zip file which will contain the “hole” font).
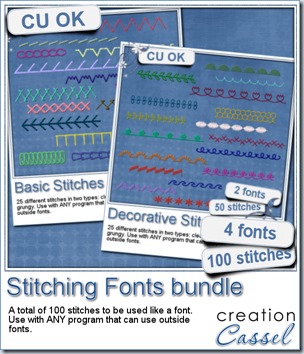 While we are in a stitching mood, i bundled up the most popular fonts of my store: the Stitching fonts. Those are the first font i created and they were (and still are) extremely popular especially since they can be used by most graphic programs. There is the basic stitches font and the decorative stitches font. You can use them in so many different ways, i cannot name them all. Use them on a straight line to stitch something, or use them on a path to simulate various types of decorative stitching.
Since they are fonts, you have the opportunity to combine 2 or more characters/stitches to make fun combinations. You can choose the colors, size, kerning, and more, depending on your program.
Although you can get them separately (the Basic and the Decorative), i have bundled them together for you for a discounted price AND it is also on special this weekend. Go grab this Stitching Fonts bundle as soon as you can.
This week, you have the chance to win this bundle of 100 stitches by adding your name to this thread in the DST forum.
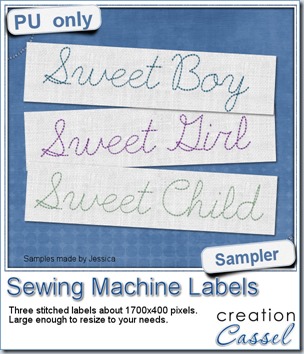
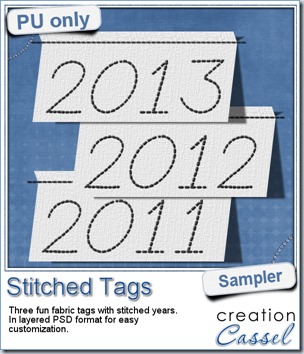 As a sample, this week, i created a set of simple fabric tags with the years. They are in layered PSD format so the tag, the stitching on top and the shadow are on different layers. This should allow you to colorize the tags and the stitching without affecting the shadow and you can also add your own shadow if you need to rotate the tags.
What would you do with those tags? They would be great to add a fun date to your layouts.
To create those tags, i obviously used the Sewing Machine font, but also the Clothes Tag script. Those two are a fantastic combo!
You need to be logged in to download this sample. You can either login, or register on the top of this page.
Enjoy.

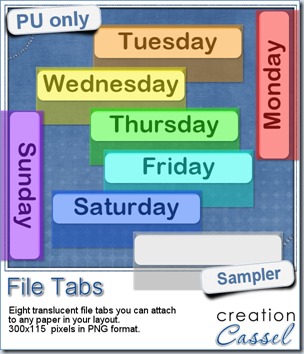 Since you probably don’t need another alpha from me, and since this is a tool script, it is a bit harder to make a sample from it. So i thought of an older script of mine that might help you if you are doing a Project 365, or if you just like to add a fun way to date your layouts. These are file tabs, like you would see in a binder to divide sections. Each tab has a day of the week on it and it also includes a blank white tab, in case you want to add something else to your layout, than a day (maybe a date? maybe a week number?)
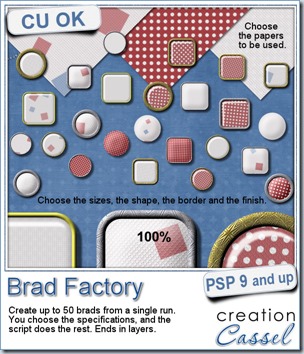
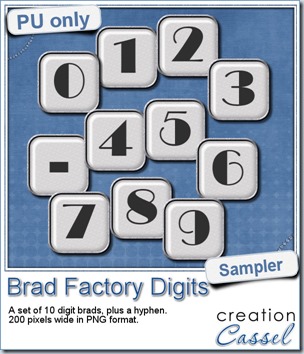 One great advantage of this script is how it leaves all the layers intact, allowing you to tweak or use them in different ways. That is what i did with this sample. I ran the script on several papers i had (see the preview) and chose a simple, neutral one, with acrylic finish and i turned it into a set of digits but just adding the characters below the acrylic layer. It was soooooo easy.
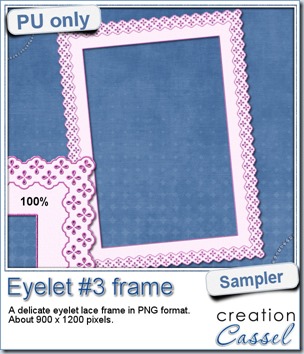 How about a little sample of what this script can do? I ran the script on a long piece of textured solid color to create a ribbon. I did the same thing twice, to get a top and a bottom edge with proper bevelling (NEVER flip or mirror an element that has been shadowed or bevelled). Then, using a copy of the ribbons, i applied a different bevel angle before merging and rotating the copies to make the vertical edges of the frame. Then, it was just a matter of applying a mitered corner technique to align and cut the corners correctly. What do you think of it?
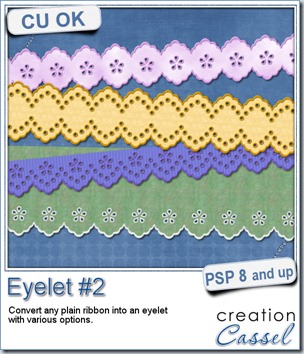
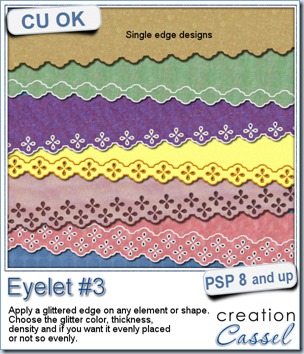
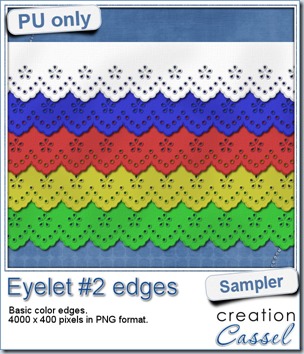 I know it is a bit American holiday coming up (I see that in the numerous 4th of July), but I also know that not everybody is American, so I figured I could create some basic eyelet edges for everyone, in basic colors. This sampler will give you 5 different eyelets in 4000 pixels each.


