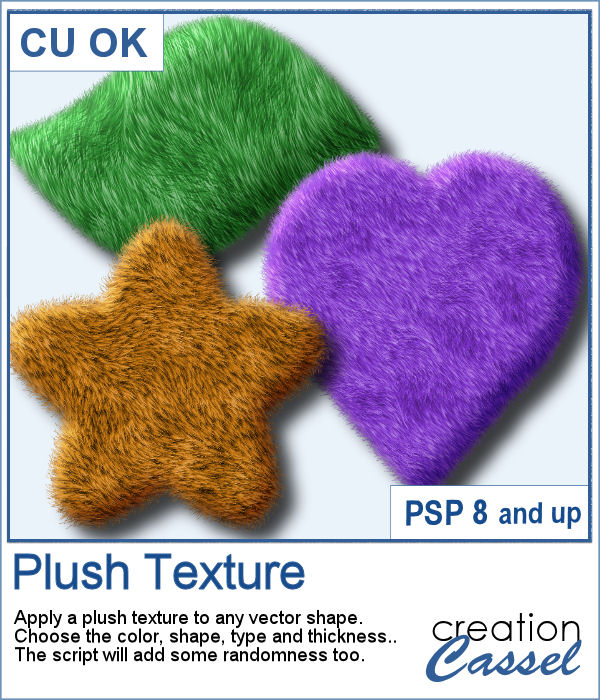
 Plush is often associated with soft toys from our childhood. Adding a plush texture to various shapes can convey that soft feeling to a project.
This script will turn any vector shape into a plush element with your choice of color, but you can also choose the type of plush (soft or coarse) and the length of the fibers. You can get really creative and choose a gradient or even a pattern instead of a solid color.
Get this script in the store: Plush Texture
In order to win this script, add a comment on this Facebook post telling us what element you would try to use to add a plush texture to (remember, add a comment, not just a Like!) The winner will be announced in the newsletter, next week. Not a subscriber yet? Not a problem. You can register here and it is free (and you only get one email per week).
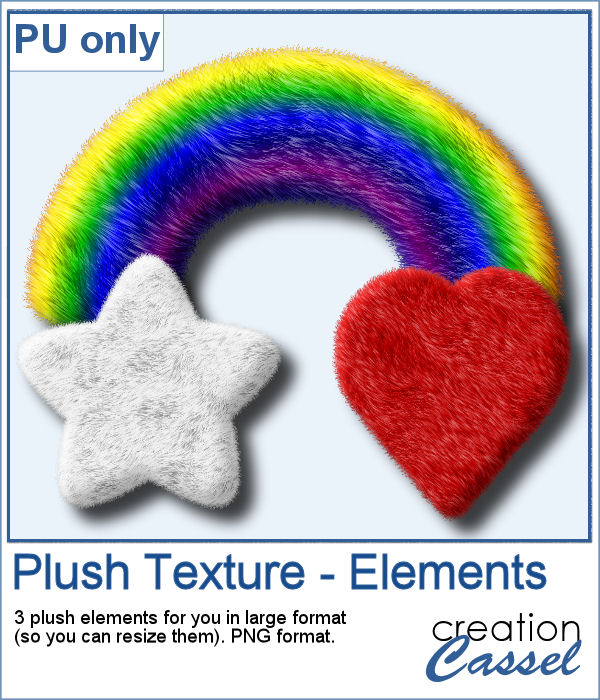 To give you a little glimpse of what this script can do, I created three basic elements that you can use as is or combine them with other elements. All three elements are in png format and quite large so you can size them down as needed for your particular project.
You need to be logged in to download this sample. You can either login, or register on the top of this page.