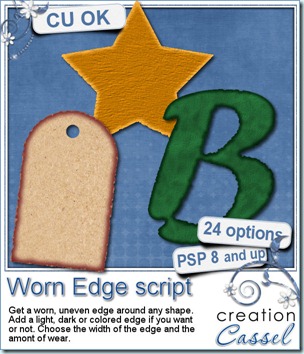
The idea for this script is an old one. In fact, i had a similar script in a grab bag about 2 years ago, but this time it is much more advanced, and has more options. It also works with Paintshop Pro 8 now.
This script will “chew up” all around the edges of any element or shape you want. You can have a little wear, or more. Then, you can decide if you want to add a light, dark, colored or no border all around. This is already giving a lot of flexibility to match any kit or layout. But wait, you can also choose to have a thin, medium or thick edge, so that is even better!
You can get this script in my stores: Creation Cassel and DigiScrapWarehouse.
Would you like a chance to win this script? Check out this thread in the DST forum and just go add your name. A winner will be announced on Monday night.
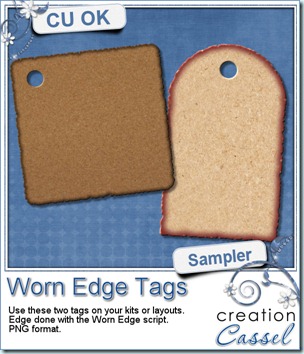
How about a little sample of what this script can do? You can get these free tags in png format for you to use in kits or layouts.
You need to be logged in to download this sample. You can either login, or register on the top of this page.
Now, are you anxious to hear about the February promotion winners? The draw has been made, and was recorded. The official announcement will be made tomorrow, in the newsletter, and then, i will post on this blog. But of course, if you are more curious, and want to know the result the earliest you can, just make sure you are subscribed to my newsletter. If not, you can still subscribe here.
And the CHAT? Did you remember our monthly chat? It will be held tomorrow at 3pm ET in the DST chatroom. (that makes if for around noon on the west coast, and evening for Europe) Tomorrow’s topic: Brushes. See you there!


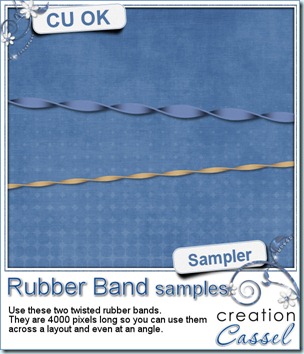 How about a little sampler? You can get those two twisted rubber bands for free, and you can use them as you want. You can color them, or use them as is. Double them, triple them around a frame or other element.
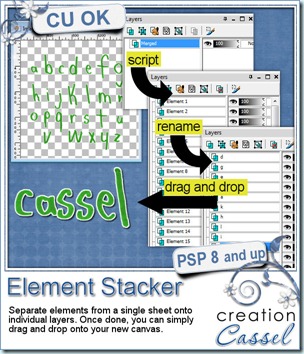
 You can get this script in my stores:

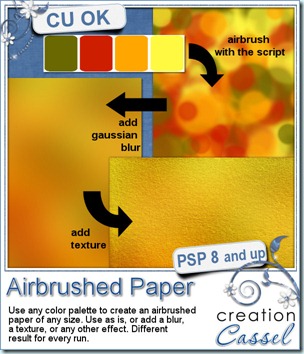
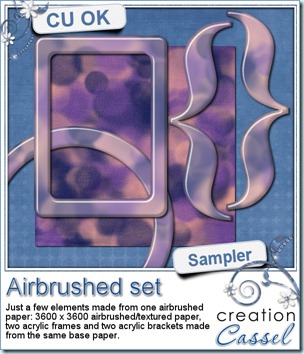 I know, you always look for something to see the product up close. Or, if you are not a PSP user, you want to play with the result, even though you cannot use the script. Well, this week, i created a paper with the script and then, made a few elements for you using that same paper as a pattern. You can get the base paper (with texture), in addition to 2 frames, and two brackets that were also run through the Acrylic script.
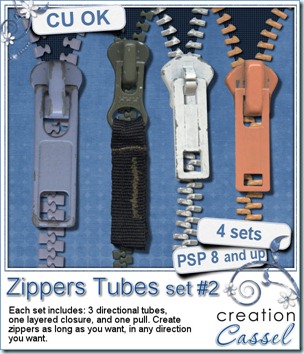
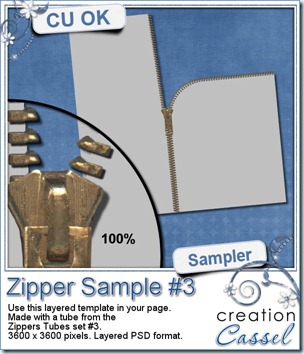
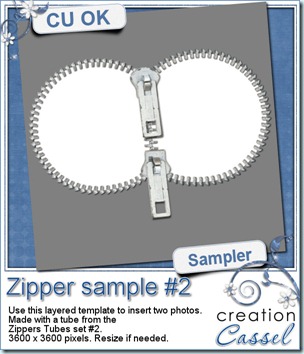 Do you want to play with the zippers? Check out this free sample i have for you. It is almost a template, using a zipper to frame two photos. This is 3600 x 3600 pixels layered PSD template with the zipper already placed and shadowed for you. Use both inserts to place photos, journaling or both.
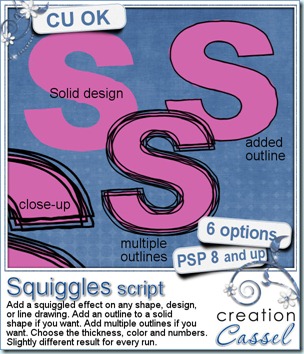
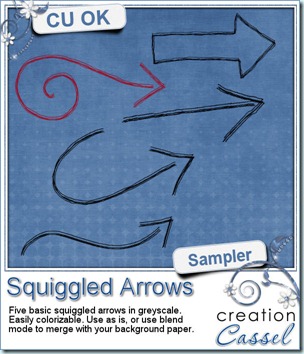 And here is a little sample made using this script. These arrows were initially drawn by hand, so they are not vector base and probably did look a bit uneven to start with! Each of them is in greyscale (i darkened them so you could see them better on the blue background!) so you can colorize them to match your layout or your kit. Use them as is on your layouts, or use a blend mode to get a different effect. Add noise to simulate a little glitter. Apply whatever effect you want. They are in png format and about 400 pixels wide.